

Apple TV & NASI am looking to purchase a NAS mostly for the purpose to taking my movies and TV shows that are purchased in iTunes offline. I use an Apple TV to watch this content. Do I even need something like Plex or Emby or can I just direct the Apple TV to the NAS for the content so that the next episode of a TV show will still show up in the Up Next area of my Apple TV?
In other instances, I have educational videos that I would like to be able to access through my NAS on my Apple TV that are not purchased from iTunes. I assume in that situation I would need something like Plex, Emby or VLC to play that content right?
Sorry if you have already covered this, but I’ve watched a lot of your videos, which are really good, and just haven’t been able to figure out what I actually need.
I would recommend DS218+ or DS718+ from Synology. These feature very simple to use operating system. The built in processors are multimedia friendly allowing you not only stream locally but also over the internet.
There are quite few ways of streaming your media from your NAS to your AppleTV. The simplest option is direct DLNA streaming. But if you want the player to remember where you finished watching and continue from there than built in DS Video app would do that for you. You can achieve the same with Plex or Emby.
But if you are used to the Apple software then you can even set up iTunes server on the NAS.
Here is how:
How to enjoy my Synology NAS music on iTunes (Mac)
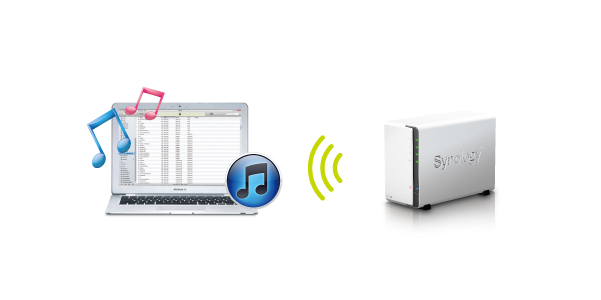
You can download iTunes Server from the Package Center to stream music and videos stored on the DiskStation to an iTunes client within the local network. It also provides Smart Playlist feature, letting you create playlists according to your own preference. This article will guide you through the steps to stream music and videos from Synology iTunes Server to a Windows or Mac iTunes client, and to set your smart playlists.
Contents
- Before you start
- Set up iTunes Server
- Enjoy music and videos on Windows and Mac iTunes clients
- Use Smart Playlist
1. Before you start
This article assumes that you have done the following tasks:
- Create a volume on your DiskStation. (See here)
- Create a shared folder on your DiskStation. (See here)
- Install and run iTunes Server using Package Center.
2. Set up iTunes Server
After installing iTunes Server, you can store your music collection in music shared folder and stream music stored on your DiskStation to iTunes on your computer.
Please follow the steps below to set up your iTunes Server:
- Log in to your DiskStation as admin or a user belonging to the administrators group, and go to iTunes Server.
- Enter your Shared name.
- Tick Require password (optional) and enter a password if you want iTunes users to enter a password before accessing your shared folders.
- Click Apply.

- Audio: MP3, M4A, M4P, WAV, AIF.
- Video: MOV, MP4, M4V.
- Playlist: WPL, M3U.
3. Enjoy music and videos on Windows and Mac iTunes clients
This section explains how to enjoy music and videos on a Mac or a Windows iTunes client. The sample images provided below are the demonstration with iTunes on a Mac.
Please note that you cannot use the following media devices. These media devices access your files on DiskStation through Home Sharing.
- iPad, iPhone
- Apple TV
Please follow the steps below to access music and videos on a Windows or a Mac iTunes client:
- Launch iTunes on your computer. Go to Library, and click Music on the upper-left corner to open the drop-down menu. Browse through the listed iTunes servers to find the server with the shared name you set.
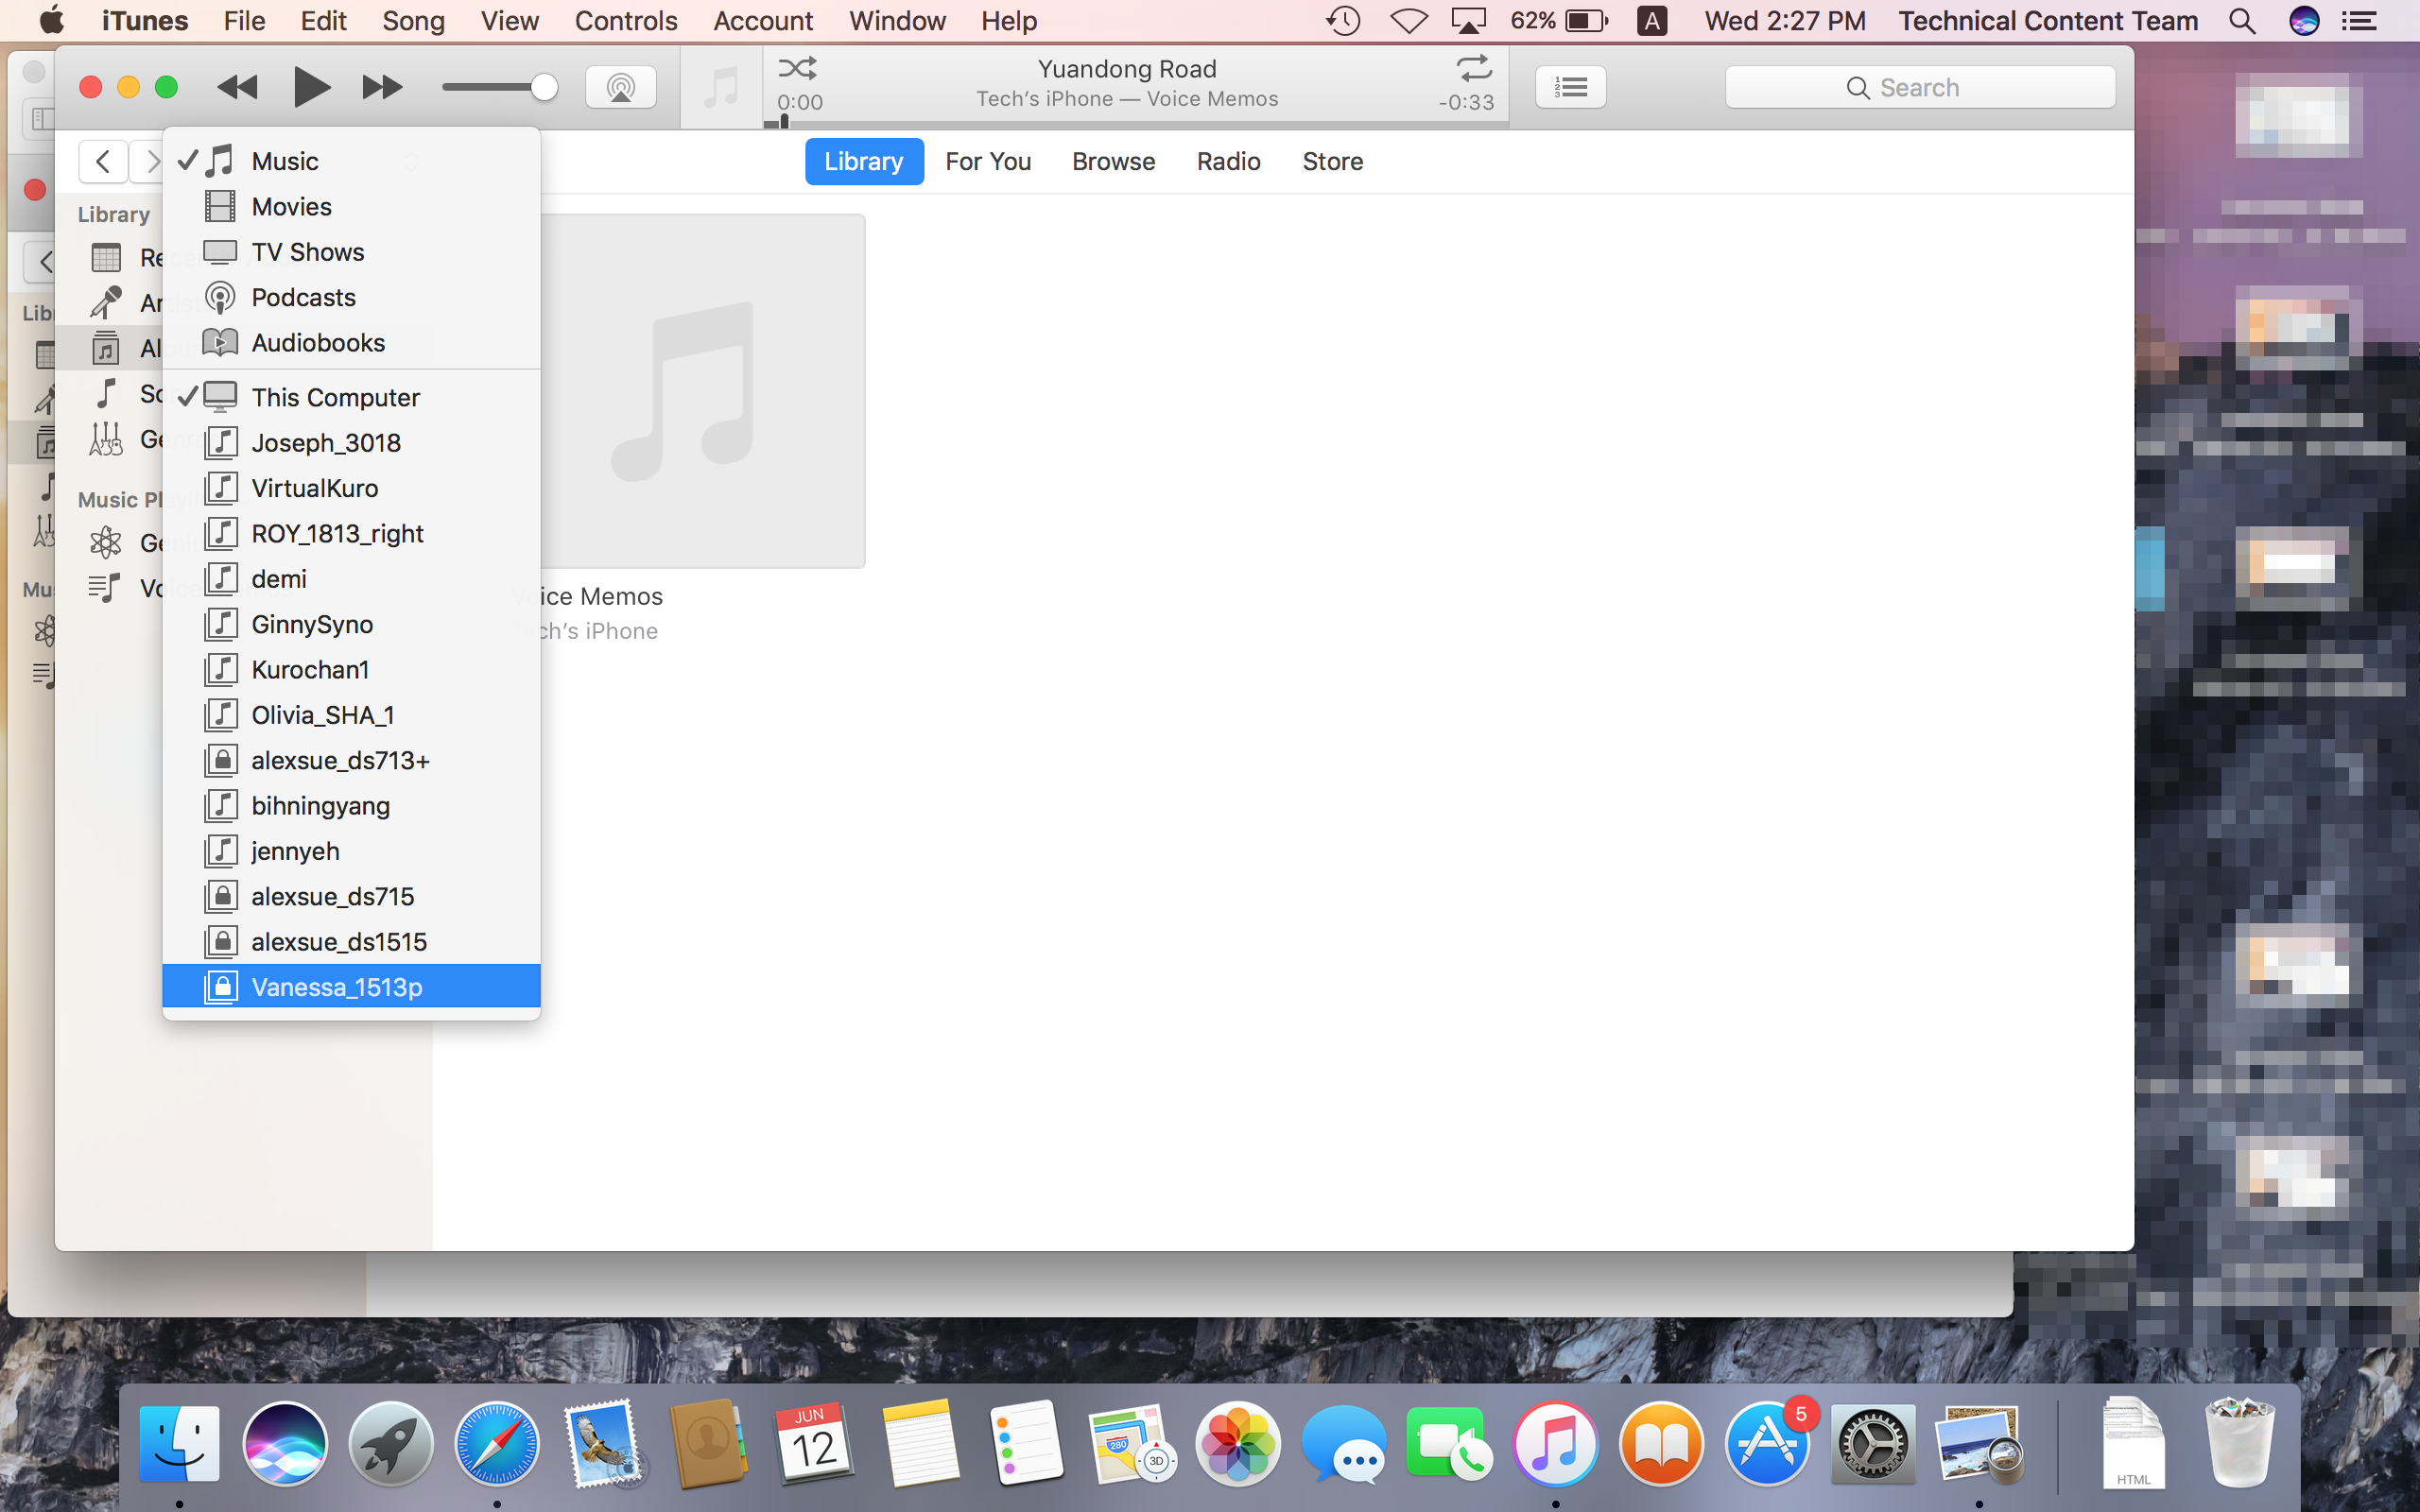
- If you set a password, enter the password and click OK.

- You can access all the music and videos stored on your DiskStation.

4. Use Smart Playlist
This section explains how to create a smart playlist, which can automatically include certain types of songs that match a specific criterion. You can also play smart playlists on a Windows or Mac iTunes client.
To create a smart playlist:
- Go to iTunes Server.
- Click Smart Playlist to create a smart playlist.

- Click Create.

- In the pop-up window, type a name and set rules for the playlist.

- Click OK.
To edit a smart playlist:
- Do either of the following to edit the rules:
- Select the item you want to edit and click Edit.
- Double-click the item.

- Do any of the following to modify the rules:
- Modify the rules by choosing items from the drop-down menus.
- Click + to add a rule.
- Select a rule and click – to delete the rule.

- Click OK to apply the setting.
To delete a smart playlist:
- Select the smart playlist you want to delete.
- Click Delete and then click Yes.

To play smart playlists on an iTunes client:
- Go to Library, and click Music on the upper-left corner to open the drop-down menu.
- Browse through the listed iTunes servers to find the server with the shared name you set.
- Once you access the iTunes server, your smart playlists will appear under Music Playlists on the left sidebar.

Source at Synology
| Where to Buy a Product | |||
 |
    
|

|
VISIT RETAILER ➤ |
 |
|
|
VISIT RETAILER ➤ |
 |
|
|
VISIT RETAILER ➤ |
 |
|
|
VISIT RETAILER ➤ |
We use affiliate links on the blog allowing NAScompares information and advice service to be free of charge to you. Anything you purchase on the day you click on our links will generate a small commission which is used to run the website. Here is a link for Amazon and B&H. You can also get me a ☕ Ko-fi or old school Paypal. Thanks! To find out more about how to support this advice service check HERE If you need to fix or configure a NAS, check Fiver Have you thought about helping others with your knowledge? Find Instructions Here


DISCUSS with others your opinion about this subject.
ASK questions to NAS community
SHARE more details what you have found on this subject
CONTRIBUTE with your own article or review. Click HERE
IMPROVE this niche ecosystem, let us know what to change/fix on this site
EARN KO-FI Share your knowledge with others and get paid for it! Click HERE