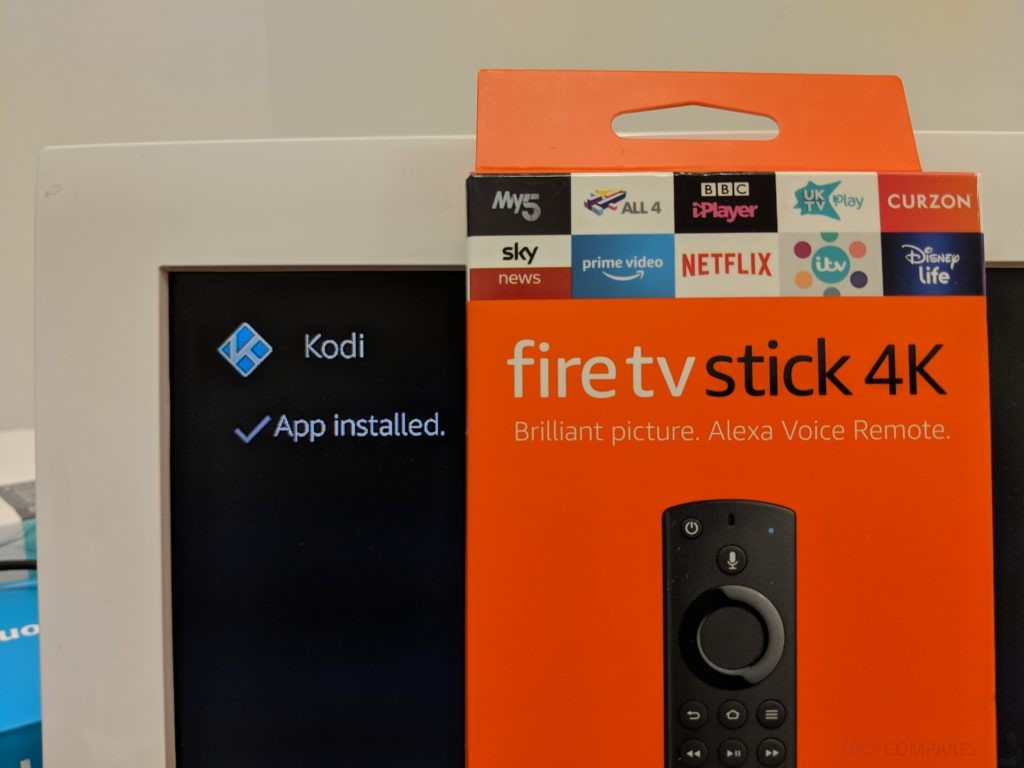
How to Install Kodi on Amazon Fire TV so you can watch your NAS Media
If you were one of the many people who picked up an Amazon firestick in one of the many sales in 2018 and 2019, then chances are you are keen to use the popular streaming device with your NAS system. It is well known that the Amazon fire stick supports numerous cloud-based streaming services, such as Netflix, Amazon prime video and Spotify, but there is a surprisingly small amount of apps that let you stream media from your NAS via the fire stick. Whether this is by accident or design by Amazon, the lack of DLNA playback is really annoying for many. One of the best ways to enjoy your NAS Media on the Amazon fire TV device is to install the popular Kodi application on the stick. The Kodi application is not available to download via the Amazon app centre, so I thought I would post this guide together with downloads and a video guide, to help you NAS users stream content over DLNA in the best way possible. So here is my step by step guide to installing Kodi on your Amazon fire stick and enjoy your NAS Media.
KODI, Fire TV and NAS Tutorial – What you will need
The installation of KODI on a fire tv stick and adding the access to your NAS, can be done in just a few minutes. In order to take advantage of this you will need:
- An Amazon Fire TV (Any will do)
- A NAS Drive
- Internet connectivity
It really is a straightforward process, so let’s begin.
KODI, Fire TV and NAS – Step 1
On your Amazon fire stick, head over to the settings menu and then into the ‘My Fire TV’ option (this may change in later versions to ‘My Device’
Once there, go into the ‘Developer options’ tab
Scroll down to the option about unofficial applications and enable the option to install unofficial and unavailable applications.
KODI, Fire TV and NAS – Step 2
Using either the fire stick voice control or by scrolling through the app centre, look for an application called Downloader(big orange icon and free)
Once you find the application, simply install as you would any other app
Once installed, open the application and you will be presented with a web page and a URL bar similar to that found in any web browser
In the web browser, type the following URL, then click confirm/continue:
https://kodi.tv/download
Once you have opened the URL to KODI, you will be presented with the KODI download page. Scroll down and find the option to choose your operating system. For both the regular Amazon fire stick and Amazon fire stick 4K, download the Android application.
If prompted to select which Android version, select the middle option for 32-bit CPU downloads
You will then be prompted to download the file to your Amazon fire stick, click confirm and ok.
Once the file is fully downloaded, you will be asked whether you wish to install this file and will be given a list of the requirements of this application. You can largely ignore these and go ahead with the installation.
After installation is complete, the Amazon fire stick will then ask you if you wish to delete the original installation file, go ahead and say yes. Storage space on even modern Fire TV 4K units is depressingly low and you will no longer need this installation fire, so you can discard (reminds me of the keys in Resident Evil).
The KODI application will now appear on the Amazon fire TV selection menu, like any other application.
KODI, Fire TV and NAS – Step 3 (Optional)
Kodi is now set up and ready to use on your Amazon fire stick. it is worth adding, however, that those that have used KODI before, might not be a fan of the KODI v17 and KODI v18 user interface and would rather the traditional XBMC interface found in other versions. iI you would like to change this user interface to the more familiar classic style, you need to first head to the settings menu, or click the cog icon.
Once there, select the interface options, then select the option to change the skin
By default, KODI for Amazon Fire TV only has two skins, so select the option to get more, or download
A list of available alternative XBMC skins will be presented to you. Scroll down until you reach the skin called ‘Confluence’ and then select it to download and install the classic Kodi XBMC interface for Fire TV.
KODI, Fire TV and NAS – Step 4
If you wish to access the media on your NAS via the Kodi interface, select a media type on the XBMC menu (videos, music, pictures, etc) and then click the ‘files‘ tab
Then click the ‘add videos‘ tab
You will then be prompted to add a video source. Click on the ‘browse‘ button and your Firestick will search the local area network for DLNA devices
Select the option for ‘UPnP devices‘
Your NAS should appear by name within around 30 seconds at the very most
From there, you will just need to navigate through the folders to the directories where your Media is located (typically in ‘share‘)
Once you find it, click ‘ok‘ and then return to the files menu.
Your newly added directory of files from your NAS will now appear among the list of available media sources and you can freely explore the folders on your NAS Drive and then simply play them in Kodi for Fire TV
Congratulations – You can now use KODI on your Amazon Fire TV and FireStick 4K to stream media from your NAS via DLNA and the internet.
This description contains links to Amazon. These links will take you to some of the products mentioned in today’s video. As an Amazon Associate, I earn from qualifying purchases

