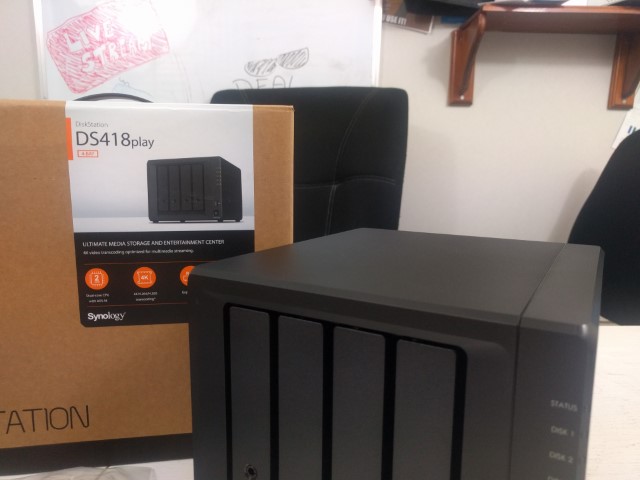
How to Install Plex on the Synology DS418 NAS

As you may have heard, support for the Plex media server application on the Synology DS418 NAS has now been made possible. This long overdue update to the Plex media server software so it will run on Realtek processor NAS devices, has taken more than half a year to be released. Even then, this update is only currently available in alpha release and if you are reading this step-by-step guide to installing Plex on your Synology DS418 NAS in the future, chances are the links shown will be replaced with a ‘Beta’ or ‘Full Release’ of Plex already. In order to make the Plex installation on the Synology DS418 NAS as straightforward as possible, below I have detailed all steps for you to follow on your NAS software and to be conducted on a PC/Mac desktop system, via google chrome. Installation takes around five minutes at most and you are able to use the Plex Media Server application free of charge, so it is worth mentioning that you will get many features for enjoying your multimedia and cataloguing with the Plex pass service.
PLEX Installation Guide for Synology DS418 NAS
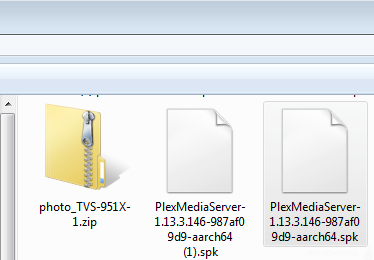
Step 1. Download the Plex media server application for your Synology DS418 NAS using the link below. Be sure that you are using the Realtek ARM 64-bit version of the Plex media server application as this is what you need to run your PMS on the Synology DS418 NAS. Don’t worry if you somehow download the wrong version in error though, as your NAS will not let you install an incorrect version in error.
Step 2. Once you have downloaded the Plex installation to your PC or Windows machine, head over to the Synology DS418 NAS user interface and open up the app Centre.
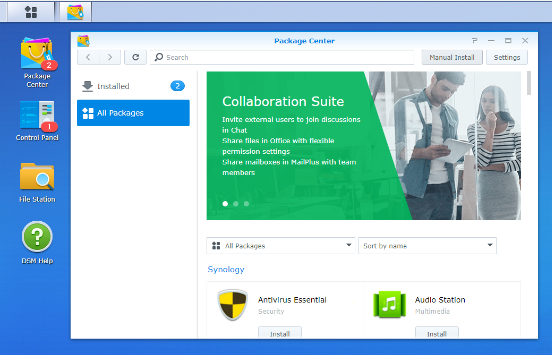
Step 3. As you may have noticed, the Plex was not available on the application store on your Synology DS418 NAS. In order to install this application, we need to head to the top right menu and choose to ‘manually install’ an application.
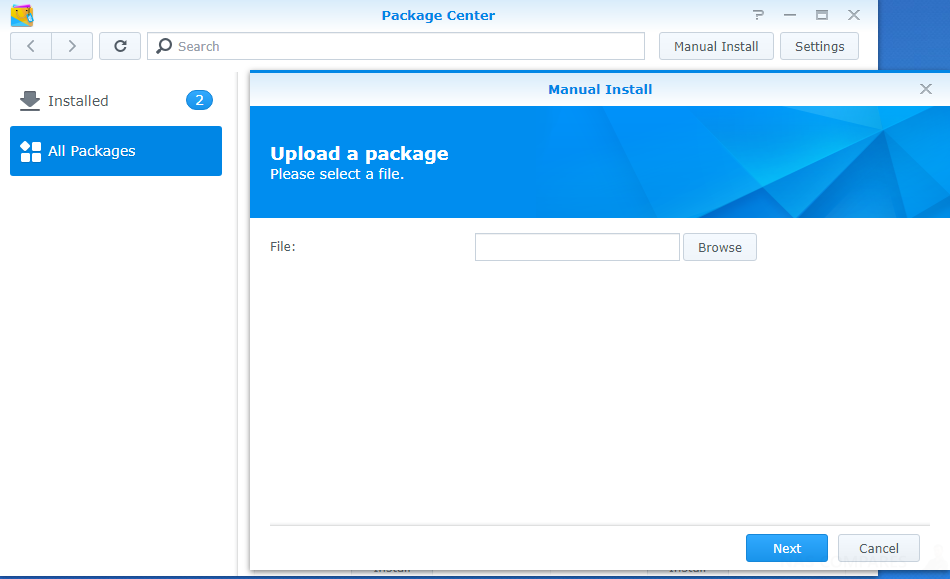
Note – Be sure to check that your Synology DS418 NAS have the permission to install third-party applications and beta software enabled – as this option differs on different units. You can check this by looking at the settings menu, by clicking on the clog icon.
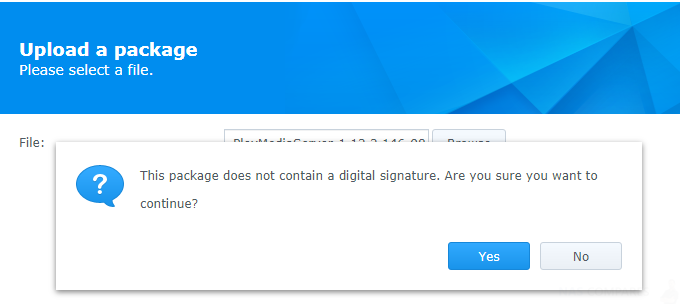
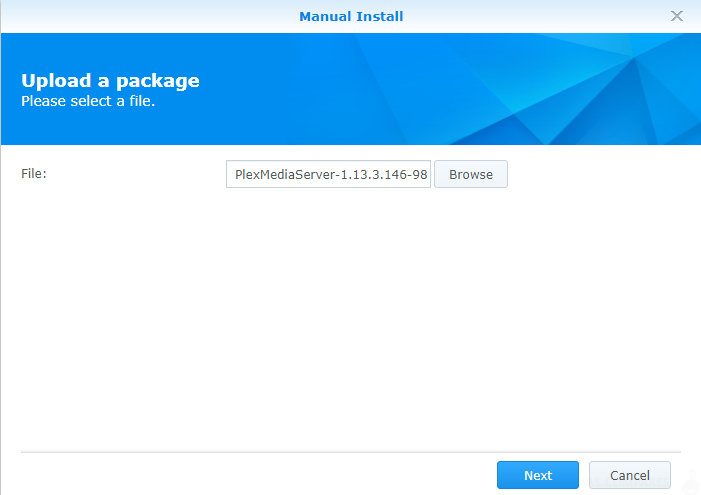
Step 4. Click the browse button to find the Plex setup file we downloaded earlier, in your download folder (or whatever you chose to download your file to) on the local PC/Mac you are working on.
Step 5. Click ‘OK’, ‘Next’ or ‘Confirm’ and then begin the installation of Plex on your Synology DS418 NAS
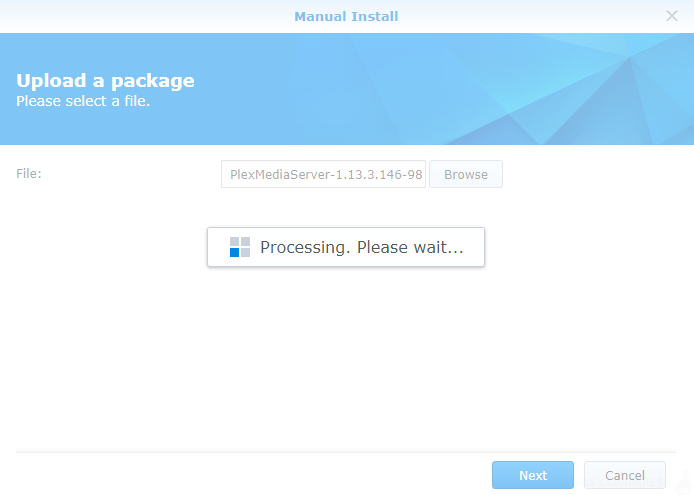
Step 7. The installation will be very quick and you will not need to restart your NAS.

Then it will change to:
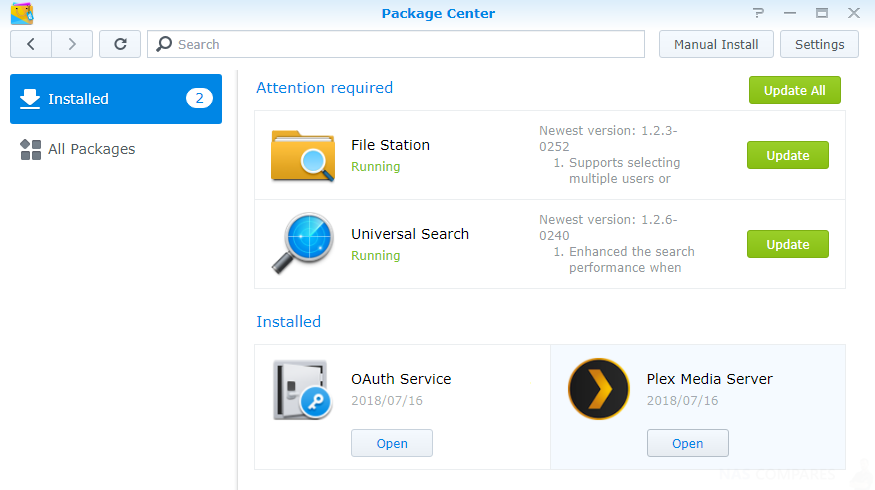
NOTE – Shortly afterwards, the system will notify you that Plex for your Synology DS418 was installed successfully and you will find the icon amongst all your other apps on the NAS.
Step 8. Open the Plex media server application by the user interface on your Synology DS418 and a new window will open in your web browser. The first thing the application will ask you to do is scan the local area network (LAN) for the Synology DS418 server. This should only take a few seconds and when it finds your NAS, you can proceed.
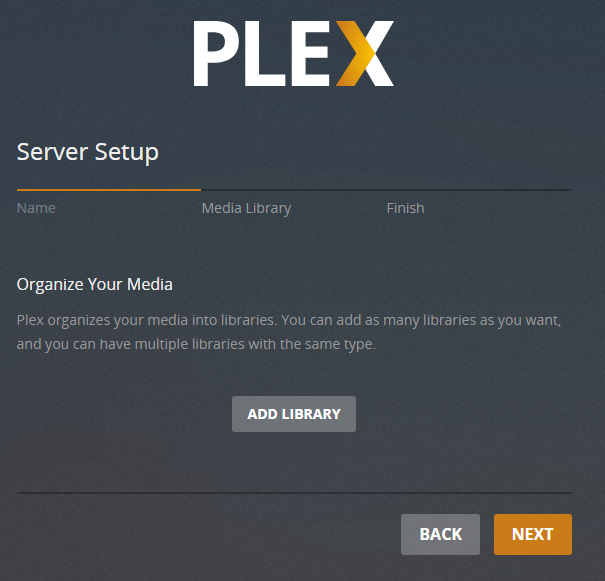
NOTE – Ensure you have set up a Plex membership or Plex pass subscription either before the start of this installation or now when the system prompts you to log in.
You can set up a Plex subscription very quickly, even the free version will give you access to several features for your Synology DS418 NAS server.
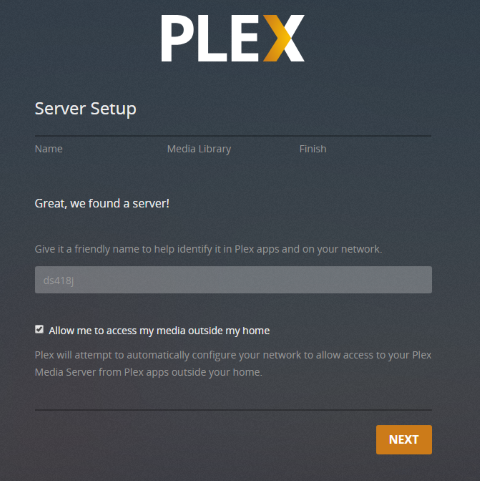
Step 8. Next, the Plex media server application will ask you to select the directories that your Media lives in.
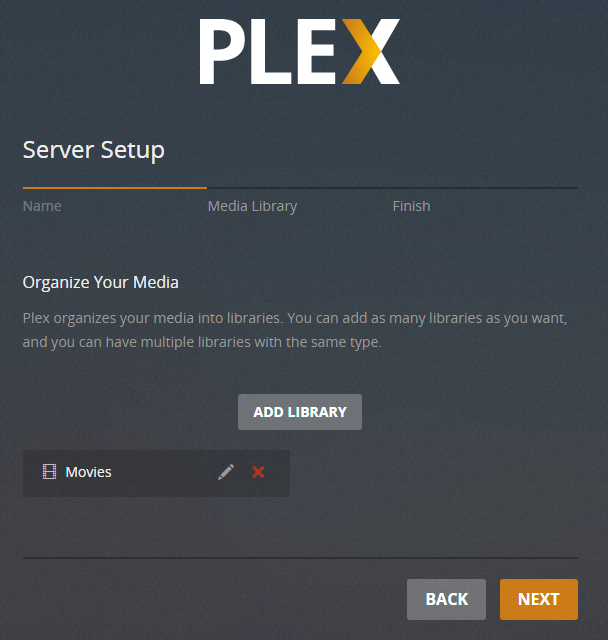
NOTE – Be sure to select correct directories from your NAS that fit the content you want to enjoy. i.e. ensure that you scan a directory with show episodes and box sets for the collect library dedicated to ‘TV Shows’, as the Plex media server application will count all video media in this directory as TV shows if done wrong.
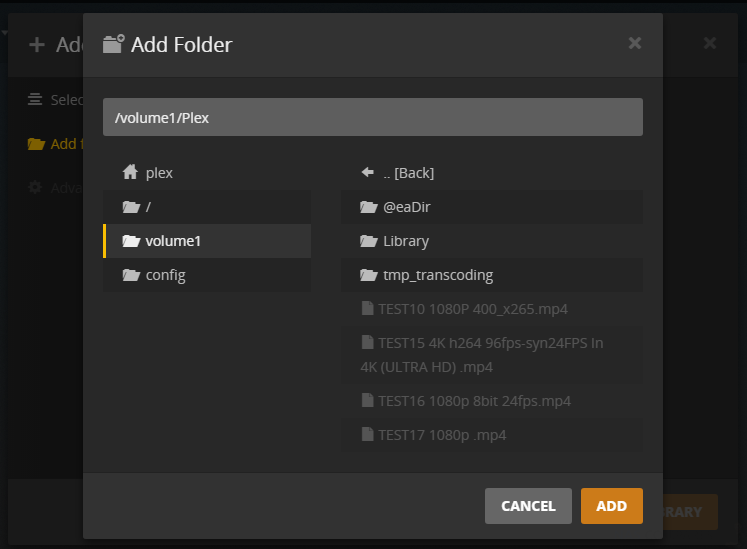
Step 9. As soon as you have selected and begun scanning different directories on your Synology DS418 Plex NAS media server, lists of your Media under each label will appear and the Plex server application will begin to scrape metadata from numerous online sources. This will result in all of your media having the correct thumbnails, descriptions, trailers, castings information and more. This genuinely is the jewel In the crown of Plex to create a much more attractive and user-friendly media server application, right on your Synology DS418 device.
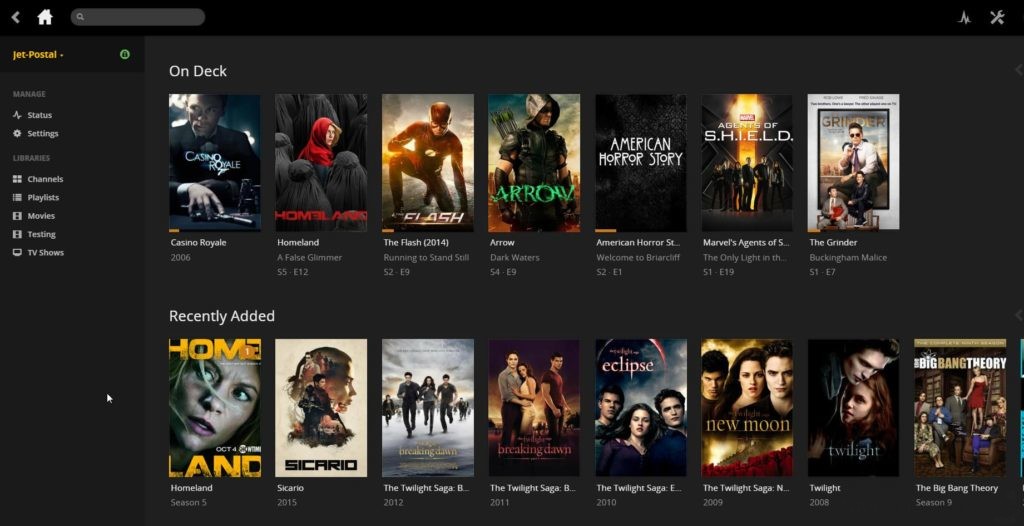
Step 10 – Congratulations, you have now installed Plex media server application on your Synology DS418 NAS. Be sure to download Plex client applications for your mobile phone, TV, console and desktop devices – so then your media playback hardware can enjoy the media content on your Synology DS418 NAS via Plex now.
If you have any questions about this guide or need help with your NAS, contact me below indeed free advice section.
📧 SUBSCRIBE TO OUR NEWSLETTER 🔔🔒 Join Inner Circle
Get an alert every time something gets added to this specific article!
Want to follow specific category? 📧 Subscribe
This description contains links to Amazon. These links will take you to some of the products mentioned in today's content. As an Amazon Associate, I earn from qualifying purchases. Visit the NASCompares Deal Finder to find the best place to buy this device in your region, based on Service, Support and Reputation - Just Search for your NAS Drive in the Box Below
Need Advice on Data Storage from an Expert?
Finally, for free advice about your setup, just leave a message in the comments below here at NASCompares.com and we will get back to you. Need Help?
Where possible (and where appropriate) please provide as much information about your requirements, as then I can arrange the best answer and solution to your needs. Do not worry about your e-mail address being required, it will NOT be used in a mailing list and will NOT be used in any way other than to respond to your enquiry.
If you like this service, please consider supporting us.
We use affiliate links on the blog allowing NAScompares information and advice service to be free of charge to you.Anything you purchase on the day you click on our links will generate a small commission which isused to run the website. Here is a link for Amazon and B&H.You can also get me a ☕ Ko-fi or old school Paypal. Thanks!To find out more about how to support this advice service check HEREIf you need to fix or configure a NAS, check Fiver
Have you thought about helping others with your knowledge? Find Instructions Here
Alternatively, why not ask me on the ASK NASCompares forum, by clicking the button below. This is a community hub that serves as a place that I can answer your question, chew the fat, share new release information and even get corrections posted. I will always get around to answering ALL queries, but as a one-man operation, I cannot promise speed! So by sharing your query in the ASK NASCompares section below, you can get a better range of solutions and suggestions, alongside my own.

|
 |


