


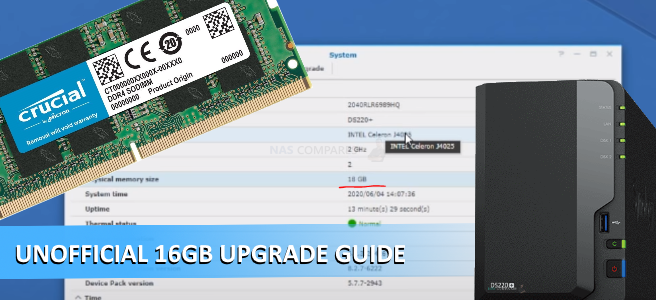
How to Upgrade the RAM in your Synology DS220+ to 18GB Memory
Back in May 2020, when the Synology DS220+ was first revealed, many users were surprised at the maximum memory limit that the manufacturers stated ion the specifications – 6GB of DDR4 to be precise (as well as only 1 memory stick being accessible and the other 4GB secured from access via pre-populated with soldered memory). With the Intel J4025 chip that the Synology DS220+ arrives with, it did seem odd that the maximum or 6GB of DDR4 memory (also for the DS720+ and DS420+) for this chip was listed firmly in the specification.
On the face of it, 4GB by default, as well as 6GB MAX seems like plenty. That will comfortably support the NAS tasks of a plex media server, all those productive first-party NAS applications and backups. However, as file sizes grow, as NAS surveillance gets popular, as virtual machine and container station applications grow in popularity, it will not be too long before you will see that memory use ALWAYS above 60% in the task manager. Sadly, we have asked the manufacturers and they continue to stand by the fact that you cannot exceed this limit, officially. It was also a hot button topic in both the comments in our DS220+ reveal video and the NASCompares DS220+ Review HERE. I am pleased to tell you that I am pleased to confirm that not only can you use non-official own-brand memory in the Synology DS220+, but also that you can install a single module of 16GB DDR4 Memory (in the single available slot) meaning you can have a Synology DS220+ with 18GB of Memory! Read below for my guide, it will detail how to install the RAM, how to check that it is installed correctly and how to test that it is working straight away.
Upgrading your Synology DS220+ to 18GB of Memory – Pay Attention
Before we continue with the guide, it is worth highlighting that the Synology DS220+ manufacturer strongly recommends that you do not exceed the stated memory limit on their specifications page. They also highlight that using non-official memory in your Synology DS220+ may well result in them being unable to provide technical support, as this would be an unsupported setup. We at NASCompares cannot be held accountable for how you use this guide. However below I will show you where to buy the individual memory and Synology DS220+ NAS device you will need. ONLY attempt this upgrade if you are comfortable with the terms laid out above by the manufacturer.

Where to Buy the Synology DS220+ with 18GB Memory
It’s important to know that although there are many different kinds of Synology NAS, this guide is for the DS220+ NAS. Although many of the Diskstation range are similar, there are many differences in Memory module frequency, size and capacity support between the hardware architecture of devices, so make sure you are only following this guide if you want to upgrade the memory unofficially on a Synology DS220+ NAS drive. The details of this NAS are:
| NAS Model |
Synology DS220+ NASCPU: Intel Celeron J4025 Quad-Core 2.0 GHz (up to 2.9 GHz) MEMORY SLOT(S): Default = 1 Available Slot Default Max 6GB = 1x 4GB Synology DDR4 RAM + Soldered 2GB Memory Please note, exceeding 6GB is not officially supported and might invalidate your warranty Suitable for Surveillance: YES Suitable for Virtua Machines: YES 4K Transcoding Support: YES Warranty: 2 Years |
 Where to Buy Synology DS220+ 2/6GB Model NAS
|


18GB Synology DS220+ Memory Upgrade – Step 1, Physical Installation
What you will need:
- A Synology DS220+ NAS – Obviously

DS220+ NAS
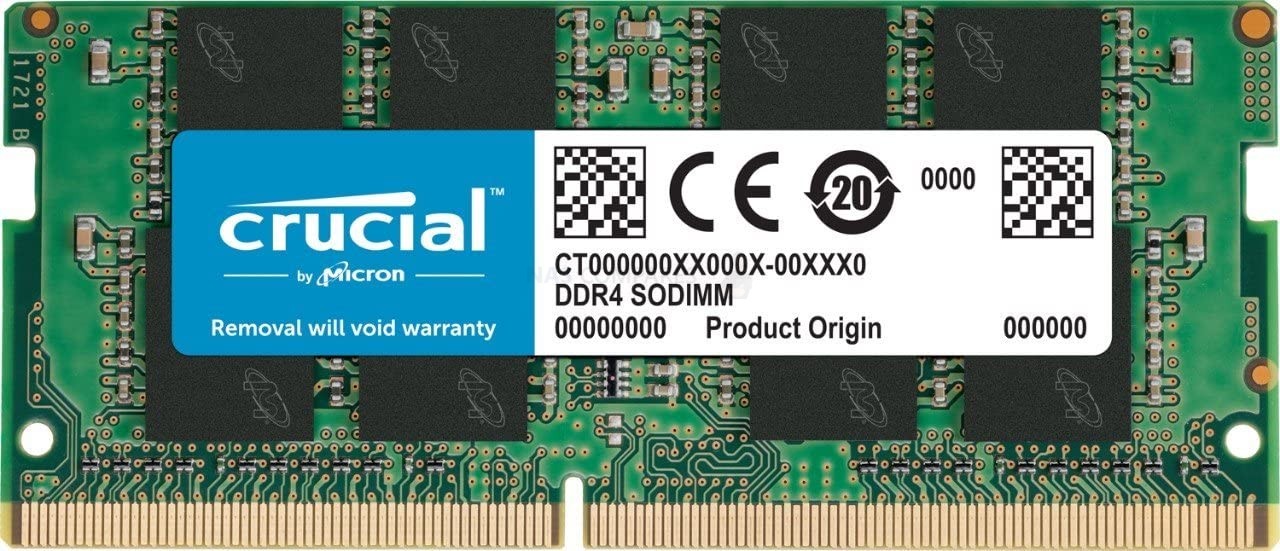
- 1x Crucial 16GB DDR4 SODIMM 2666Mhz (18GB Total) Memory Upgrade – Link below
VERY IMPORTANT – The Links used in the article below towards the correct unofficial memory are occasionally changed (beyond my control) as it will direct you to the site in your own region/country. MAKE SURE to check that the memory module (especially 16 and 32GB SODIMM modules) are DUAL RANK or ‘DR‘, as Synology NAS typically have trouble with SR/SINGLE RANK modules.
| NAS Model | Memory Type | Official Memory | Unofficial Memory | |
| DS220+ | DDR4-2666 non-ECC unbuffered SO-DIMM 260pin 1.2V | D4NESO-2666-4G
|
Crucial 4GB – Buy Here
TimeTec 4GB – Buy Here Kingston 4GB- Buy Here Crucial 8GB – Buy Here TimeTec 8GB – Buy Here Kingston 8GB- Buy Here Crucial 16GB – Buy Here TimeTec 16GB – Buy Here Kingston 16GB- Buy Here Crucial 32GB* – Buy Here * = UNTESTED, TBC |


- Small Phillips Head Screwdriver – (kinda optional but recommended for chassis)

- (OPTIONAL) Anti-static gloves and Envelope – useful to eliminate static charges and also to store the removed older official memory sticks):
 |
 |


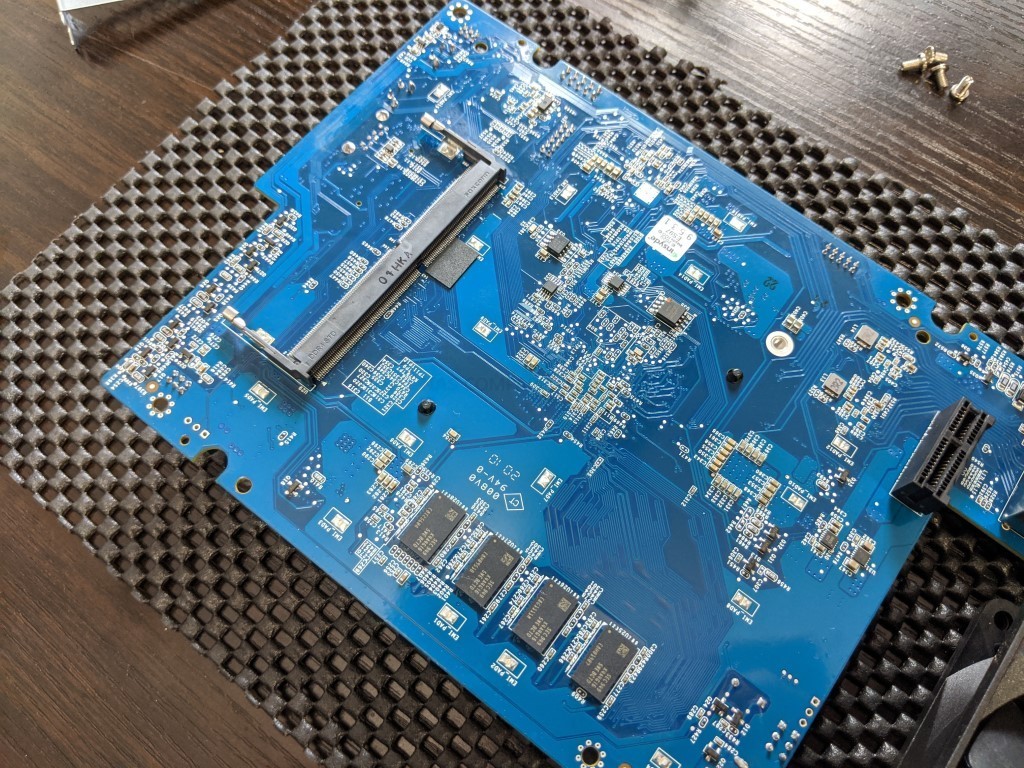
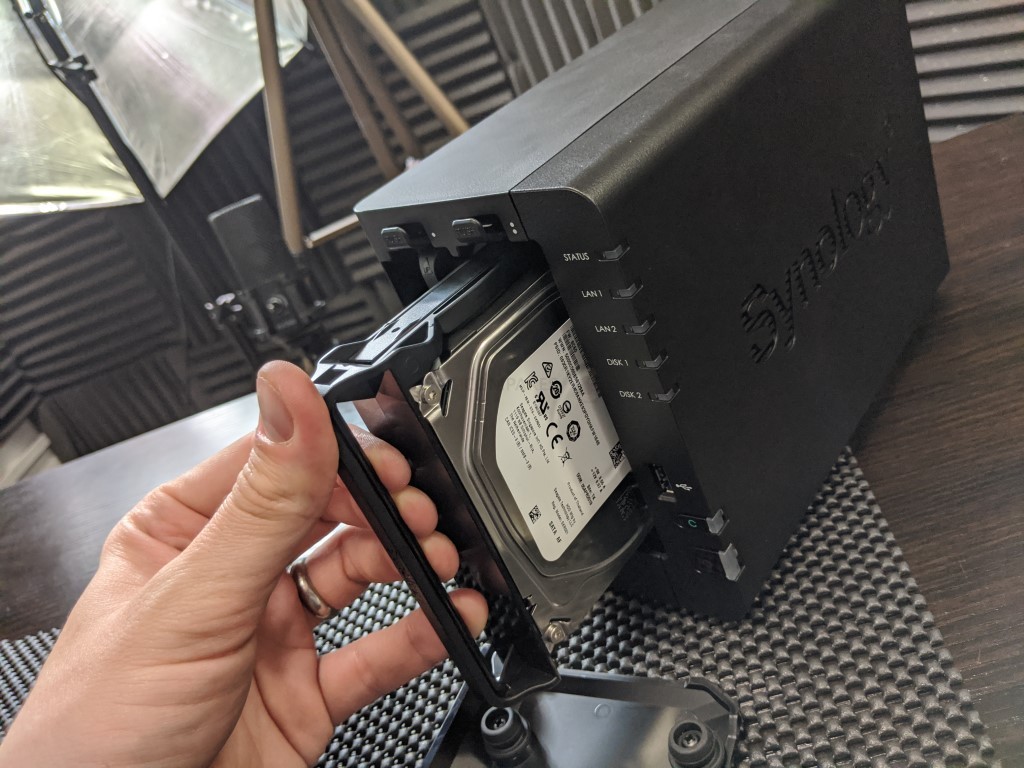
First, we need to ensure the Synology DS220+ is completely powered down/off and the mains power has been disconnected. It is recommended that you remove the Hard Drive or SSD that you have installed before accessing the RAM as it may block the slots. Additionally, you should remove the hard drive media as the unit will be moved around a lot during the memory installation and this could damage the drives. Be sure to keep a note of the drives that you remove and the order they were installed (HDD Bay 1, HDD Bay 2, etc) as installing the drives in the wrong slots could damage any existing RAID you have setup internally.
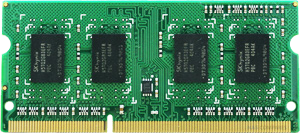
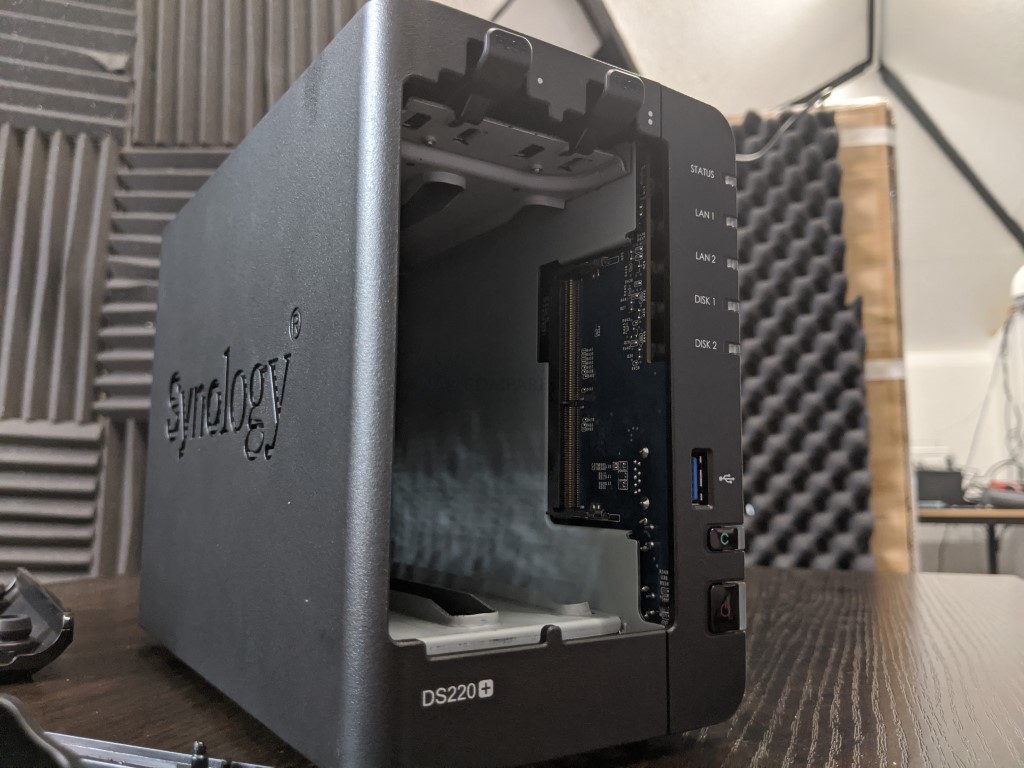
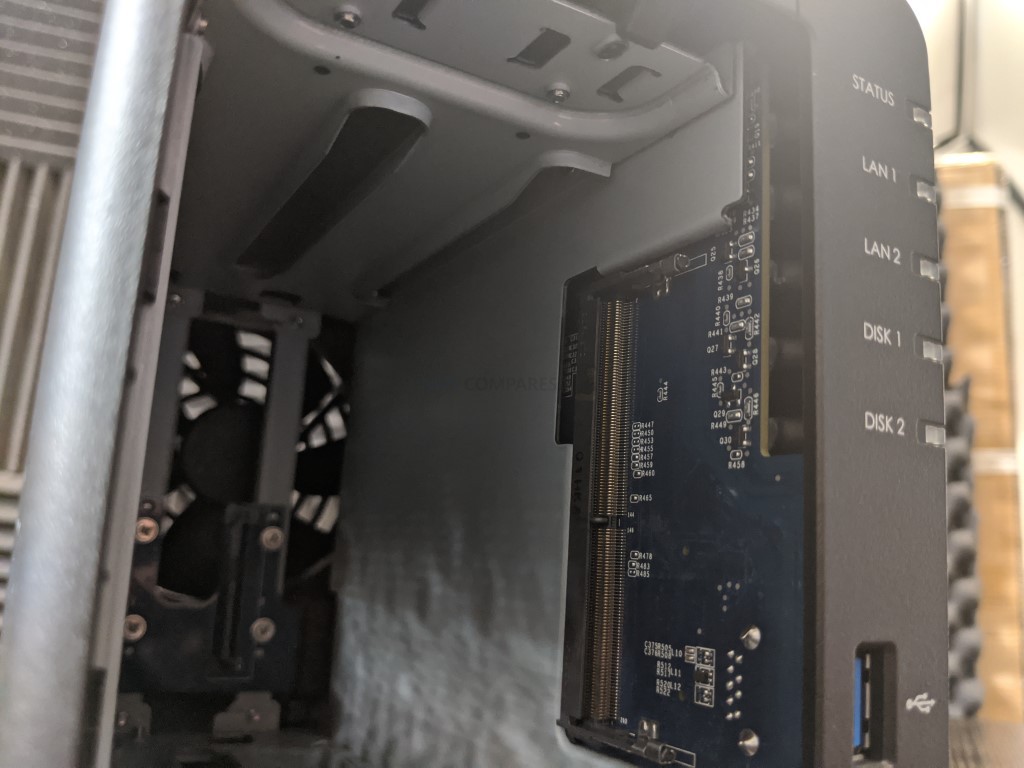
Next, we need to access and remove the existing memory, as the news 18GB of memory for our Synology DS220+ will occupy both slots.
Be sure you eject the official memory sticks using the clips either side of the slot, as well as only holding the memory sticks by the narrow side edges, never touching the chips or board of the money or NAS.
Once you have removed them, they can either be stored away for a later project, installed in a compatible laptop or sold on eBay etc to make a little cash back!
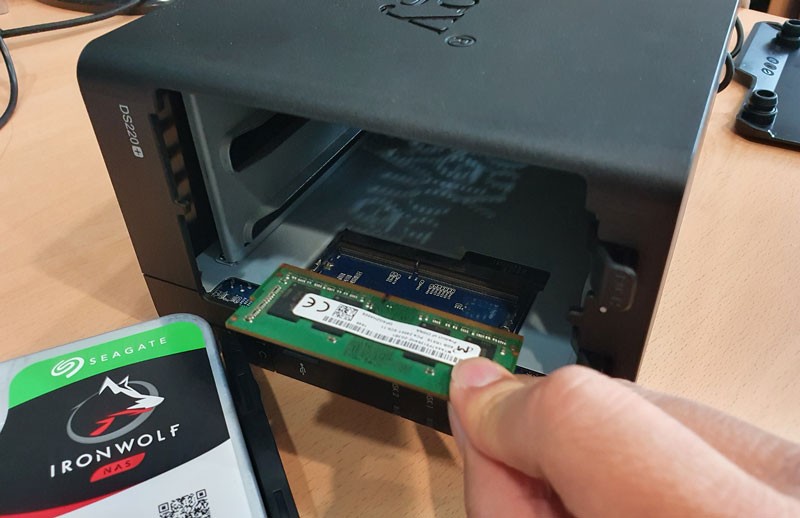
Once they are clear, install a 16GB Crucial Memory stick in the available slot, making sure that you click them both in with the clips either side.
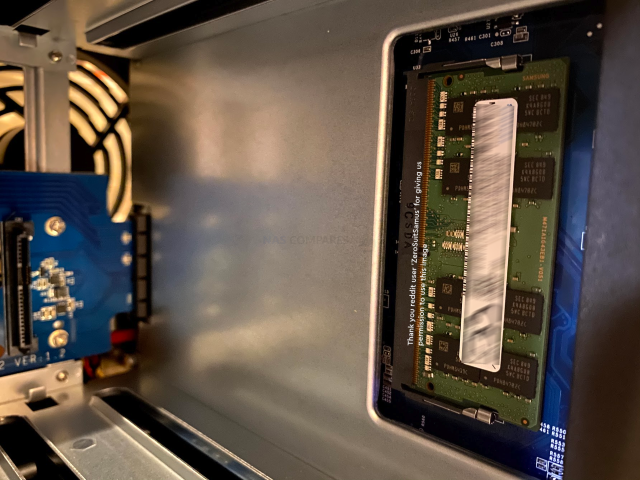

Once down, replace the Synology DS220+ chassis lid if you removed it for ease of access, as well as the hard drives. You have now concluded the physical installation of 18GB of crucial memory in the Synology DS220+.
18GB Synology DS220+ Memory Upgrade – Step 2, Checking the 18GB Memory is Recognized
What you will need:
- A web browser (Chrome, Safari, Firefox, etc) on a Windows, Mac or Android Machine) accessing the Synology DS220+ user-interface as you normally would.
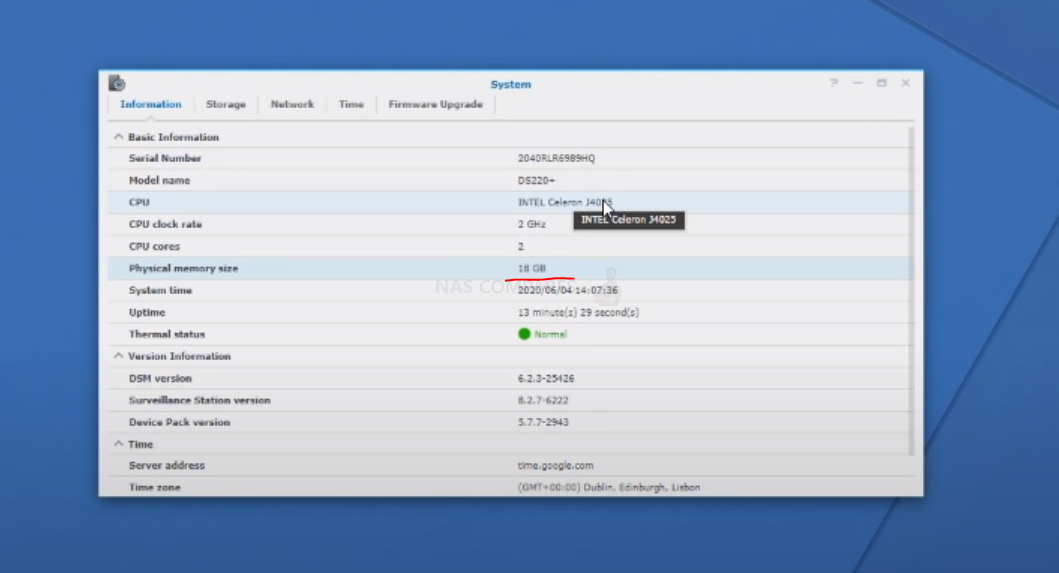
Next you need to power up your Synology DS220+ NAS and access it as you normally would. If you are buying this NAS first time and have yet to set it up, there are numerous first time set up guides and tips on the YouTube channel here – that will get you from the hardware installation to set up the Synology DS220+ NAS for use. Once the NAS user interface (UI) is ready to go, head over to the hardware specification page shown here:
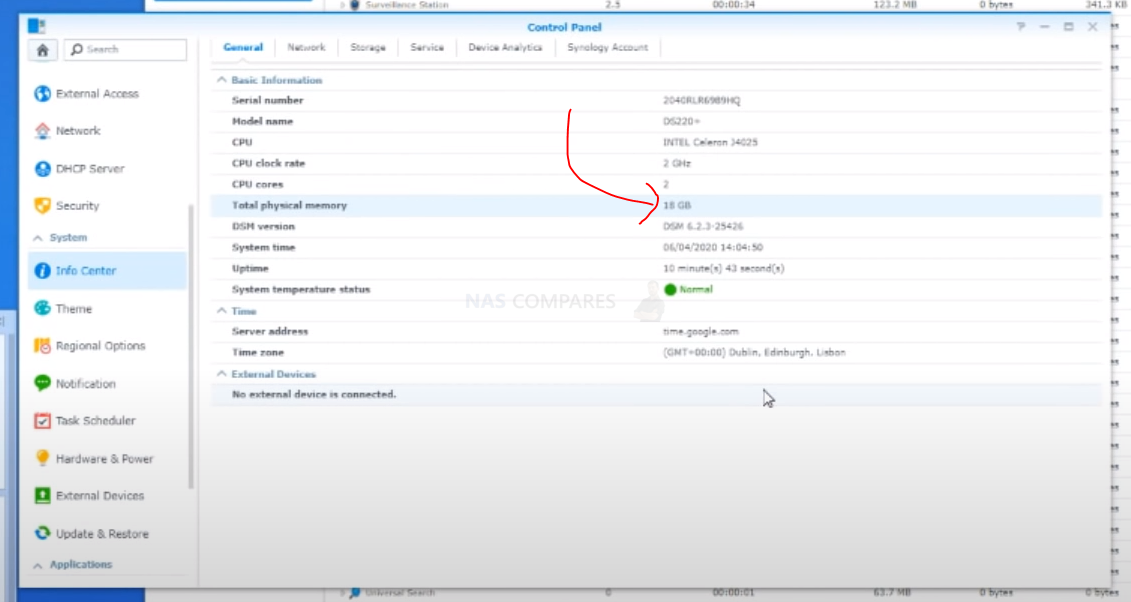
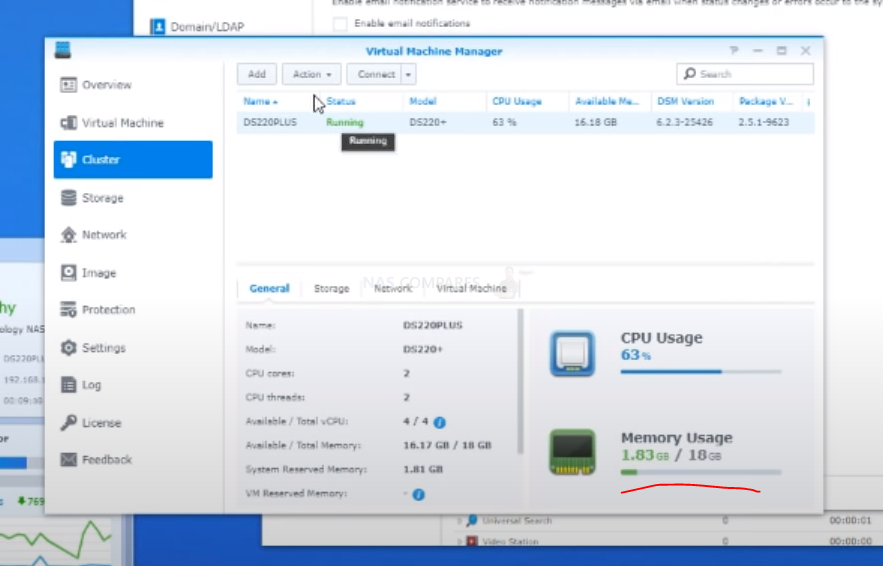
As you can see from this CPU and Memory display, the Synology DS220+ has recognized and made available the 18GB of crucial memory. It will be immediately available for use and you will see that the % amount of use of the RAM in the resource monitor will be much, much lower, as there is significantly more memory available for the system!
18GB Synology DS220+ Memory Upgrade – Step 3, Checking the 18GB Memory is Working
There are several ways to check the memory is working on your Synology DS220+ correctly. One easy method that can be done very quickly is using the Synology Memory Test tool.
To run a memory test:
-
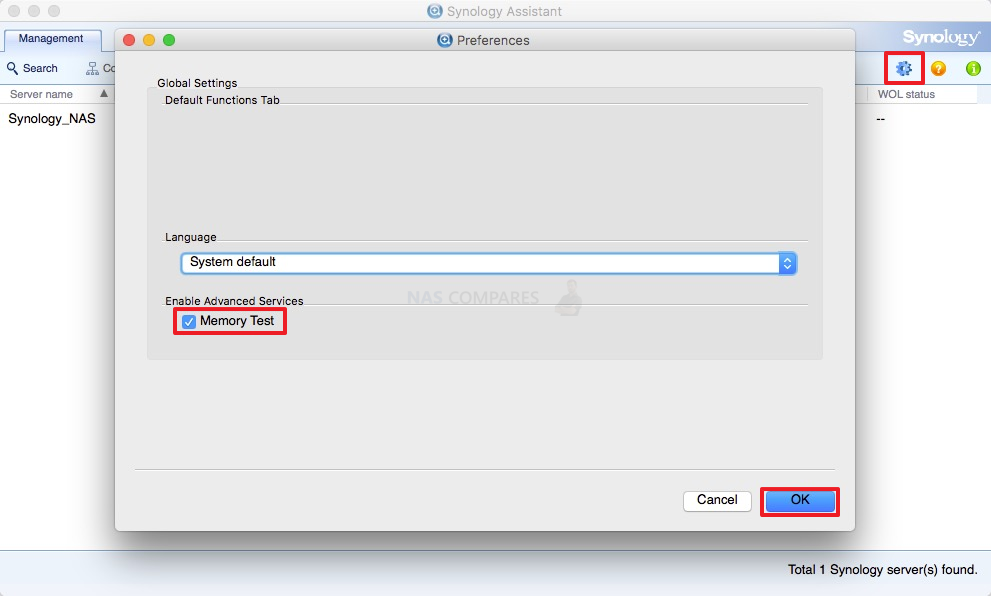
- Download and install the Synology Assistant, where you can find the memory test function. The application is available at Download Center.
- Open Synology Assistant, click and enable the memory test service.


-
- Select the device where you wish to run the test and click Memory Test.
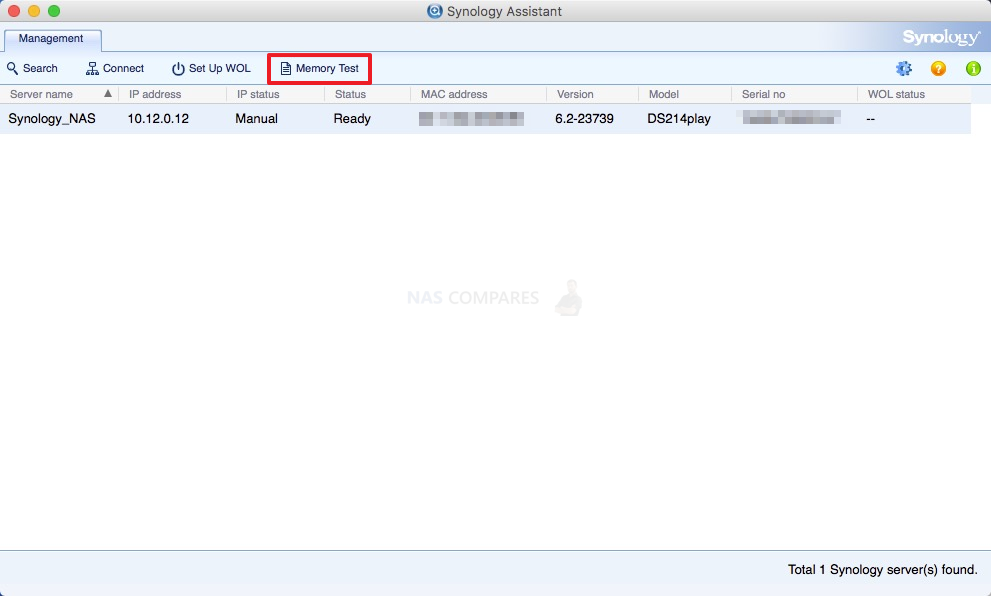
During the memory test, your Synology NAS will be rebooted. It will recover after another reboot if its memory is normal and passes the test. However, if the memory test fails to finish or shows that there is an error, the memory may be faulty. In this case, you are strongly recommended to return your Synology NAS for repair. Just in case you have installed a non-Synology memory module, please remove it and rerun the memory test. Though once again you should remember that Synology do not recommend using memory modules that are not from Synology themselves, so this test may not be indicative of the health of unofficial memory in your Synology NAS. Alternatively,you can perform as many actions and processes as possible (scans, copy/pastes, thumbnail generation, transcode a 4K file, RAID changes, synchronisation, etc) at once to see how the task manager and resource monitor behaves in the Synology DS220+. It should spike each time and at a greater height as you do more and more and once it exceeds the memory you had previously installed, this is a good confirmation that the installation is working fine.
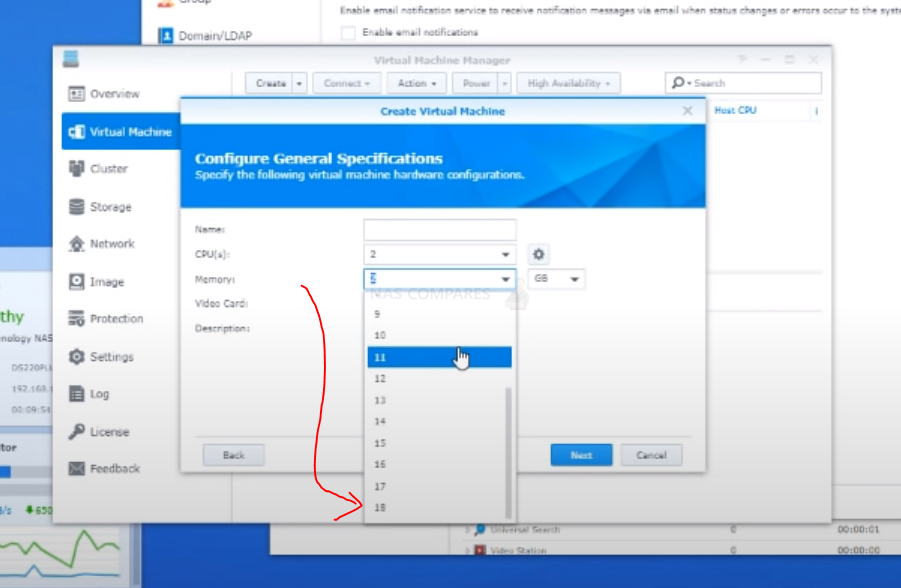
Alternatively, you can temporarily allocate chunks of memory and then that is a much more reliable test. Install the virtual machine application for the Synology DS220+ (P.S. for Synology users it is the Virtual Machine Manager and for QNAP it is the Virtualisation station). Then you can create individual VMs (it is alot easier than it sounds and the Synology DS220+ VM software is very user-friendly) then allocate 3-4GB of memory to each one. When you have created 3 or 4 individual virtual machine containers on the Synology DS220+ software, then you can run them all at once and that will immediately use almost all the memory at once! If there are any issues with the memory, it will show here almost immediately. If no problems, then you know the Synology DS220+ 18GB crucial memory installation as successful. You can then delete the VMs in the virtual machine software and then free up all that memory again.


🔒 Join Inner Circle
Get an alert every time something gets added to this specific article!
This description contains links to Amazon. These links will take you to some of the products mentioned in today's content. As an Amazon Associate, I earn from qualifying purchases. Visit the NASCompares Deal Finder to find the best place to buy this device in your region, based on Service, Support and Reputation - Just Search for your NAS Drive in the Box Below
Need Advice on Data Storage from an Expert?
Finally, for free advice about your setup, just leave a message in the comments below here at NASCompares.com and we will get back to you.


 |
 |


This description contains links to Amazon. These links will take you to some of the products mentioned in today’s video. As an Amazon Associate, I earn from qualifying purchases


