Compatible M.2 NVME SSD heatsinks for use in a NAS
If you know or use a certain type of heatsink, share it with others in the table below!
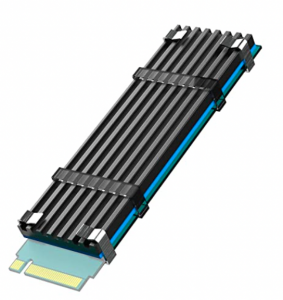
If there are other chips and components underneath the M.2, we would recommend single sided heatsink that strap on or glue on.

ineo M.2 heatsink 2280 SSD with Thermal Silicone pad for M.2 PCIE NVMe SSD [M16]


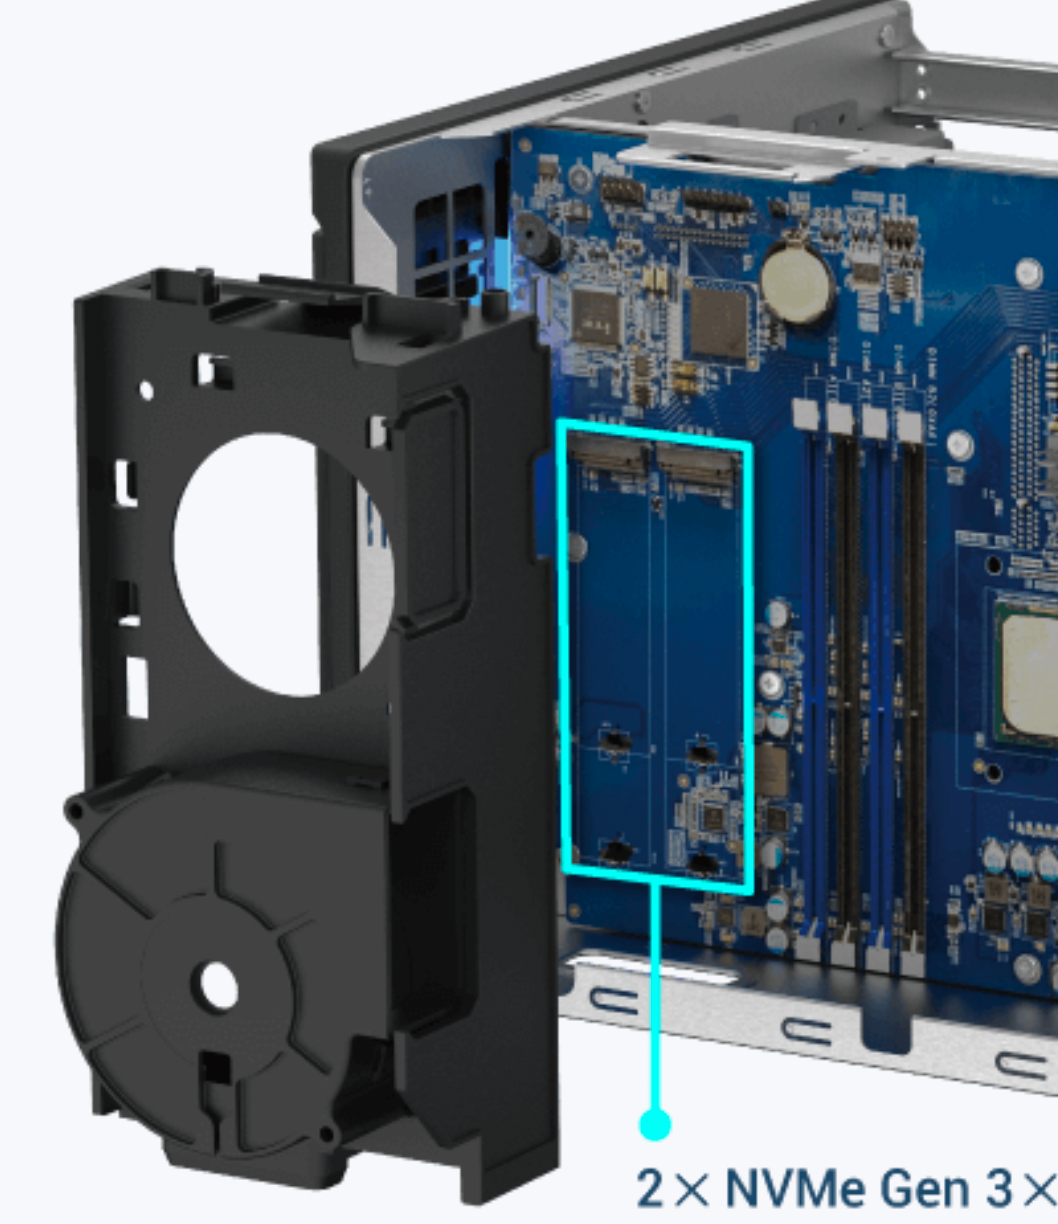
Installing M.2 Solid-State Drives The TS-hX86 series has two M.2 SSD slots on the Right Panel. For a list of compatible M.2 SSDs, go to http://www.qnap.com/compatibility.
1. Power off the device.
2. Disconnect the power cord from the electrical outlet.
3. Disconnect all cables and external attachments.
4. Remove the case cover.
a. Loosen the screws. b. Slide the cover back. c. Lift the cover off the device.
5. Remove the fan module [if any].
a. Disconnect the fan cable from the system board. b. Remove the screw that secures the module to the chassis. c. Press the clip and then pull the module away from the system board.
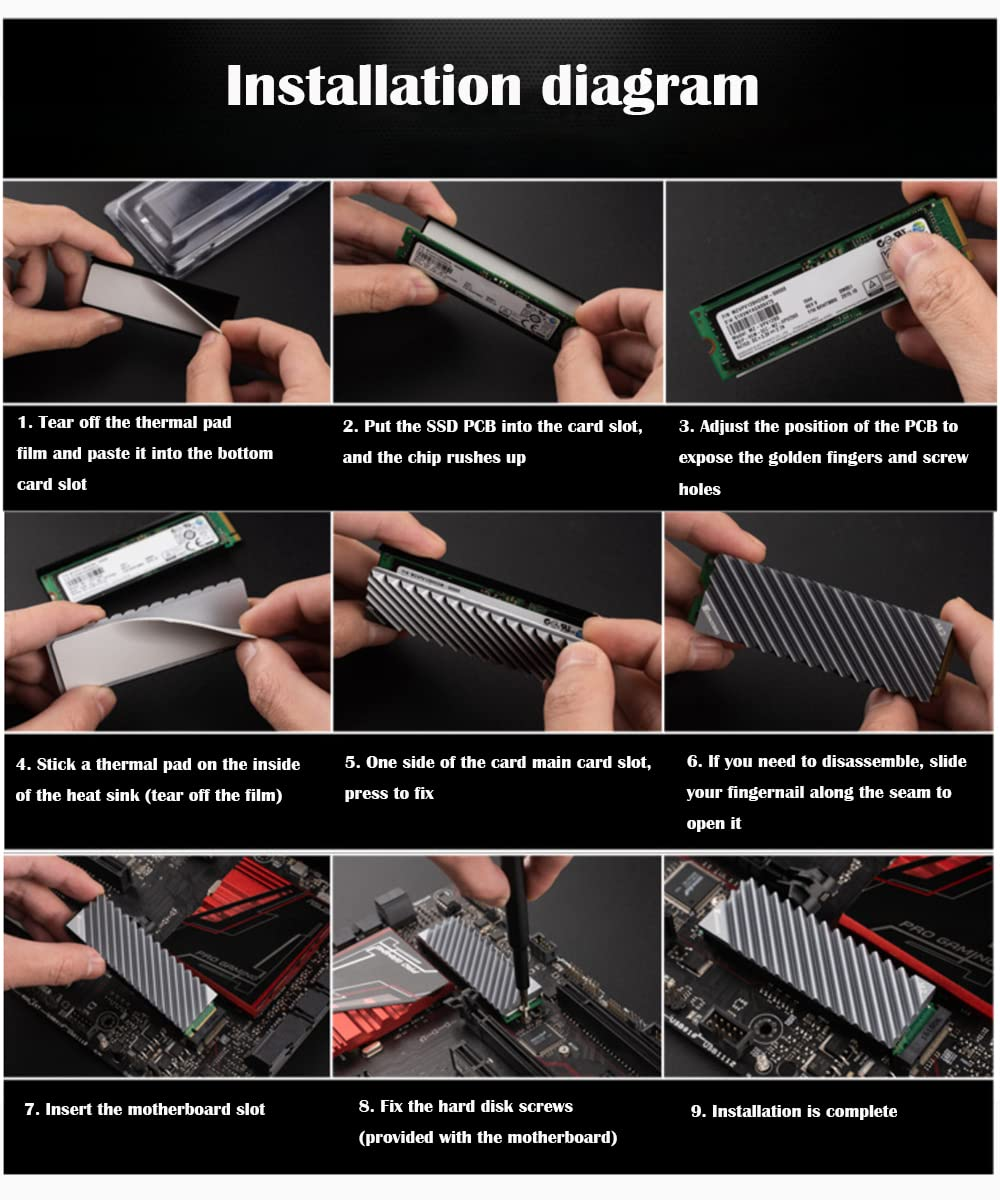
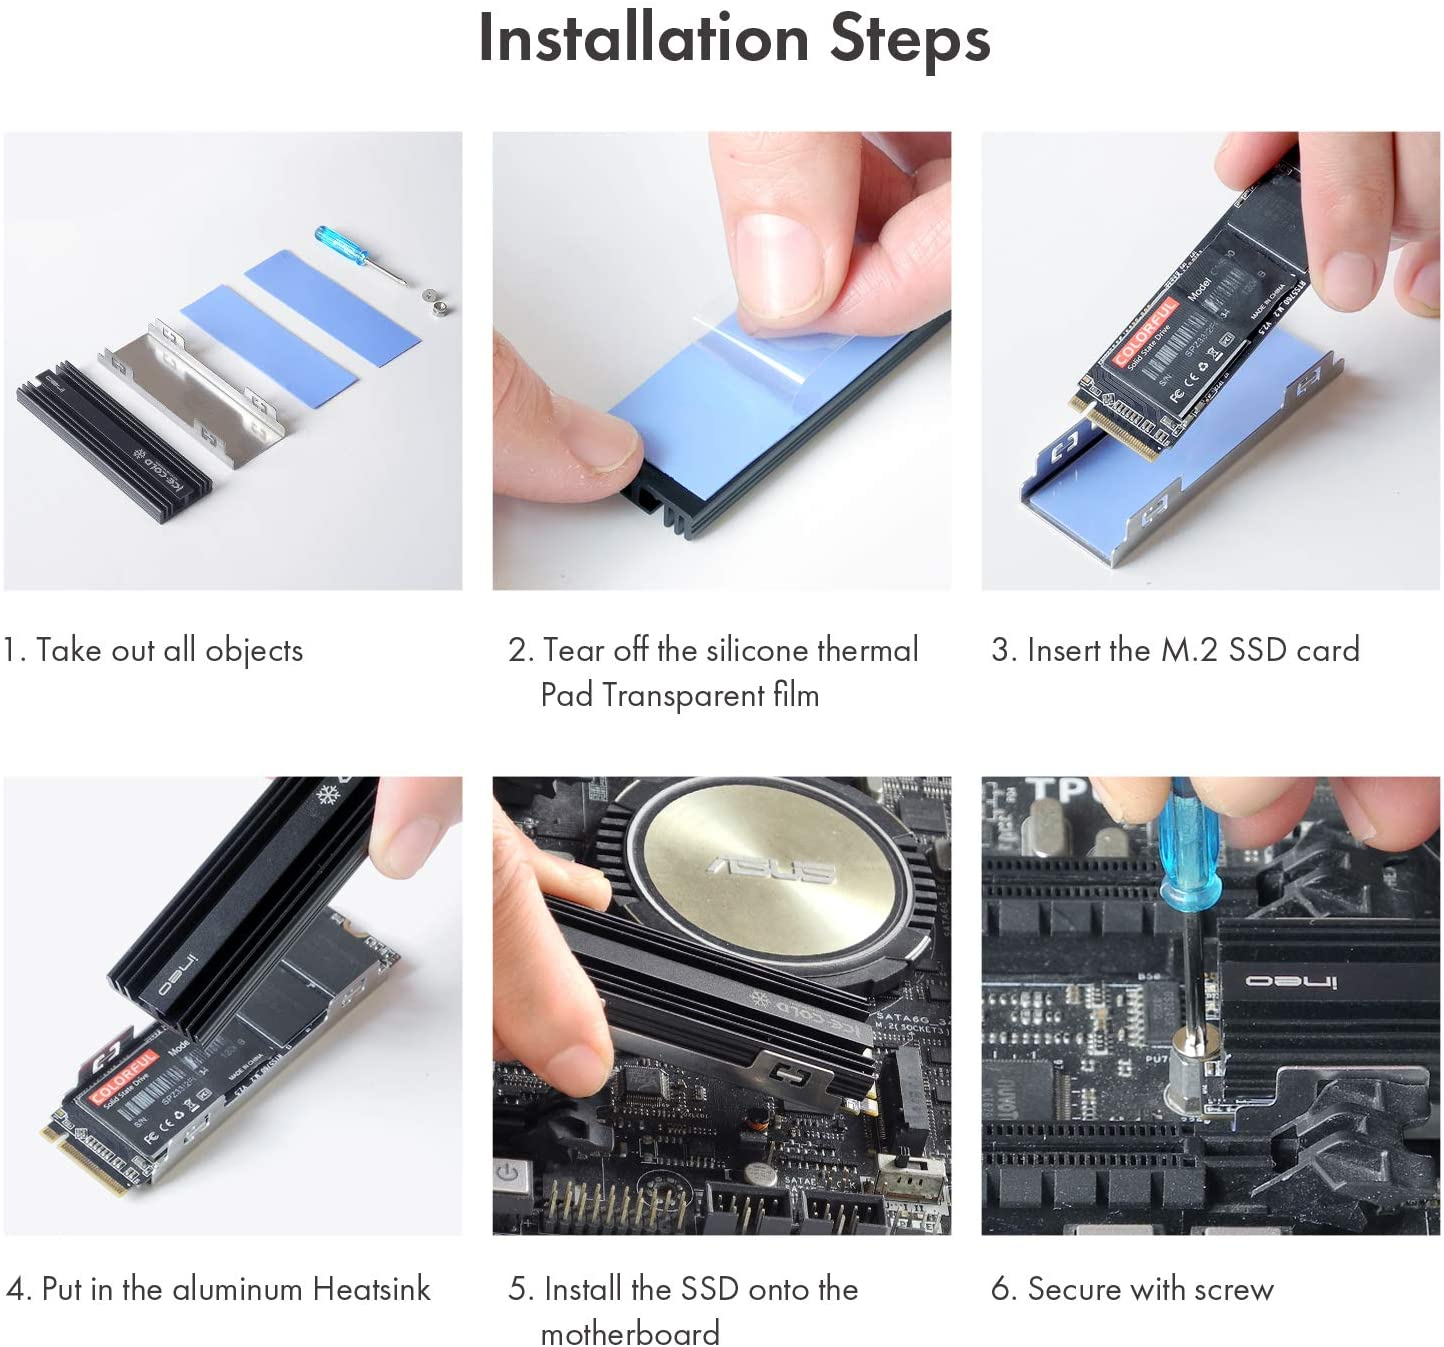
6. Install a heatsink on the M.2 SSD. a. Locate the controller on the M.2 SSD.
7. Install the M.2 SSD.
a. Pull out the pushpin.
b. Insert the M.2 SSD into the slot.
c. Insert the pushpin to secure the drive.
8. Attach the fan module.
a. Align the protruding part of the module with the hole on the chassis below the M.2 SSD slot.
b. Push the module toward the system board until the clip locks the module into place.
c. Attach the screws.
| Where to Buy a Product | |||
|
|
    
|

|
VISIT RETAILER ➤ |
 |
    
|

|
VISIT RETAILER ➤ |
We use affiliate links on the blog allowing NAScompares information and advice service to be free of charge to you. Anything you purchase on the day you click on our links will generate a small commission which is used to run the website. Here is a link for Amazon and B&H. You can also get me a ☕ Ko-fi or old school Paypal. Thanks! To find out more about how to support this advice service check HERE
Synology FS200T NAS is STILL COMING... But... WHY?
Gl.iNet vs UniFi Travel Routers - Which Should You Buy?
UnifyDrive UP6 Mobile NAS Review
UniFi Travel Router Tests - Aeroplane Sharing, WiFi Portals, Power Draw, Heat and More
UGREEN iDX6011 Pro NAS Review
Beelink ME PRO NAS Review
Access content via Patreon or KO-FI
Discover more from NAS Compares
Subscribe to get the latest posts sent to your email.


 .
.


DISCUSS with others your opinion about this subject.
ASK questions to NAS community
SHARE more details what you have found on this subject
IMPROVE this niche ecosystem, let us know what to change/fix on this site