


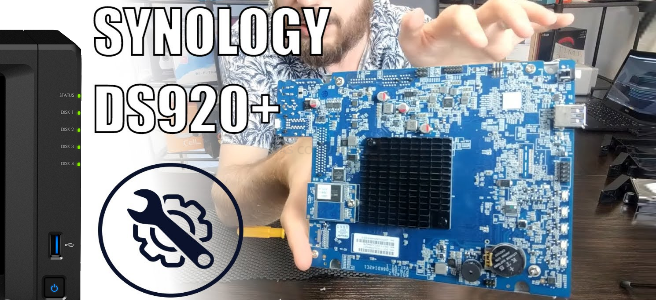
Synology DS920+ NAS Hardware Tear Down
For those of you that are interested in the newest generation of Synology NAS, you are probably wondering about what exactly goes on under the bonnet. We talk about the CPU and Memory plenty, but what about on the inside? Where does the Synology DSM software get extracted from? Where is the other memory bay? How is the CPU kept cool? There are interesting (if slightly nerdy) questions. Luckily I have a space DS920+ NAS here and I am an interesting (if slightly nerdy) guy who wants to find out. So, let’s take the Synology DS920+ NAS apart and find out what is inside that small black chassis. Alternatively, if you are looking for the DS920+ NAS Review, please find my DS920+ Hardware Review HERE. Now, I’ll go get my screwdriver.
Disclaimer – Please, Please, PLEASE do not try this yourself. I am doing this so you do not have to! I mainly started this to find out how Synology had locked the device to 6GB maximum memory. Do not do this unless you have the technical knowledge to know what you are doing OR are ok with invalidating your warranty. Also, BACKUP YOUR DATA!

Taking the Synology DS920+ NAS a part
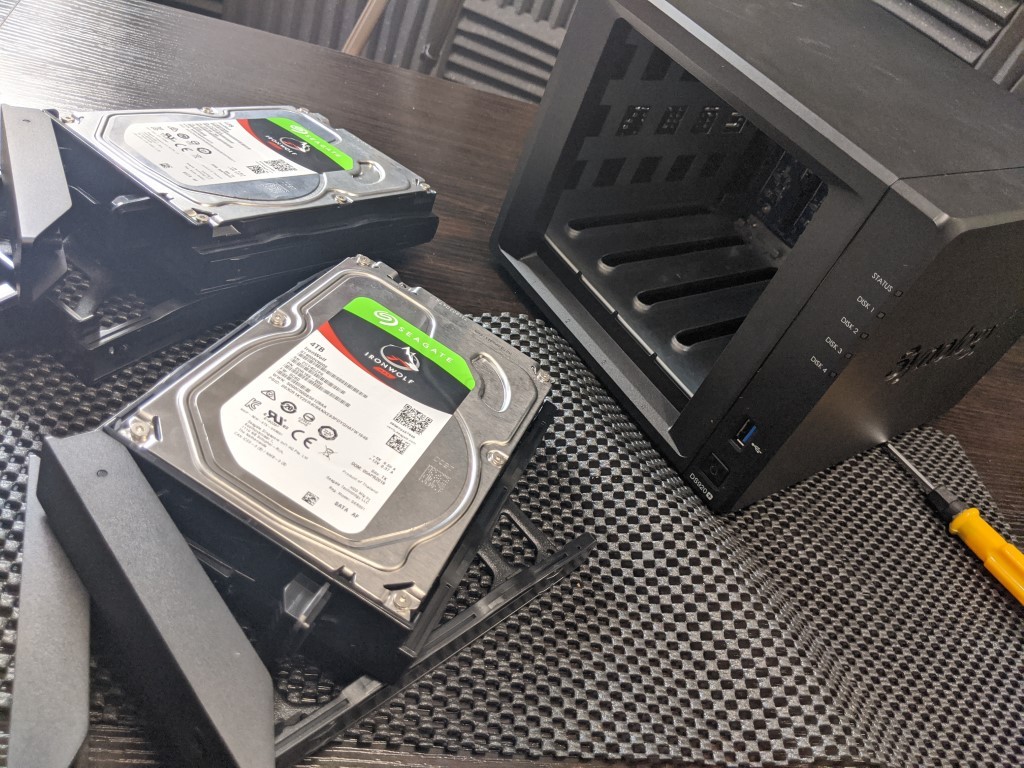
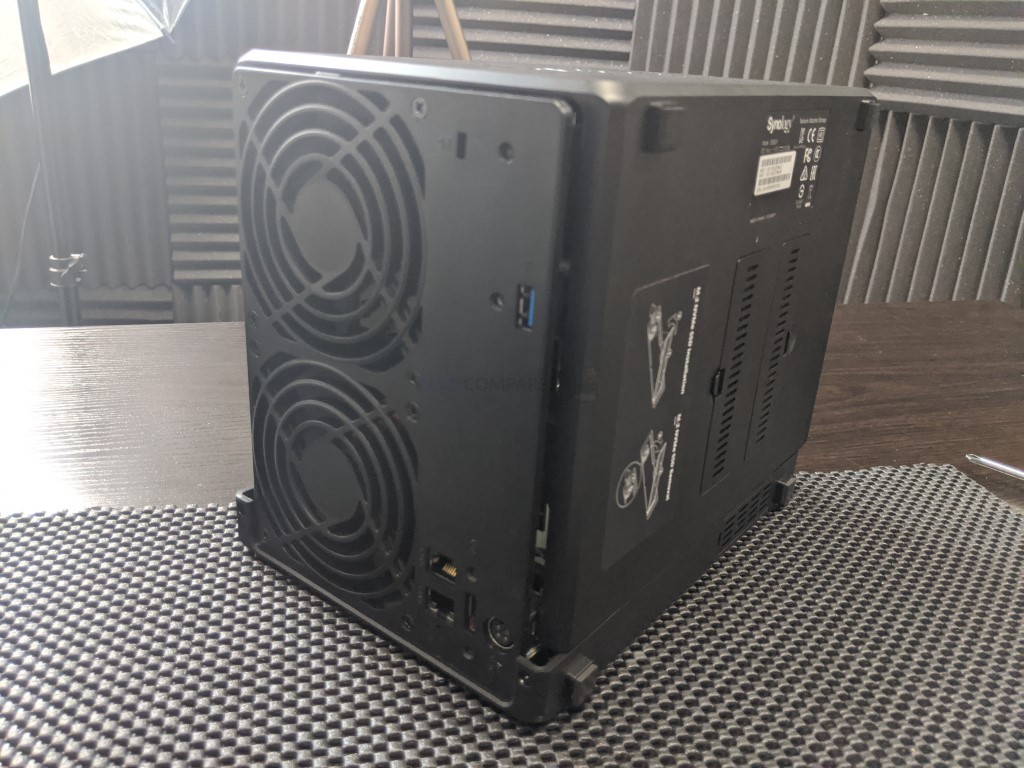
First things first, I made sure to safely power down the DS920+ NAS, then remove the PSU and LAN connection. Then I removed the HDD media from inside.
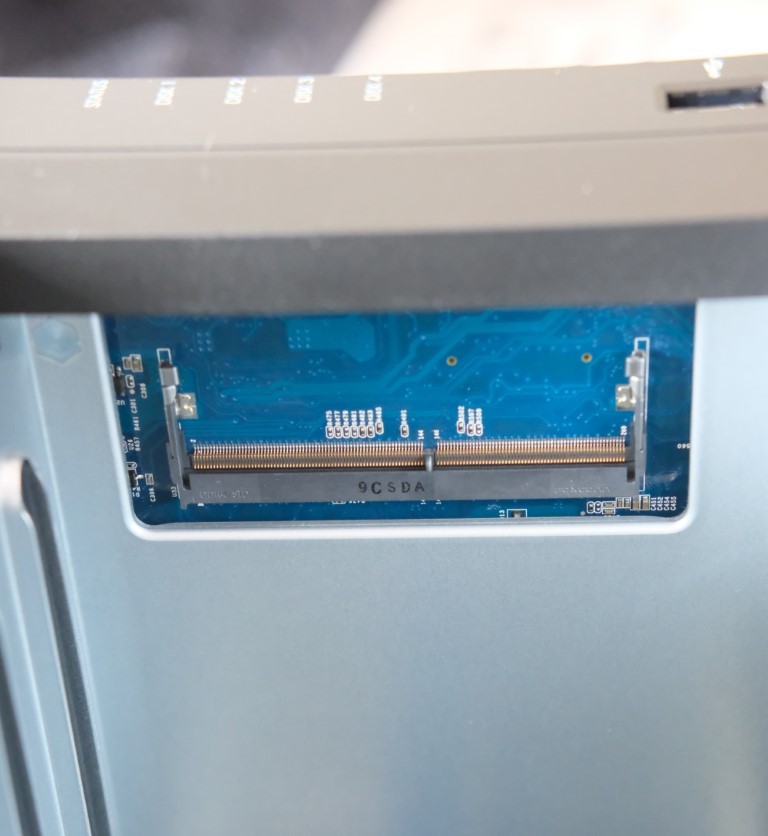
Once I removed the HDD media and trays I made sure that the SODIMM memory module was empty.
Then I rotated the device in order to gain access to the rear 3x screw that hold the device casing together. First is the top left corner.
Then remove the lower screw on the same side.
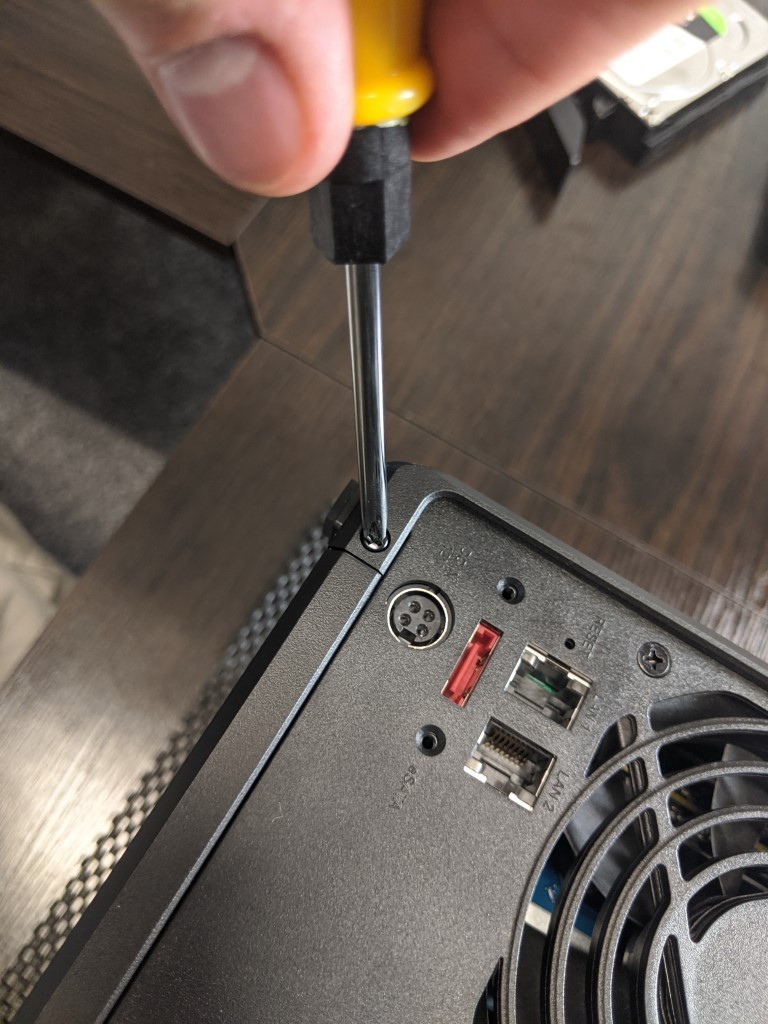
Then I removed the screw located next to the USB 3.0 Port, as this secures the connector internally to the chassis

After removing these screws, the larger half of the external chassis will slide away.
Once the larger part of the framework is gone, you will see the main SATA HDD frame.
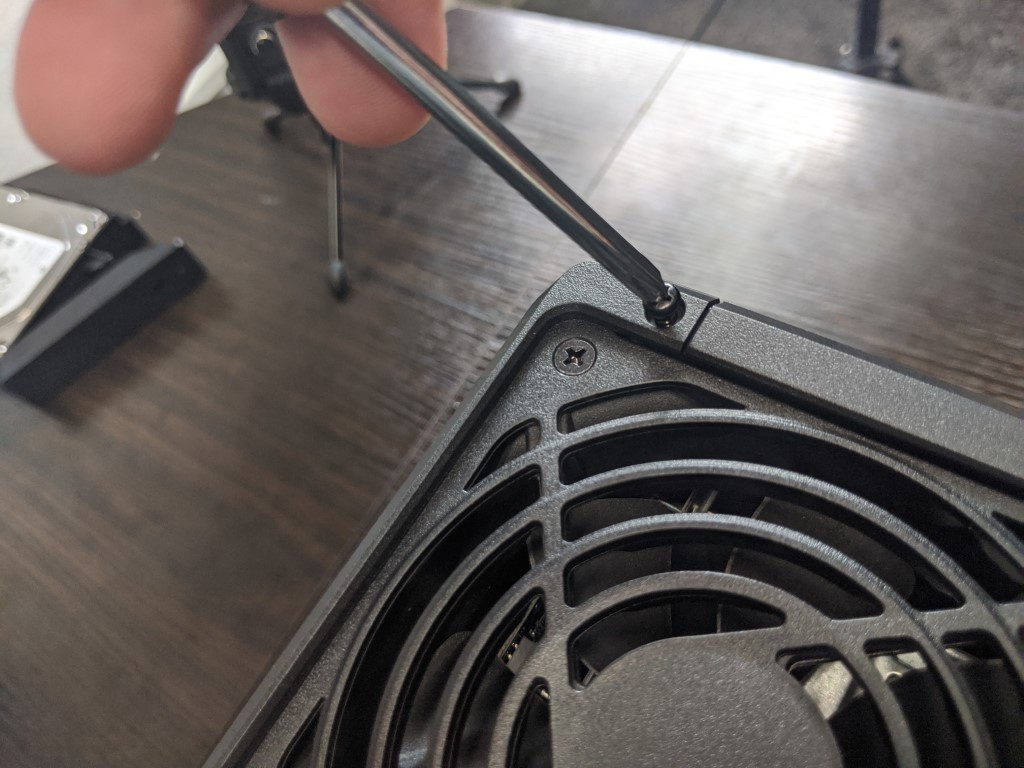
Next you need to unscrew each of the fans from the internal framework. Each is secured with a single screw.
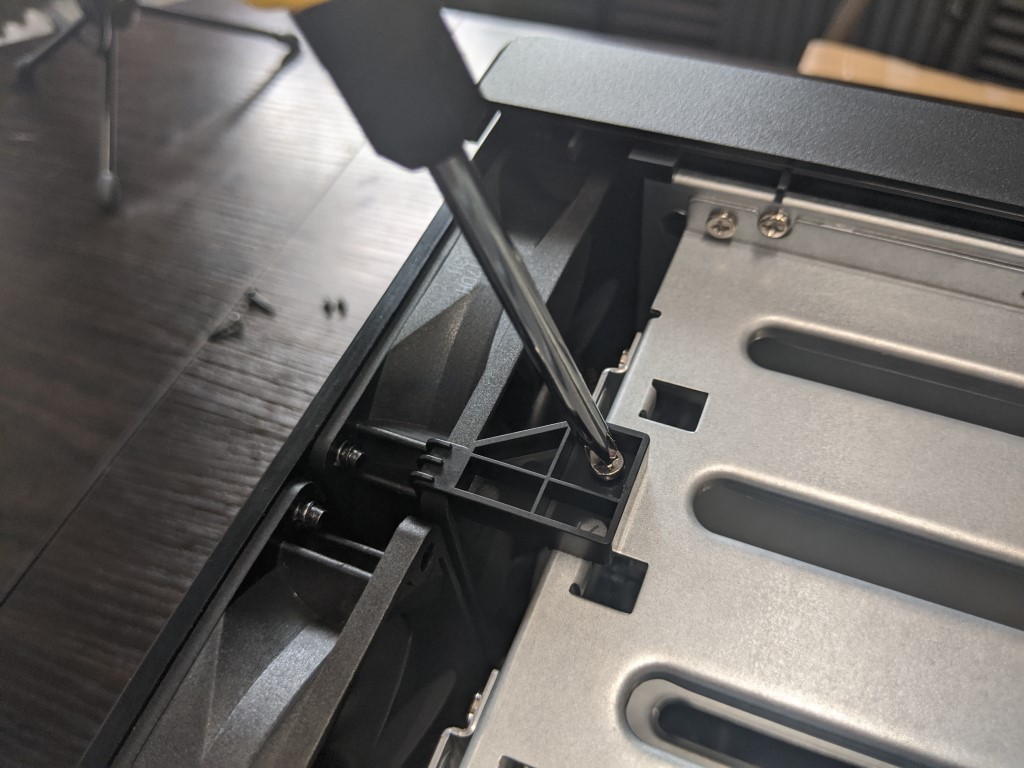
You will need to remove each to make sure the fans are not damaged in the movement of the internal framework.

Next, you will need to insecure the main internal framework that holds the SATA media cage and its connection to the main base metal panel. These is formed for 8 screws (4 on each side)
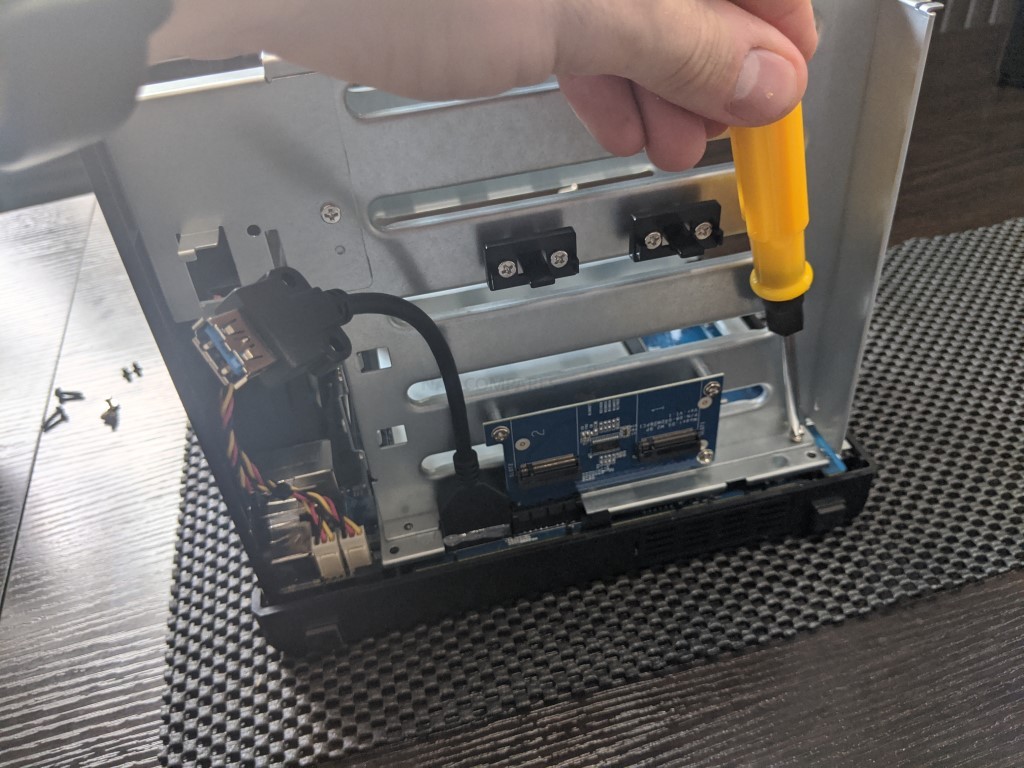
There are two groups of different screw types on each side

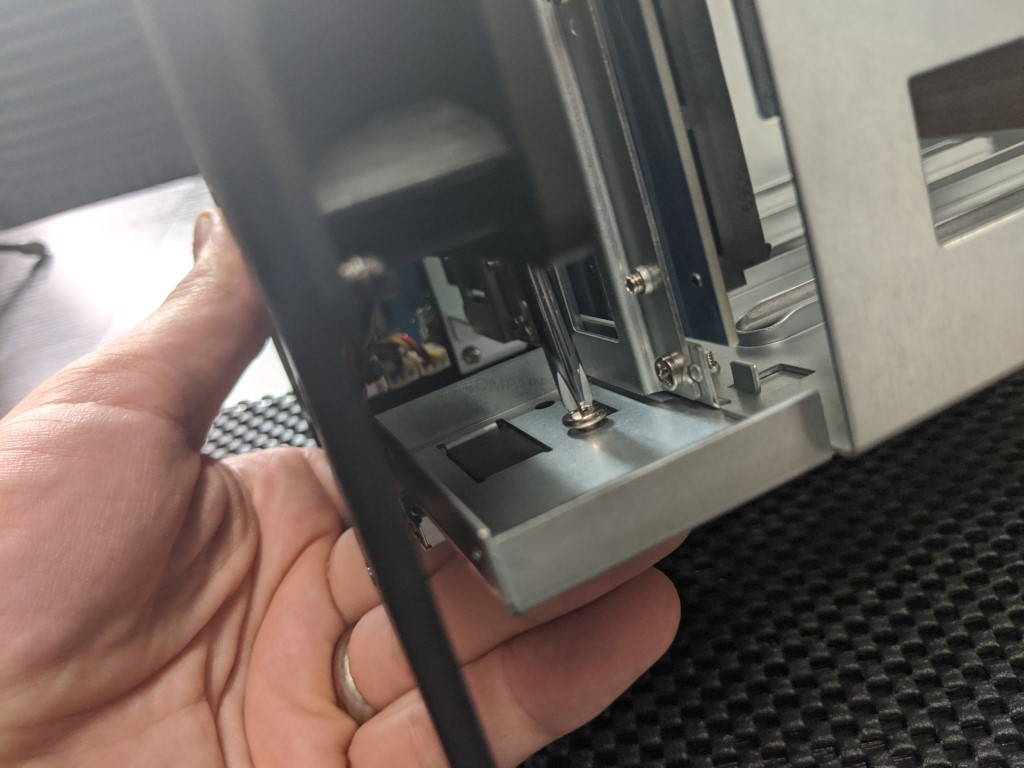
Removing these 8 screws will loosen the physical connection with the rear of the chassis and allow you to access the two screws that are just behind the fan modules, that keep the USB internal connector attached.
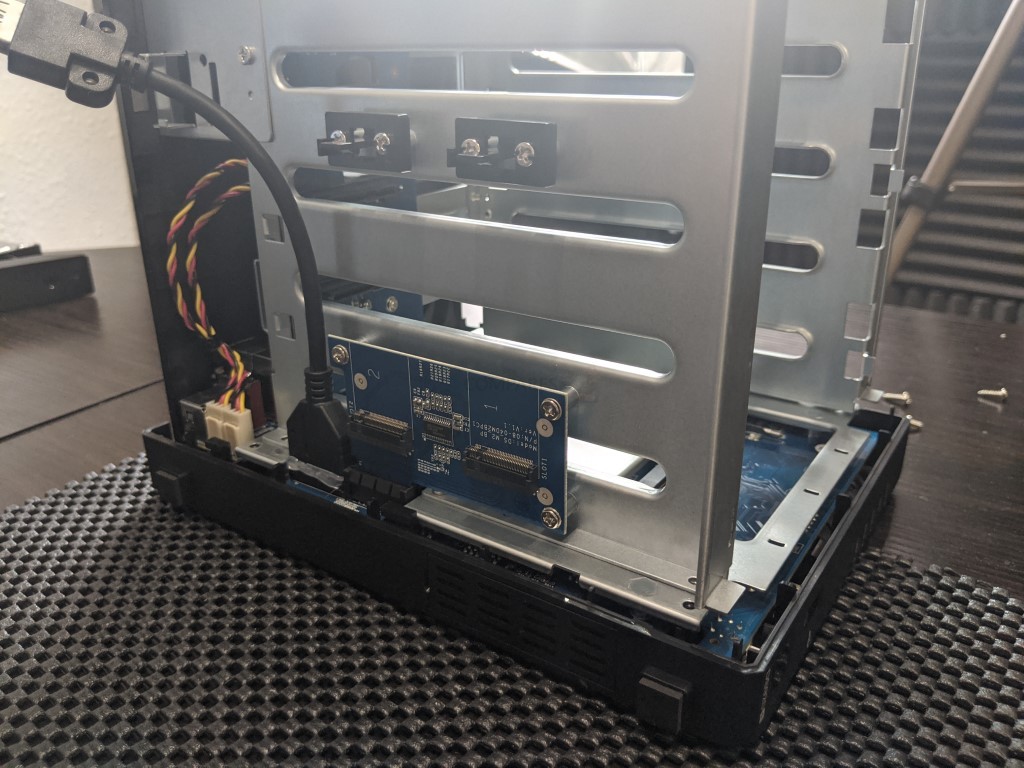
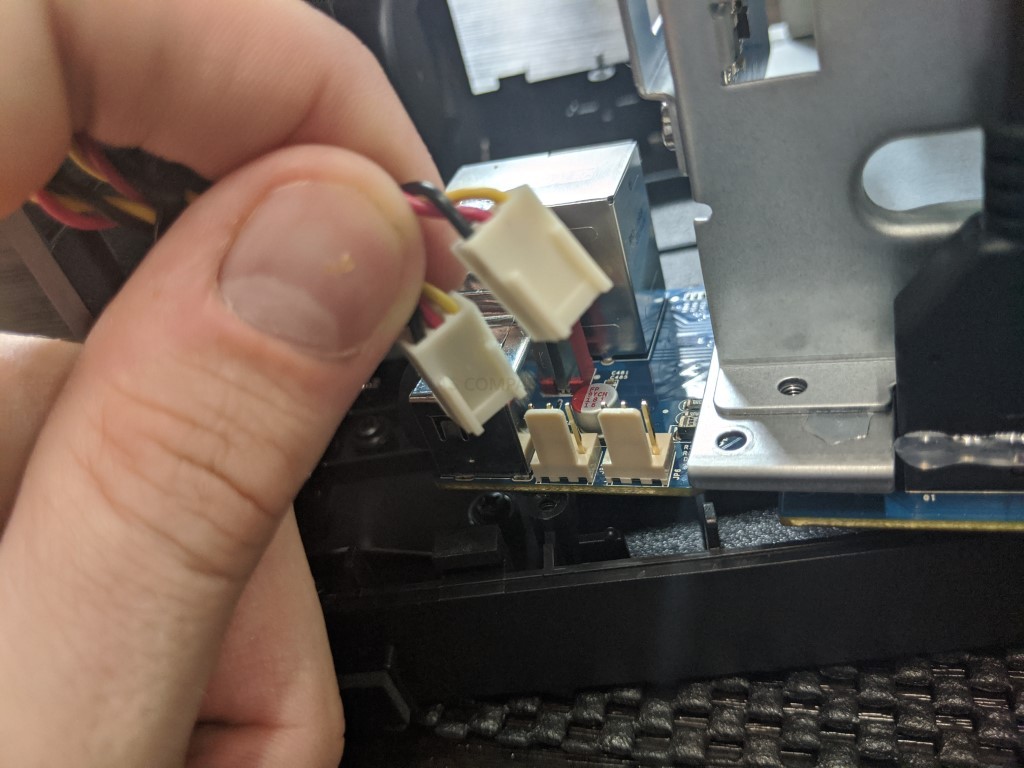
From there you can remove the two white power connectors for each fan, which should allow you to remove the internal frame cage and main PCBs from the 2nd half of the DS920+ chassis.
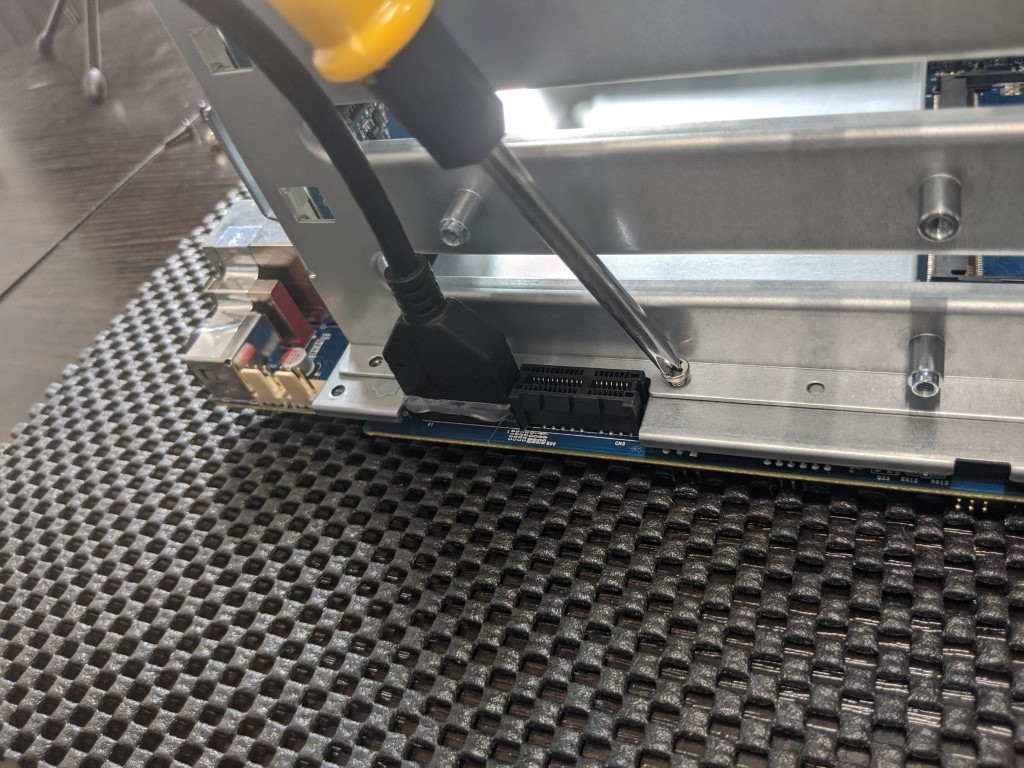
Next, we need to remove the NVMe SSD board that is attached by 3 screws to the SATA frame cage. Removing these screws will allow you to lift out the NVMe PCB. Be fore to be careful whilst doing this!

Once you remove these screws, it will reveal a single extra screw located under the NVMe SSD PCB. Remove this screw, and then the whole SATA cage should lift from the main board.
This will allow you to remove the main cage and you are left with the main controller board with its metal panel on the top.
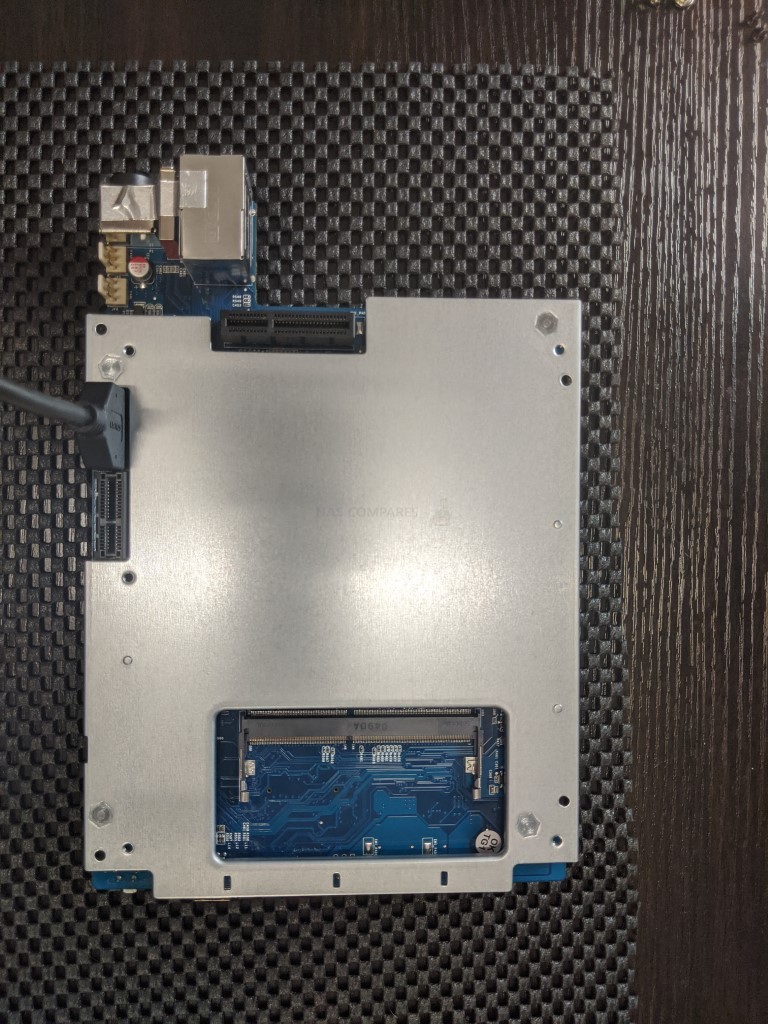
The metal panel is held against the internal controller board by 4 screws at each corner and is easily removed, exposing the mainboard.

Once you remove these four screws, you have the main controller board exposed, along with all its key components. Again, BE CAREFUL!
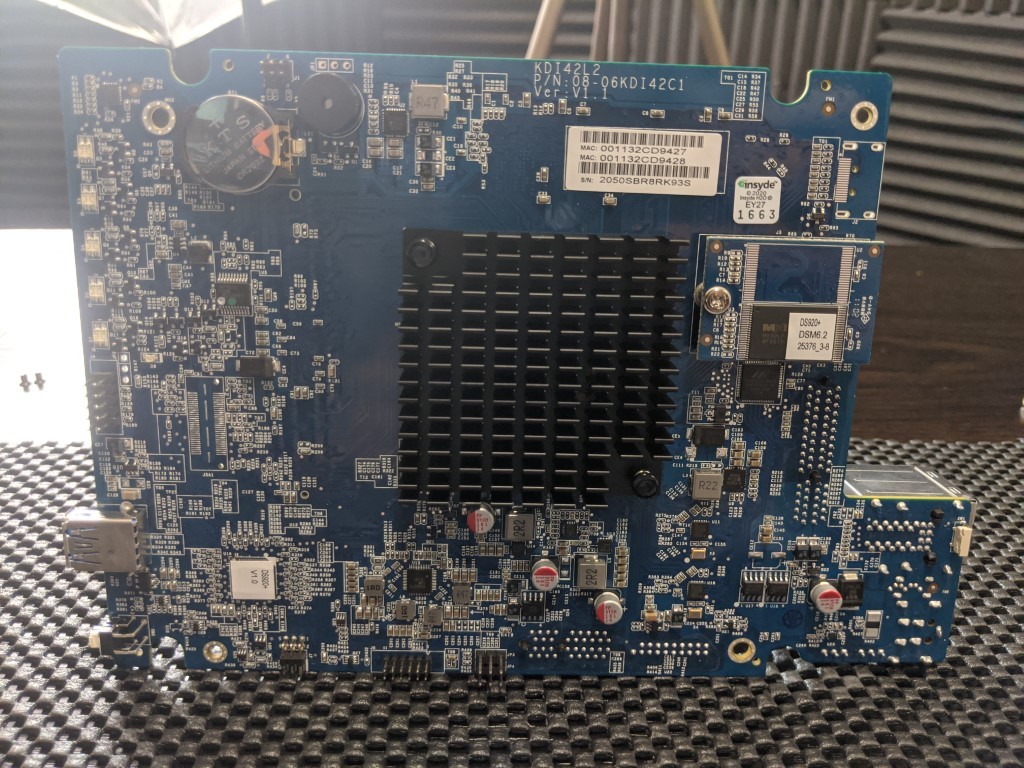
The large black heatsink in the centre is where the Intel J4125 CPU is kept, and this heatsink is several times its size.

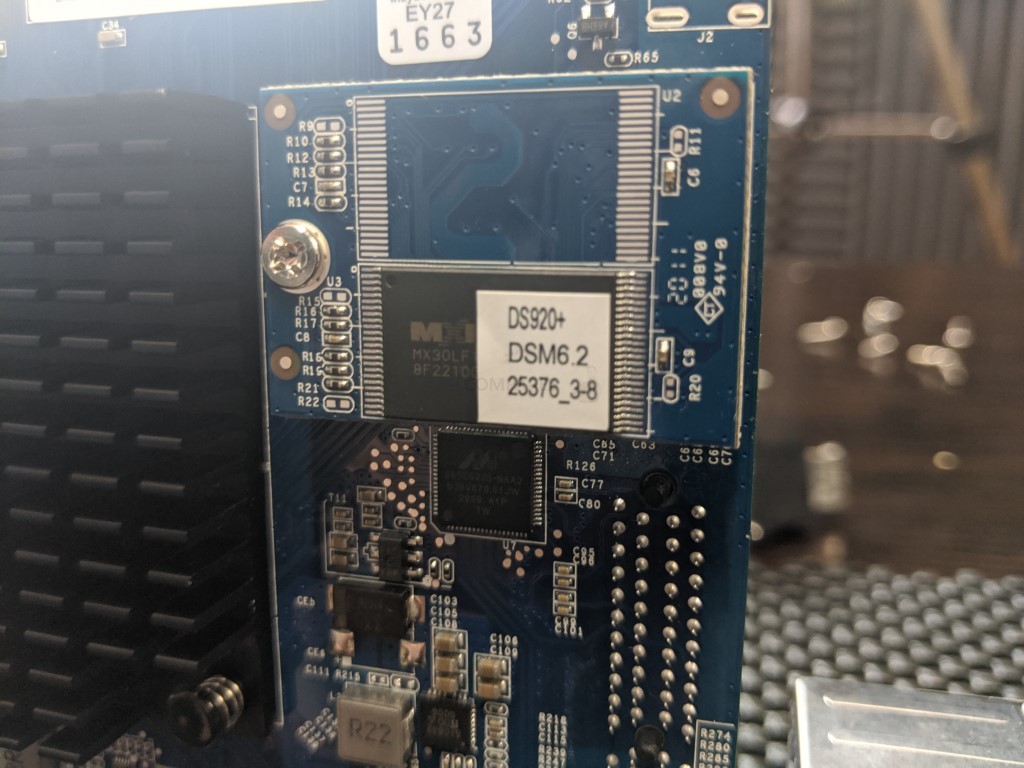
To the right of the CPU is the small piece of flash ROM memory that keeps the DSM software that is shipped with the device at launch.
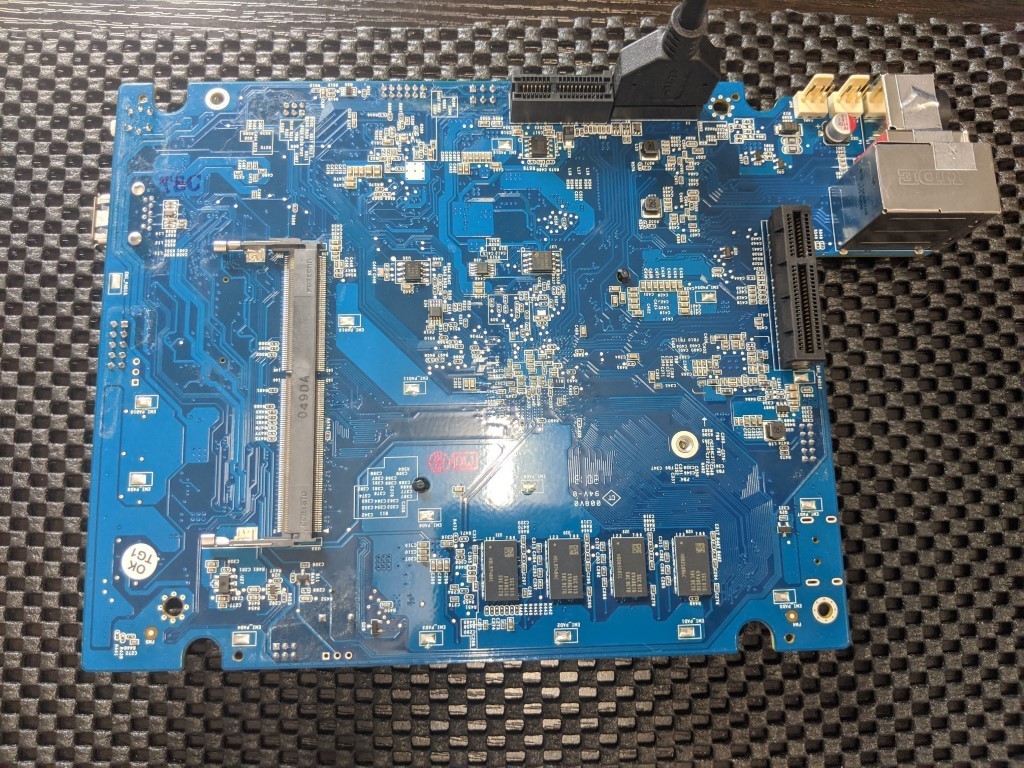
Flipping the board over (carefully) shows us the side that many users are the most interested in. The board has the SODIMM DDR4 Memory slow for adding a 4GB Synology DDR4 2666MHz RAM module.
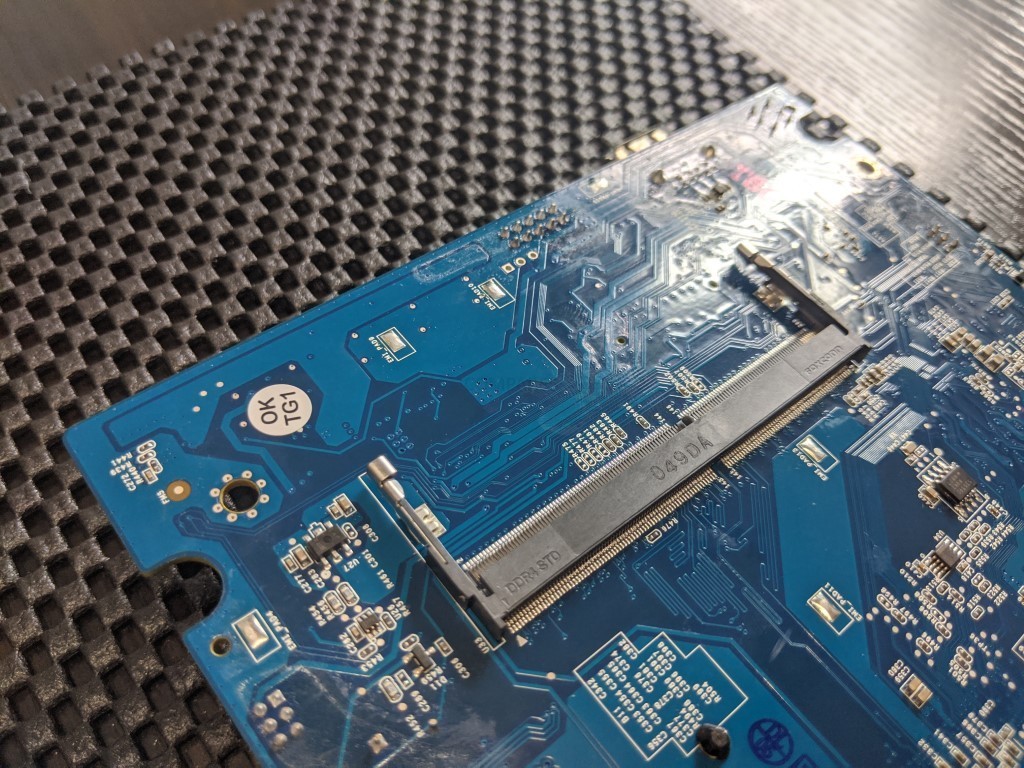
However the memory module is indeed the ONLY available upgrade slot inside and those that hoped to find a 2nd slot inside (which included me too, will recently) are met with a collection of soldered memory chips in the main board inside. These make up the 4GB of DDR4 memory that the device ships with.
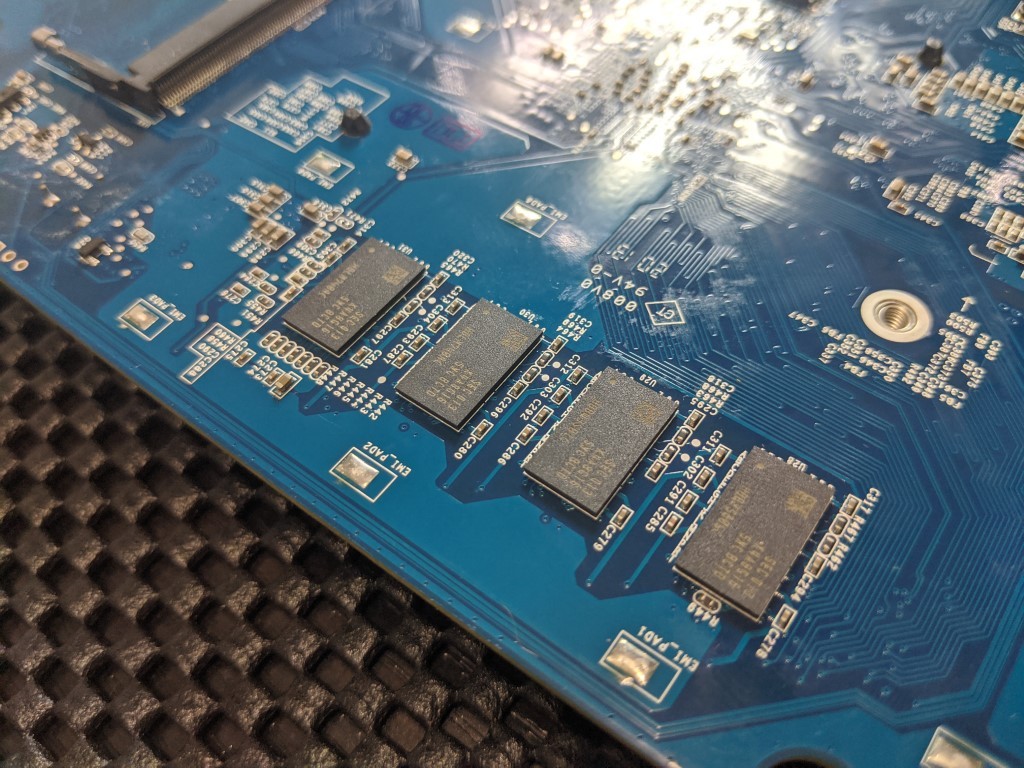
These 4 cells are memory models and K4A4G165WE-BCTD in model ID. That is Samsung memory, more information here – https://www.samsung.com/semiconductor/dram/ddr4/K4A4G165WE-BCTD. As well as a bank of information on the Samsung datasheets HERE.
And there you have it. That is the inside of the Synology DS920+ NAS Drive. Once again, I do not recommend you do this yourself, but I do hope that you found it useful. If so, why not let me know in the comments. Otherwise, thank you for reading.
Visit the NASCompares Deal Finder to find the best place to buy this device in your region, based on Service, Support and Reputation


📧 SUBSCRIBE TO OUR NEWSLETTER 🔔
🔒 Join Inner Circle
Get an alert every time something gets added to this specific article!
This description contains links to Amazon. These links will take you to some of the products mentioned in today's content. As an Amazon Associate, I earn from qualifying purchases. Visit the NASCompares Deal Finder to find the best place to buy this device in your region, based on Service, Support and Reputation - Just Search for your NAS Drive in the Box Below
Need Advice on Data Storage from an Expert?
Finally, for free advice about your setup, just leave a message in the comments below here at NASCompares.com and we will get back to you.


 |
 |


