Install Zappiti Server For Synology (New Procedure)
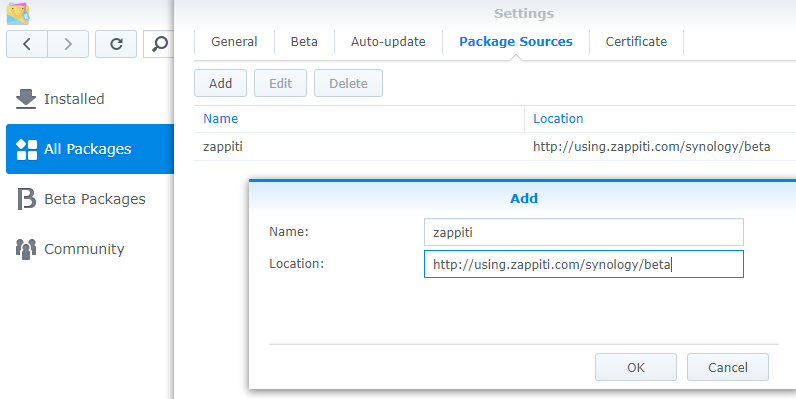
Log into your NAS as administrator and go to Main Menu → Package Center → Settings and set Trust Level to Any publisher.
Then, go to Beta tab, and tick “Yes,beta versions!”.
For Beta, use : http://using.zappiti.com/synology/beta as Location.
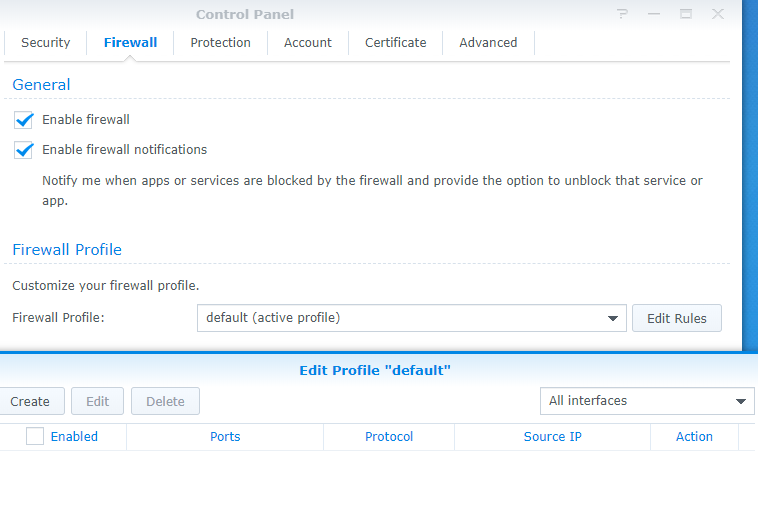
Step 3 : Configure Ports
For an optimal configuration, we strongly advise you to configure your firewall.
Control Panel -> Security -> Firewall
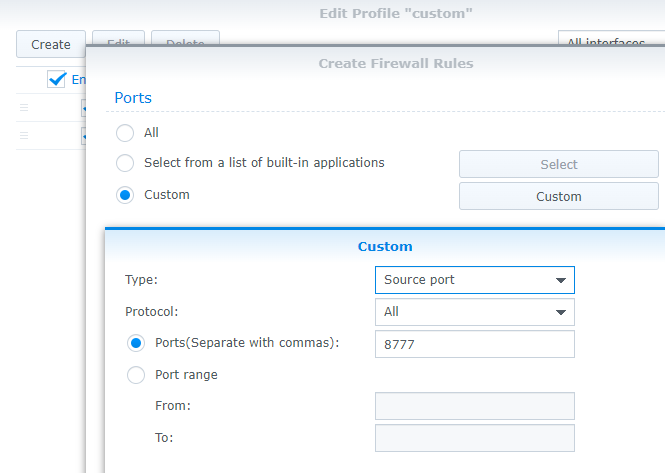
We’ll create 2 rules (Source Port/Destination Port) on the LAN network.
One for the input port and output port with port 8777 (if that doesn’t work use UDP type instead of TCP or all)

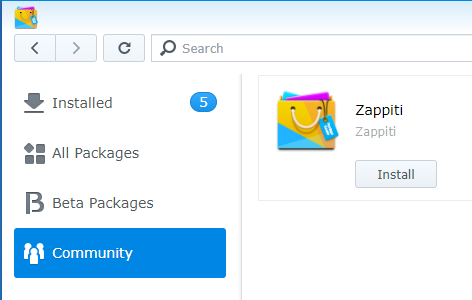
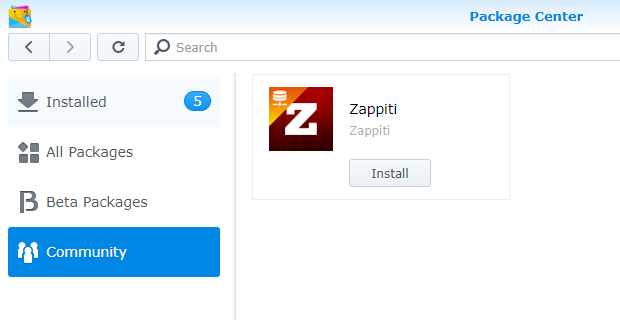
Select Zappiti Server, then Install.
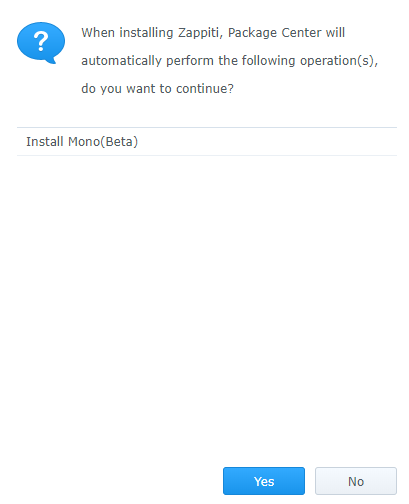
https://www.synology.com/en-us/dsm/app_packages/Mono
Then click Apply.
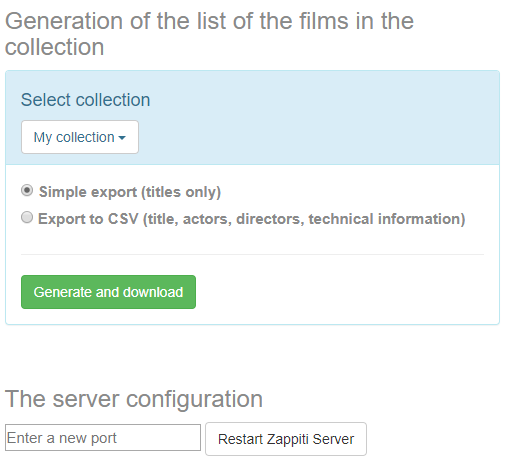
Step 5 : Select Zappiti Server for Synology and enjoy Zappiti !
Zappiti Server is installed on your NAS, please refresh the page (using Back or Escape button) and it will show in your available servers.
The name of your Server will be the same as your NAS. For example ZAPPITI-NAS, or DISKSTATION…