

The world of AI is evolving rapidly, and DeepSeek AI is gaining significant attention for its ability to run locally with minimal hardware requirements. However, many users are concerned about data security and privacy when using cloud-based AI solutions. The best way to ensure your AI-powered workflows remain secure is to run DeepSeek AI on your own NAS. In this guide, we’ll walk you through setting up DeepSeek AI on a Synology NAS using Docker.
Affiliate links:
Synology DS420+ (Celeron CPU) – Struggled with AI models https://amzn.to/40SBd5r
Synology DS1621+ (Ryzen V1500B CPU) – Much better performance! https://amzn.to/4htqwxr
Why Run DeepSeek AI on a NAS?
Hosting AI locally on a NAS (Network Attached Storage) has several advantages:
- Data Security – Keep all your queries and interactions private.
- Offline Access – No need for an internet connection.
- Custom AI Workflows – Integrate with your personal documents, notes, and databases.
- Resource Efficiency – Run AI models without using a high-end workstation.
With Docker, installing and managing DeepSeek AI on a Synology NAS (or any NAS with Docker support) is straightforward. Below is a step-by-step guide on how to get it running.
Prerequisites
Before you begin, ensure you have the following:
✔️ A Synology NAS (Recommended: DS1621+ or better for smooth AI performance) ✔️ Docker installed (Available in Synology Package Center) ✔️ At least 8GB RAM (16GB+ preferred for faster performance) ✔️ Basic knowledge of using SSH (for troubleshooting if needed) ✔️ A volume with at least 10GB free space for AI model storage
Method 1: Deploy Using Docker Compose (SSH & CLI Method)
Step 1: Install Docker on Your NAS
- Log in to your Synology DSM.
- Open Package Center and search for Docker.
- Install and open Docker.
- Navigate to Registry and verify that Docker is working properly.
Step 2: Prepare DeepSeek AI Docker Setup
We will use Docker Compose to simplify the deployment. This will create two services:
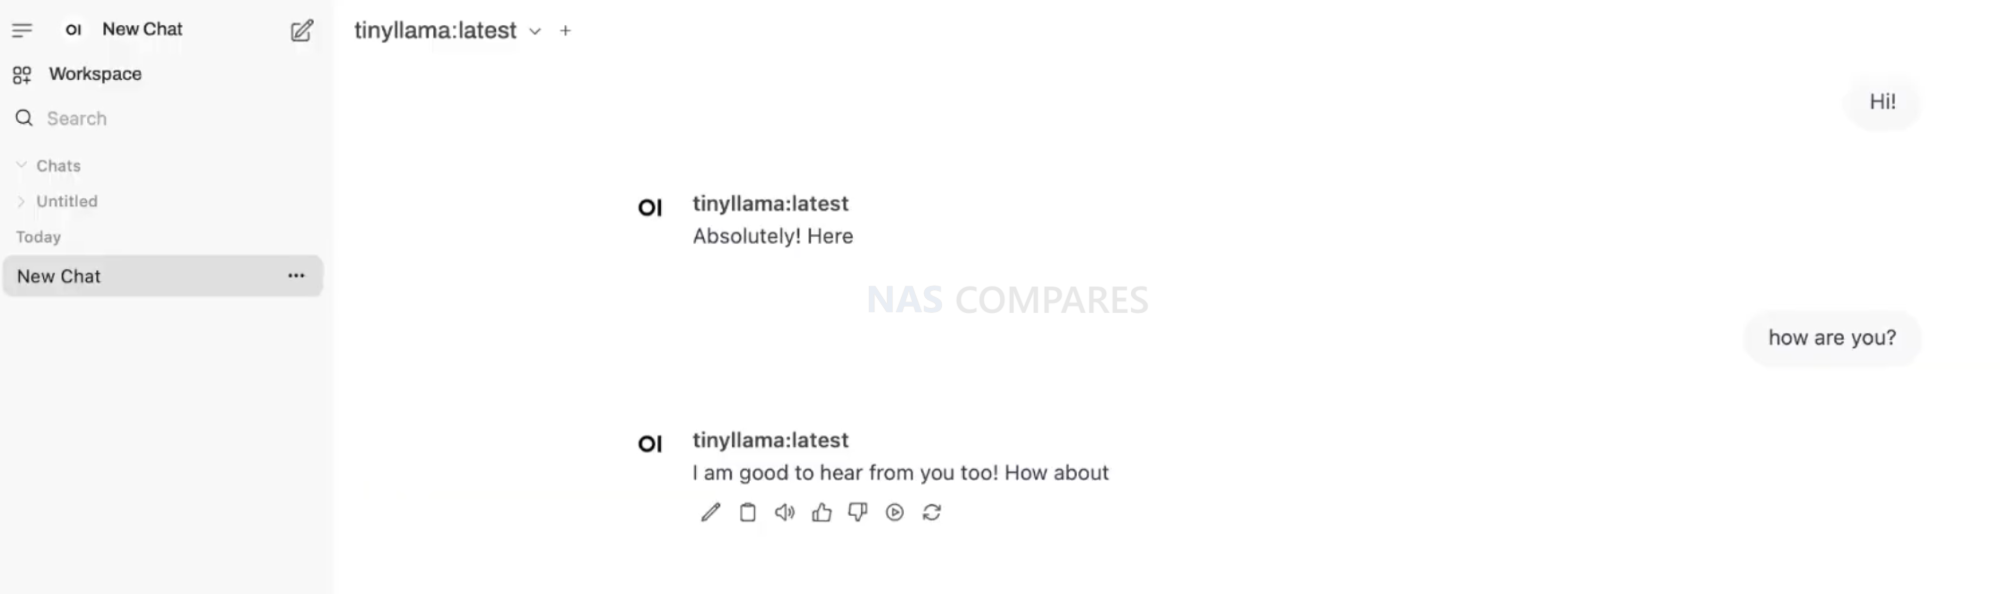
1️⃣ DeepSeek Server – The core AI model handling requests. 2️⃣ WebUI – A user-friendly interface to interact with DeepSeek AI.
Creating the YAML Configuration File
- Open File Station and create a directory for DeepSeek:
/volume1/docker/deepseek/ - Inside the
deepseekfolder, create subdirectories:webui data - Open SSH (Control Panel > Terminal & SNMP > Enable SSH Service).
- Connect to your NAS via SSH:
ssh admin@your-nas-ip - Create a docker-compose.yml file:
cd /volume1/docker/deepseek nano docker-compose.yml - Copy and paste the following YAML configuration:
version: "3.9"
services:
webui:
container_name: DEEPSEEK-WEBUI
image: ghcr.io/open-webui/open-webui:latest
volumes:
- /volume1/docker/deepseek/webui:/app/backend/data:rw
environment:
OLLAMA_BASE_URL: http://deepseek:11434 # Corrected IP for Ollama server
DISABLE_AUTH: "true" # No login required
healthcheck:
test: ["CMD", "bash", "-c", "timeout 10s bash -c ':> /dev/tcp/127.0.0.1/8080' || exit 1"]
interval: 10s
timeout: 5s
retries: 3
start_period: 90s
ports:
- "8271:8080" # Access WebUI via http://your-nas-ip:8271
restart: on-failure
depends_on:
deepseek:
condition: service_started
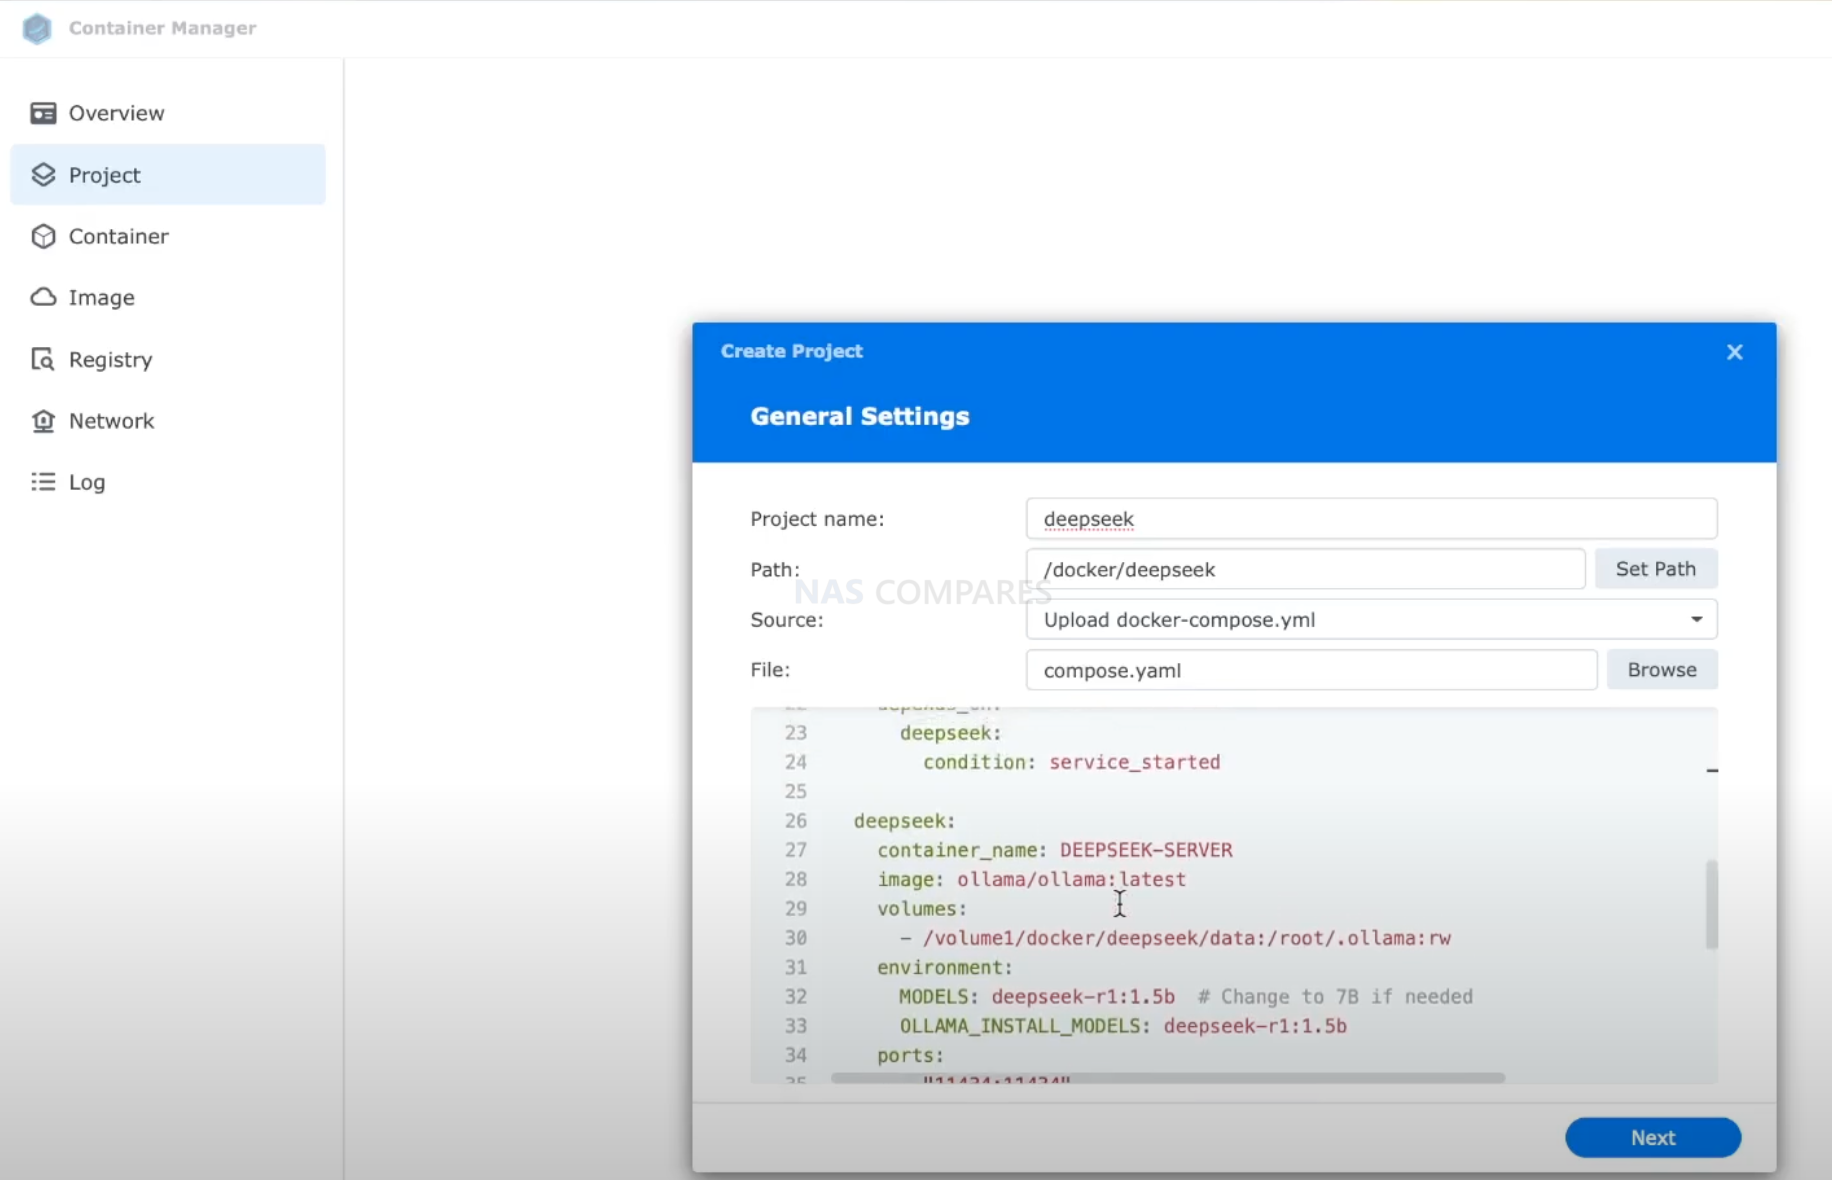
deepseek:
container_name: DEEPSEEK-SERVER
image: ollama/ollama:latest
volumes:
- /volume1/docker/deepseek/data:/root/.ollama:rw
environment:
MODELS: deepseek-r1:1.5b # Change to 7B if needed
OLLAMA_INSTALL_MODELS: deepseek-r1:1.5b
ports:
- "11434:11434"
healthcheck:
test: ["CMD", "ollama", "--version"]
interval: 10s
timeout: 5s
retries: 3
start_period: 30s
restart: on-failureStep 3: Deploy DeepSeek AI on Your NAS
- Navigate to the
deepseekdirectory:cd /volume1/docker/deepseek - Start DeepSeek AI using Docker Compose:
docker-compose up -d - Verify that the containers are running:
docker psYou should see DEEPSEEK-WEBUI and DEEPSEEK-SERVER running.
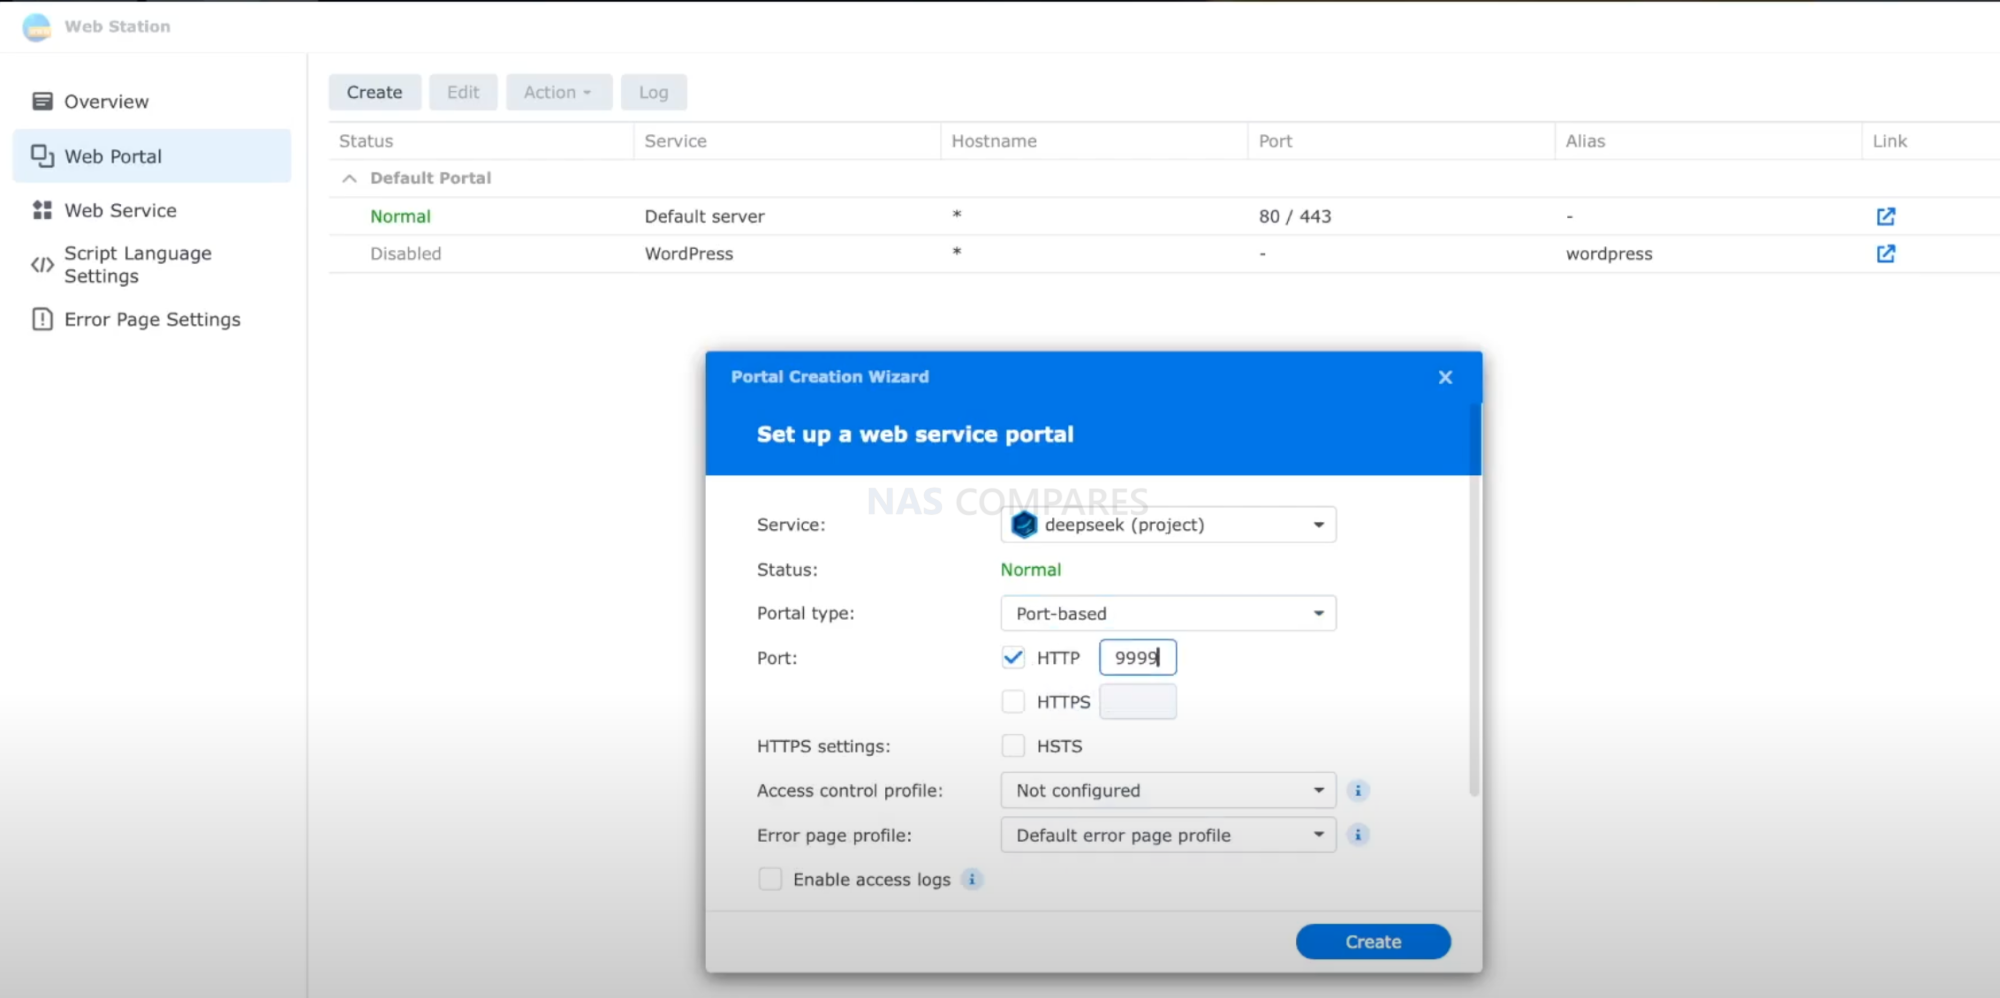
Method 2: Deploy Using Synology DSM Container Manager
If you prefer a graphical approach without SSH, use Synology’s Container Manager (Projects feature):
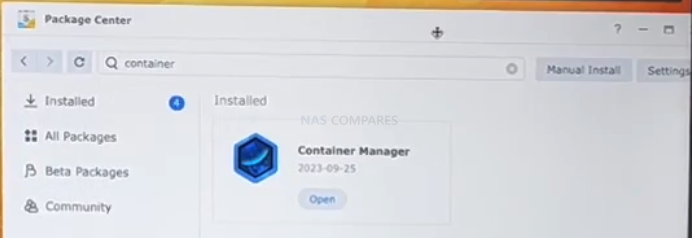
- Open Container Manager in DSM.
- Click on Projects in the left menu.
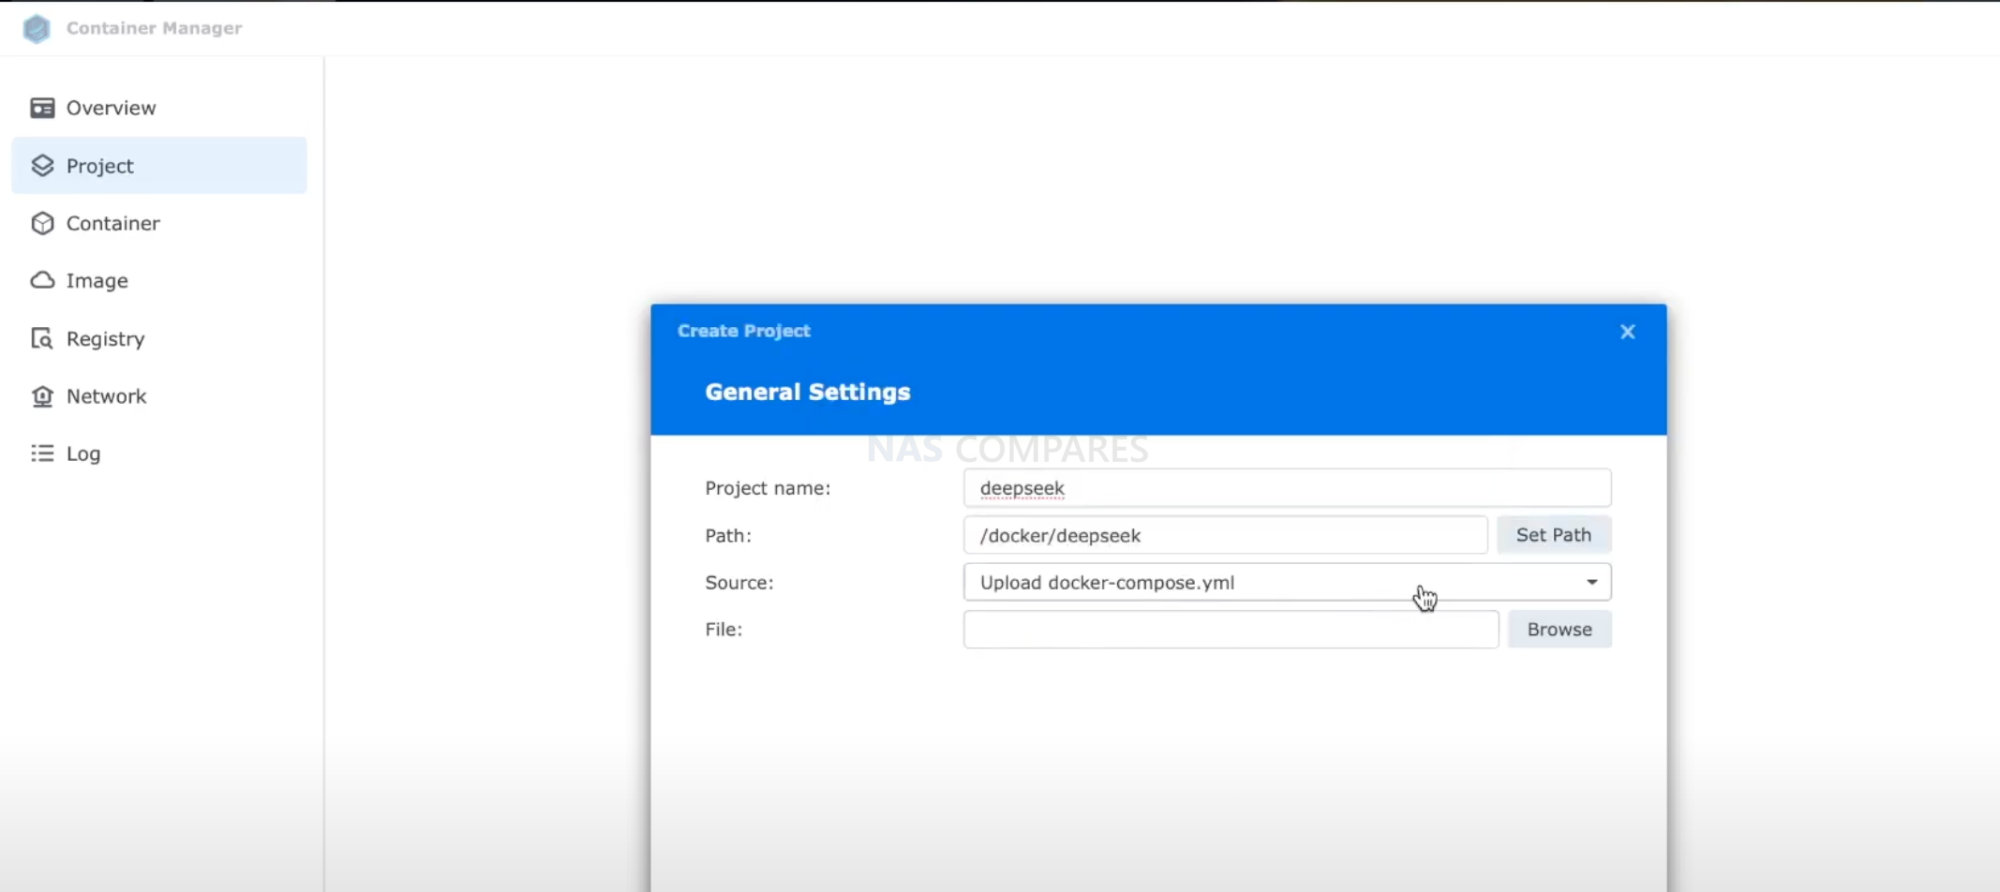
- Click Create and give your project a name (e.g.,
DeepSeekAI). - Upload the YAML file (
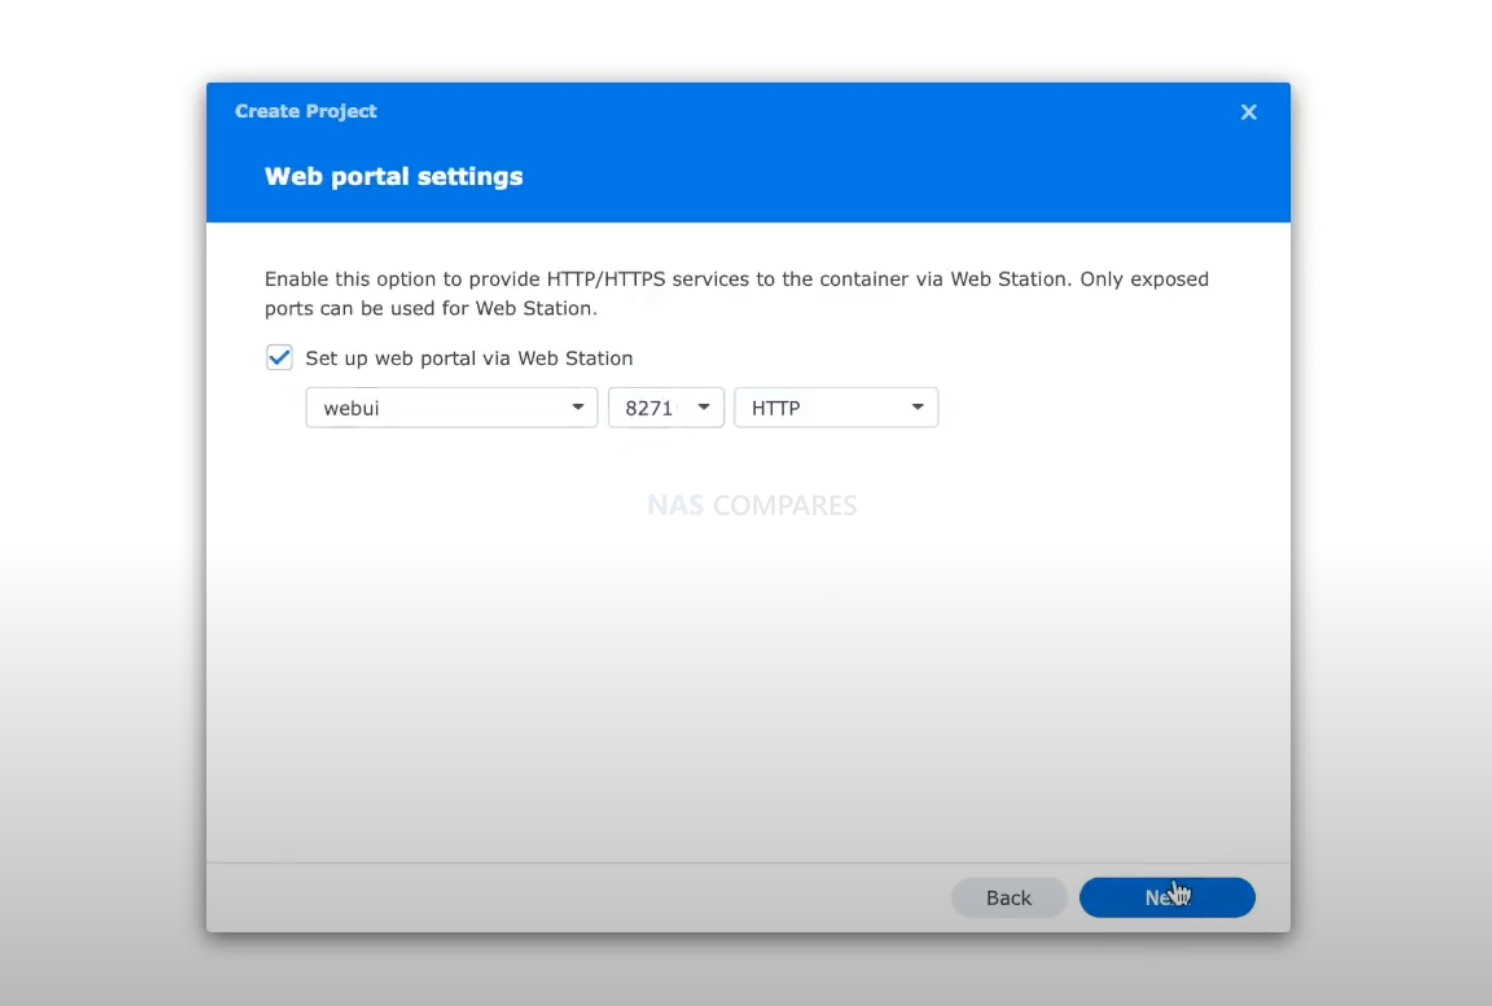
docker-compose.yml) or paste the script in the editor. - Click Next and configure the storage paths if necessary.
- Set environment variables if needed (match the YAML configuration above).
- Click Deploy and wait for the containers to start.
- Once running, access DeepSeek WebUI at:
http://your-nas-ip:8271
This method makes it easy to manage and restart the containers from DSM without using the command line.


Final Thoughts: Is Running DeepSeek AI on NAS Worth It?
Running DeepSeek AI on a NAS provides an excellent self-hosted, private, and secure AI solution. However, performance depends on the hardware:
✅ Good Performance: NAS with Ryzen (DS1621+, DS1821+) ⚠️ Slow Performance: Celeron-based NAS (DS420+ struggles with DeepSeek AI) 🚀 Best Performance: NAS with a GPU (e.g., Synology with PCIe support)
If you need faster processing, consider upgrading your NAS or adding a dedicated GPU.
💡 Would you like a guide on how to add a GPU to your NAS for AI processing? Let us know in the comments!
📢 Stay tuned for more AI and NAS tutorials on NASCompares!
| Where to Buy a Product | |||
 |
    
|

|
VISIT RETAILER ➤ |
 |
|
|
VISIT RETAILER ➤ |
We use affiliate links on the blog allowing NAScompares information and advice service to be free of charge to you. Anything you purchase on the day you click on our links will generate a small commission which is used to run the website. Here is a link for Amazon and B&H. You can also get me a ☕ Ko-fi or old school Paypal. Thanks! To find out more about how to support this advice service check HERE


Synology FS200T NAS is STILL COMING... But... WHY?
Gl.iNet vs UniFi Travel Routers - Which Should You Buy?
UnifyDrive UP6 Mobile NAS Review
UniFi Travel Router Tests - Aeroplane Sharing, WiFi Portals, Power Draw, Heat and More
UGREEN iDX6011 Pro NAS Review
Beelink ME PRO NAS Review
Access content via Patreon or KO-FI
Discover more from NAS Compares
Subscribe to get the latest posts sent to your email.
Hi, used your instructions to get this working on my NAS. Simple questions take a few minutes to come through and the CPU peaks immensely during the process. I have a Nvidia GPU in my NAS, how hard is it to get the AI docker instance to use this instead of the CPU? A guide would be great to follow and then really take advantage of having an AI chatbot running locally on my network.
Hi everyone,
Thanks for the how-to. Unfortunately building the project fails (giving an unspecified error 1 “Build project failed”) when using method 2 with the YAML provided (and unchanged). Any hints on why this might be?
Perspectively I would very much appreciate a writeup on how to add a GPU to my 1621+ for ai processing. This might be just the hardware/efficiency/privacy sweet spot for local LLM processing of home assistant voice commands and smart home control.