

To migrate between different Synology NAS models
This section explains how to perform migration between two different Synology NAS models. For example, migrating data from a DS716+ to a DS1520+.
- Sign in to the source NAS.
- Go to Control Panel > Update & Restore.
- Make sure that the source NAS is running the newest version of DSM. If a newer version is available, download and install it before continuing.
- Go to the Configuration Backup tab and click Export (for DSM 7.0 and above) or Back up configuration (for DSM 6.2 and earlier). A configuration file named [DiskStation Name]_[Created Date].dss will be downloaded to your computer. Keep this file in a safe place.
- If you need to back up any of the data mentioned in this article, go to Hyper Backup on the source NAS and click the Create icon > Data backup task. Follow the instructions in the wizard and continue to the next step once the data is successfully backed up.
- If you are migrating HDDs between two different Synology NAS models, you must use Hyper Backup to backup your data first.
- Shut down both Synology devices. Wait for both Synology devices to shut down completely.
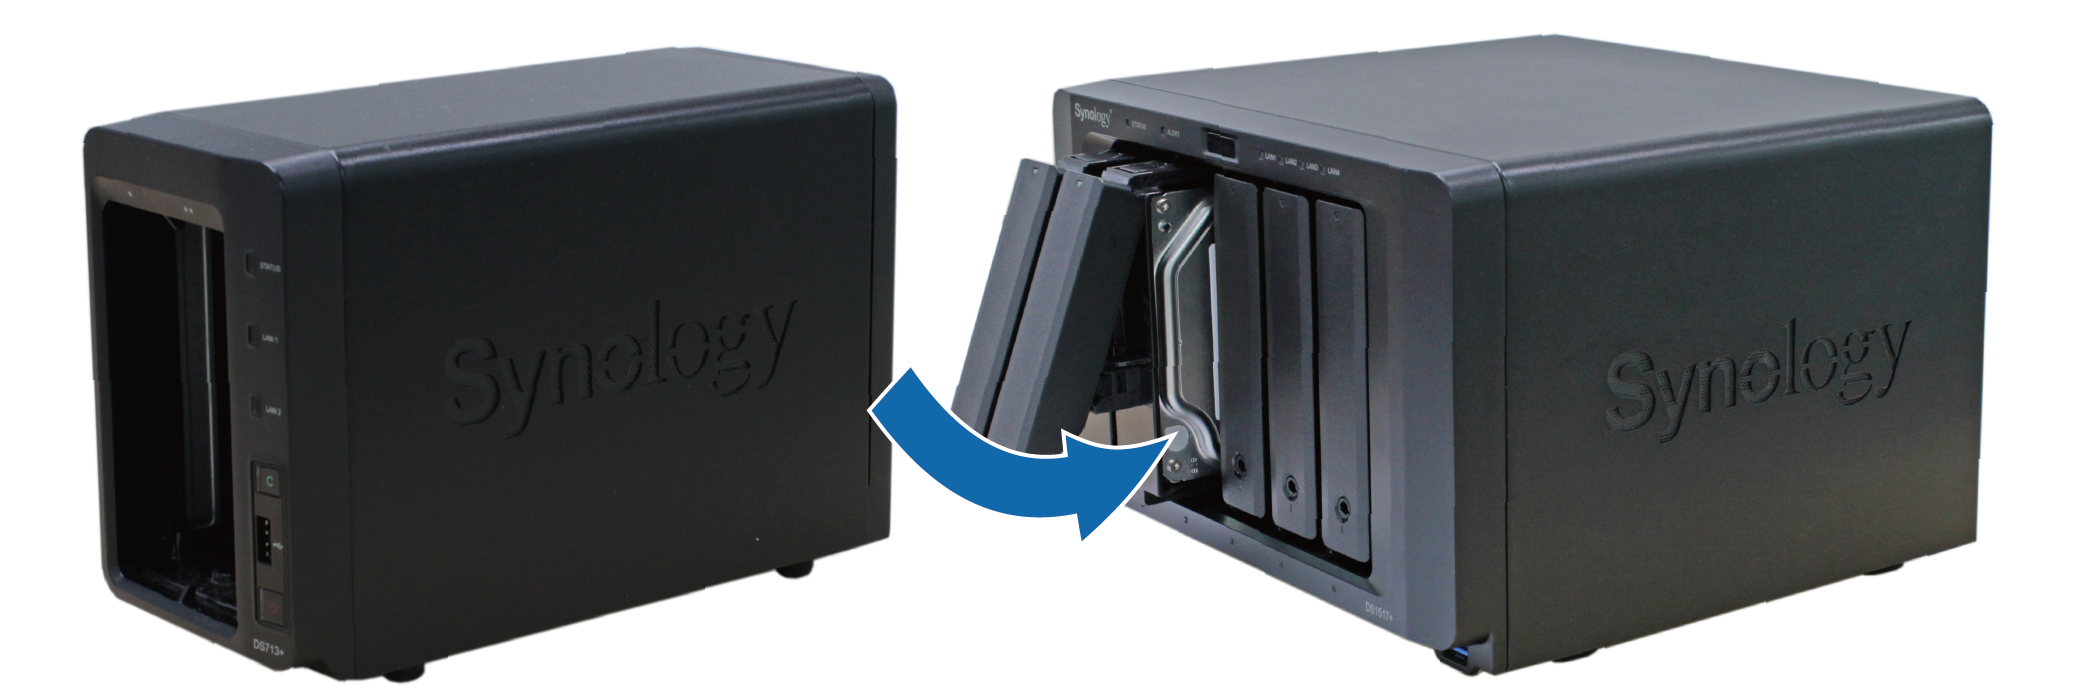
- Remove the drives from the source NAS. Be sure to take note of the order each drive was installed in.
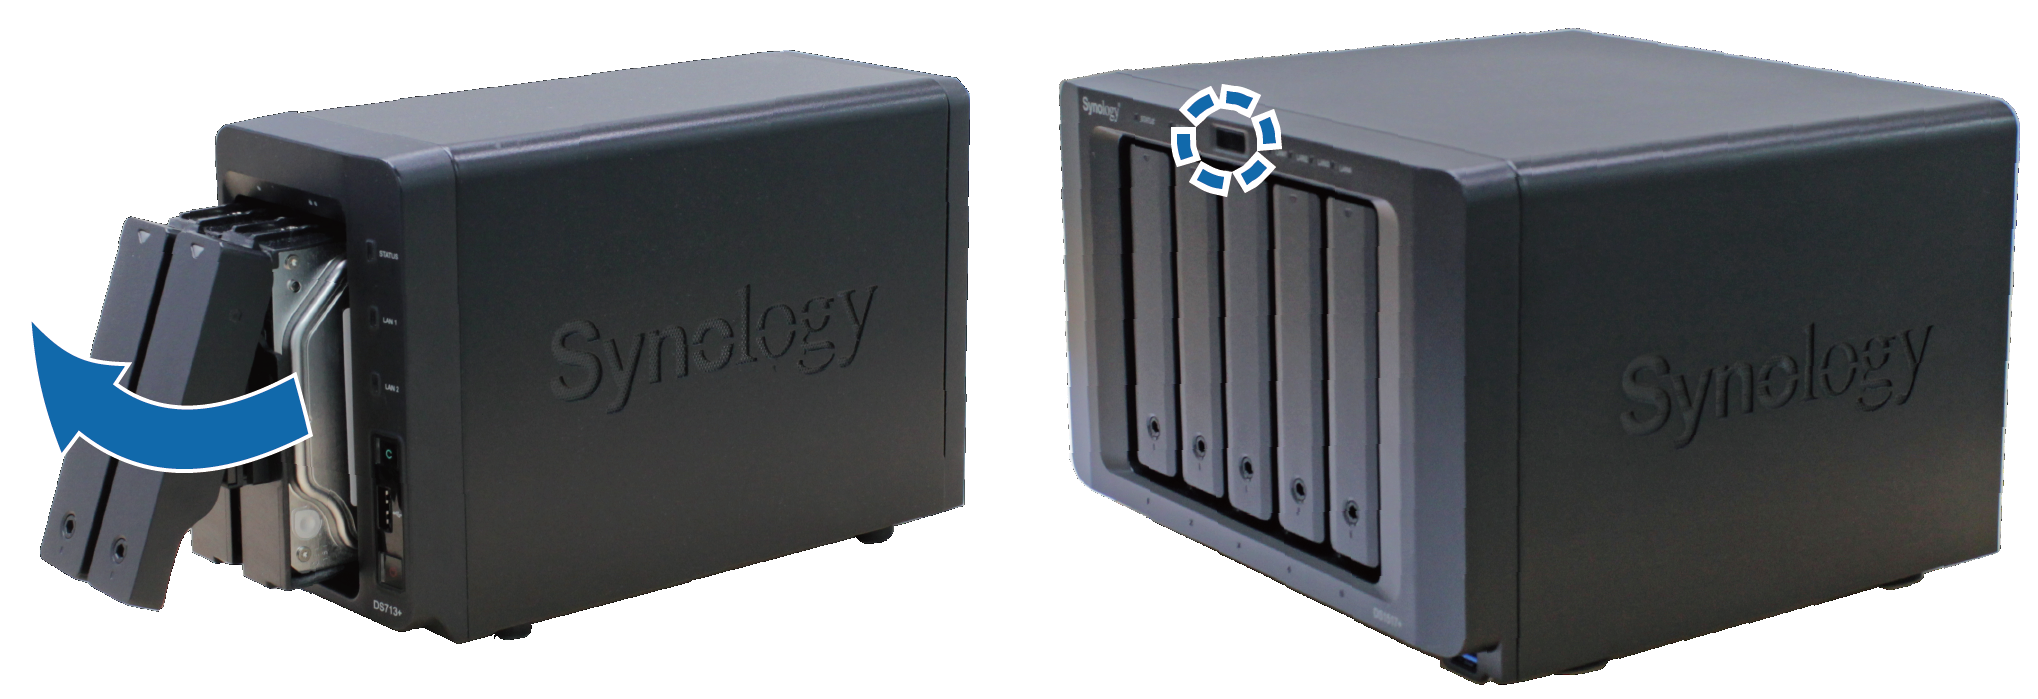
- Install the drives in the destination NAS. Drives must be installed in the same order as they were installed in the source NAS. For details regarding drive slot numbering, refer to the Hardware Installation Guide (available in the Synology Download Center) or try looking on the drive slots of your Synology NAS.
- Turn on the destination NAS and wait for it to boot up.
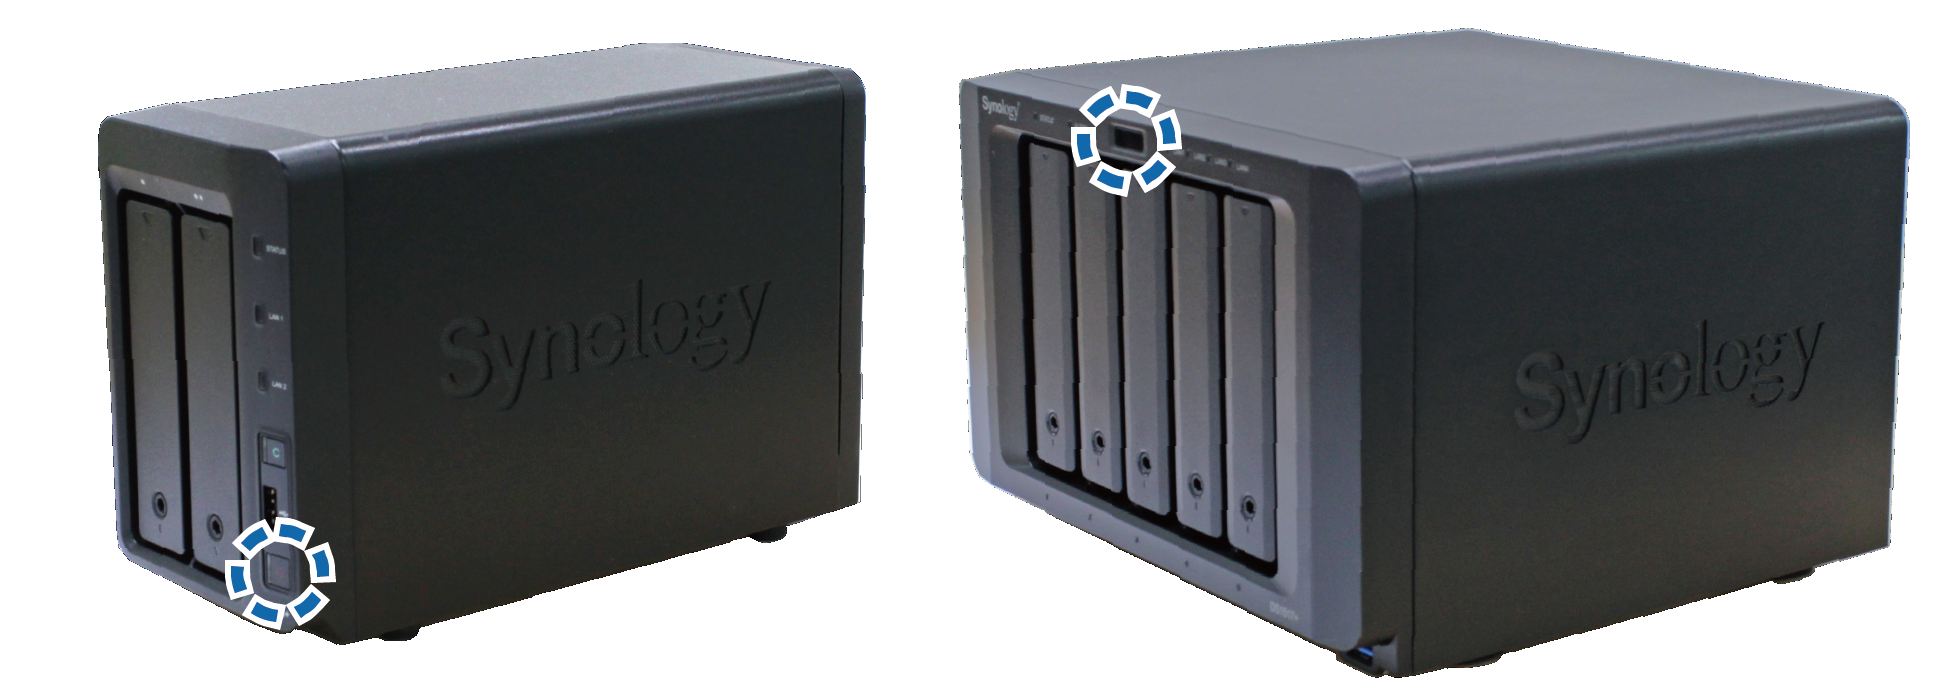
- Open a web browser on your computer and go to find.synology.com. If your destination NAS is unable to connect to the Internet, please use Synology Assistant to search for your NAS instead.2
- Find the destination NAS and double-click on it.
- The status of the destination NAS should be Migratable.3 Click Install to continue.Important: If you see a warning message similar to Note: All data on the hard drive(s) will be deleted, close the browser, and make sure you have installed the drives in the same order as they were installed in the source NAS. (Using Synology Assistant might encounter similar messages. See below.)
- Choose the suitable installation method.
- Choose the option to download and install the newest version of DSM. If your destination NAS is unable to connect to the Internet, please download the latest DSM OS (.pat file) from the Download Center beforehand for manual installation.
- Once the installation is complete, sign in to the destination NAS.
- Go to Control Panel > Update & Restore.
- Go to the Configuration Backup tab and click Restore (for DSM 7.0 and above) or Restore configuration (for DSM 6.2 and earlier).
- For DSM 7.0 and above, click Restore from a configuration file on your computer. For DSM 6.2 and earlier, skip to the next step.
- Click Browse and choose the backup file that you saved on your computer earlier. Click OK.
- Choose the All System Configurations option. Click Done (for DSM 7.0 and above) or OK (for DSM 6.2 and earlier).
- A warning message will appear. Click Yes to confirm.
- Wait for system configurations to be restored. When finished, your data should be successfully migrated to the destination NAS.
Important: If you are using find.synology.com or Synology Assistant and encounter any of the below warning messages during DSM installation, abort the migration procedure immediately, and try performing migration via Hyper Backup instead. There are two messages that are likely to show up, depending on the situation:
- Note! All data in the hard drive(s) will be deleted.
- Note! All data on the hard drive(s) [number] will be deleted.


Private 🔒 Inner Circle content in last few days :
ZimaOS is the BEST Beginner NAS OS - Watch Your Back UnRAID and TrueNAS !!!
30TB Hard Drives are TOO BIG ! (and here is why)
COMPLETE UGREEN NAS Setup Guide - 2025 EVERYTHING VERSION
$110 USB4 to 2x10Gb Adapter Review - What the WHAT?
UGREEN NAS Now has iSCSI, 2FA and Jellyfin (and more) - FINALLY!
Seagate 30TB Ironwolf and EXOS Hard Drive Review
Access content via Patreon or KO-FI