How to Upgrade the RAM in your QNAP TS-x53D NAS to 16GB or 32GB
Back in early 2020 when the QNAP TS-x53D NAS was first announced, many users were surprised at the maximum memory limit that the manufacturers stated on the specifications. With the Intel J4000 series chip that QNAP TS-x53D NAS arrives with, it did seem odd that the maximum or 8GB of DDR4 2400 memory for this chip was listed firmly in the specification. On the face of it, 8GB seems like plenty. That will comfortably support the NAS tasks of a plex media server, all those productive first-party NAS applications and backups. However, as file sizes grow, as NAS surveillance gets popular, as virtual machine and container station applications grow in popularity, it will not be too long before you will see that memory use ALWAYS above 80% in the task manager. Sadly, we have asked the manufacturers and they continue to stand by the fact that you cannot exceed this limit, officially- understandable, as stability of your system is ESSENTIAL. However, I am pleased to tell you that I have been experimenting with several different sizes of RAM sticks and various brands, and am pleased to confirm that not only can you use non-official own-brand memory in the QNAP TS-x53D NAS (so that is the QNAP TS-253D, TS-453D and TS-653D), but also that you can install two 16GB sticks of DDR4 RAM (one per slot) meaning you can have a QNAP TS-x53D NAS with 32GB of Memory! Read below for my guide, it will detail how to install the RAM, how to check that it is installed correctly and how to test that it is working straight away.
Upgrading your QNAP TS-x53D NAS to 16/32GB of Memory – Pay Attention
Before we continue with the guide, it is worth highlighting that the QNAP TS-x53D NAS manufacturer strongly recommends that you do not exceed the stated memory limit on their specifications page. They also highlight that using non-official memory in your QNAP TS-x53D NAS may invalidate your warranty. We at NASCompares cannot be held accountable for how you use this guide. However below I will show you where to buy the individual memory and QNAP TS-x53D NAS NAS device you will need. Only attempt this upgrade if you are comfortable with the terms laid out above by the manufacturer. Alternatively, you can buy the QNAP TS-x53D NAS with 16GB or 32GB pre-installed from the NAS experts, ensuring your warranty is unchanged.16GB QNAP TS-x53D NAS Memory Upgrade – Step 1, Physical Installation
What you will need:
- A QNAP TS-x53D NAS –
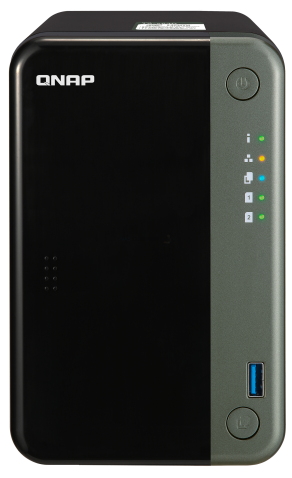
TS-253D |
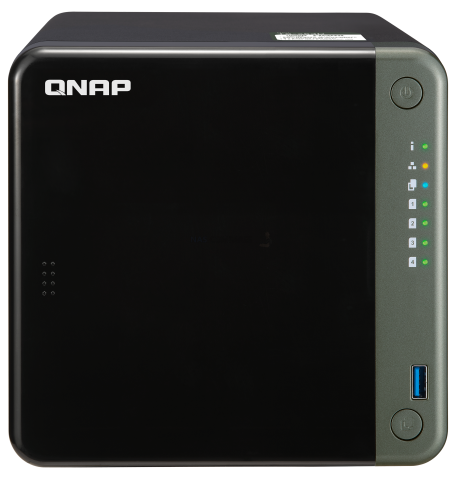
TS-453D |
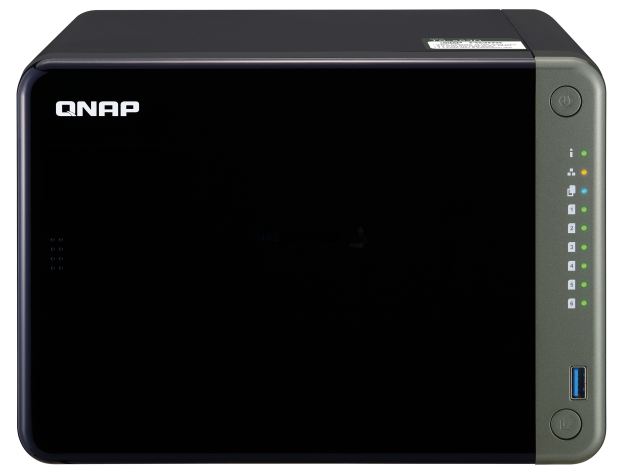
TS-653D |
- 2x Crucial 16GB (32GB Total) Memory Upgrade – Link below
VERY IMPORTANT – The Links used in the article below towards the correct unofficial memory are occasionally changed (beyond my control) as it will direct you to the site in your own region/country. MAKE SURE to check that the memory module (especially 16 and 32GB SODIMM modules) are DUAL RANK or ‘DR‘, as Synology NAS typically have trouble with SR/SINGLE RANK modules.
| NAS Model | Memory Type | Official Memory | Unofficial Memory | |
| DS920+ | DDR4-2666 non-ECC unbuffered SO-DIMM 260pin 1.2V | D4NESO-2666-4G | Crucial 4GB – Buy Here
TimeTec 4GB – Buy Here Kingston 4GB- Buy Here Crucial 8GB – Buy Here TimeTec 8GB – Buy Here Kingston 8GB- Buy Here Crucial 16GB – Buy Here TimeTec 16GB – Buy Here Kingston 16GB- Buy Here Crucial 32GB* – Buy Here * = UNTESTED, TBC |
 |
 |
| Crucial 8GB Single DDR4 2666 MT/S | Crucial 16GB Single DDR4 2666 MT/S |
- Small Phillips Head Screwdriver – (kinda optional but recommended for chassis
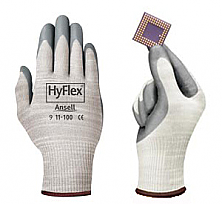
- (OPTIONAL) Antistatic gloves and Envelope – useful to eliminate static charges and also to store the removed older official memory sticks)
 |
 |
First, we need to ensure the QNAP TS-x53D NAS is completely powered down/off and the mains power has been disconnected. It is recommended that you remove the Hard Drive or SSD that you have installed before accessing the RAM as it may block the slots. Additionally, you should remove the hard drive media as the unit will be moved around a lot during the memory installation and this could damage the drives. Be sure to keep a note of the drives that you remove and the order they were installed (HDD Bay 1, HDD Bay 2, etc) as installing the drives in the wrong slots could damage any existing RAID you have set up internally. Next, we need to access and remove the existing memory, as the new 16GB / 32GB of memory upgrade for our QNAP TS-x53D NAS will occupy both slots. Be sure you eject the official memory sticks using the clips either side of the slot, as well as only holding the memory sticks by the narrow side edges, never touching the chips or board of the money or NAS
Once you have removed them, they can either be stored away for a later project, installed in a compatible laptop or sold on eBay etc to make a little cash back! Once they are clear, install an 8GB or 16GB DDR4 Crucial Memory stick in each of the now available slots, making sure that you click them both in with the clips either side. Once down, replace the QNAP TS-x53D NAS chassis lid if you removed it for ease of access, as well as the hard drives. You have now concluded the physical installation of 16GB / 32GB of Crucial DDR4 memory in the QNAP TS-x53D NAS.
16GB / 32GB QNAP TS-x53D NAS Memory Upgrade – Step 2, Checking the 16GB Memory is Recognized
What you will need:
- The QNAP TS-x53D NAS NAS – Obviously
- DDR4 2400 or 2666mhz SODIMM (non ECC) Memory
- A web browser (Chrome, Safari, Firefox, etc) on a Windows, Mac or Android Machine) accessing the QNAP TS-x53D NAS user-interface as you normally would.
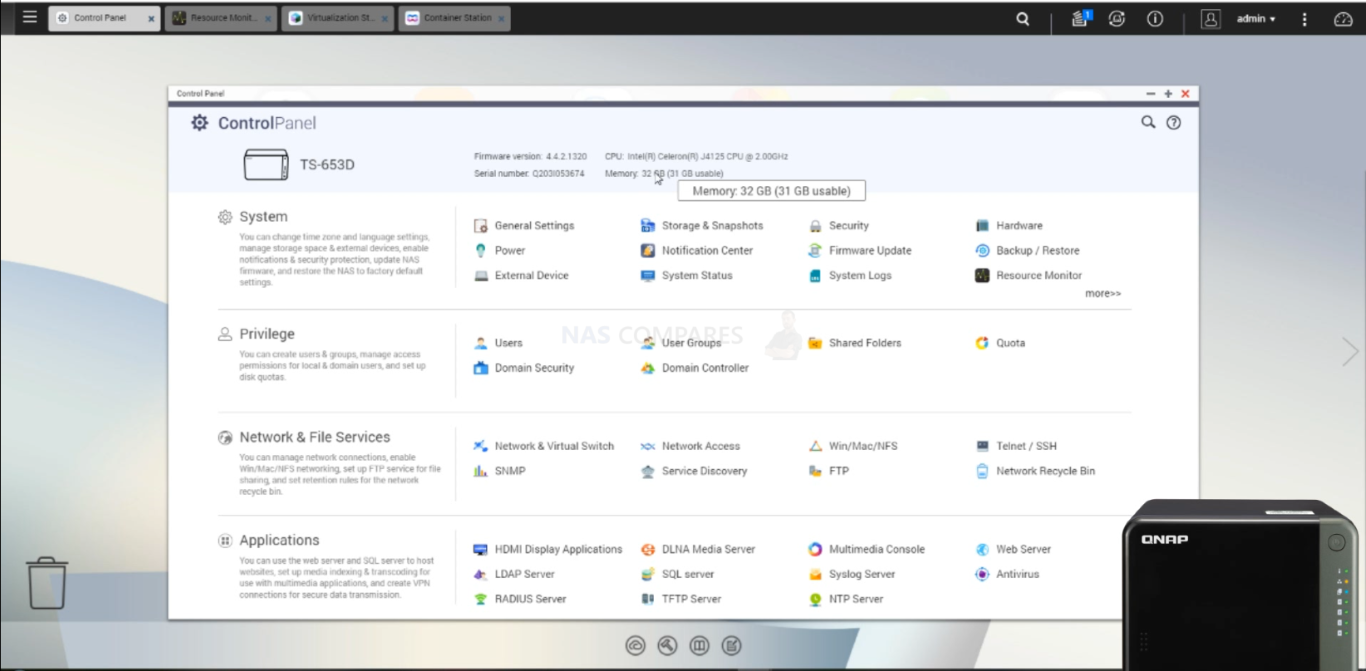
Next you need to power up your QNAP TS-x53D NAS NAS and access it as you normally would. If you are buying this NAS first time and have yet to set it up, there are numerous first time set up guides and tips on the SPANTV YouTube channel here – that will get you from the hardware installation to set up the QNAP TS-x53D NAS NAS for use. Once the NAS user interface (UI) is ready to go, head over to the hardware specification page shown here:
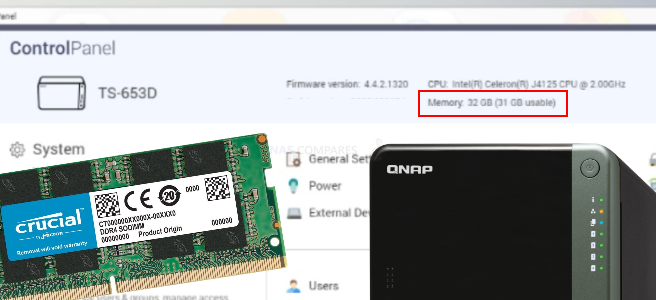
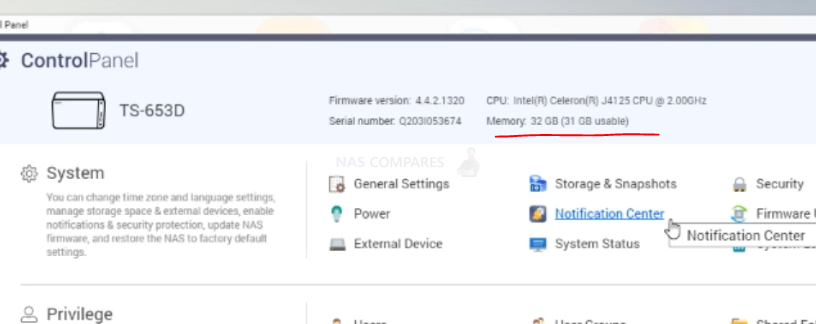
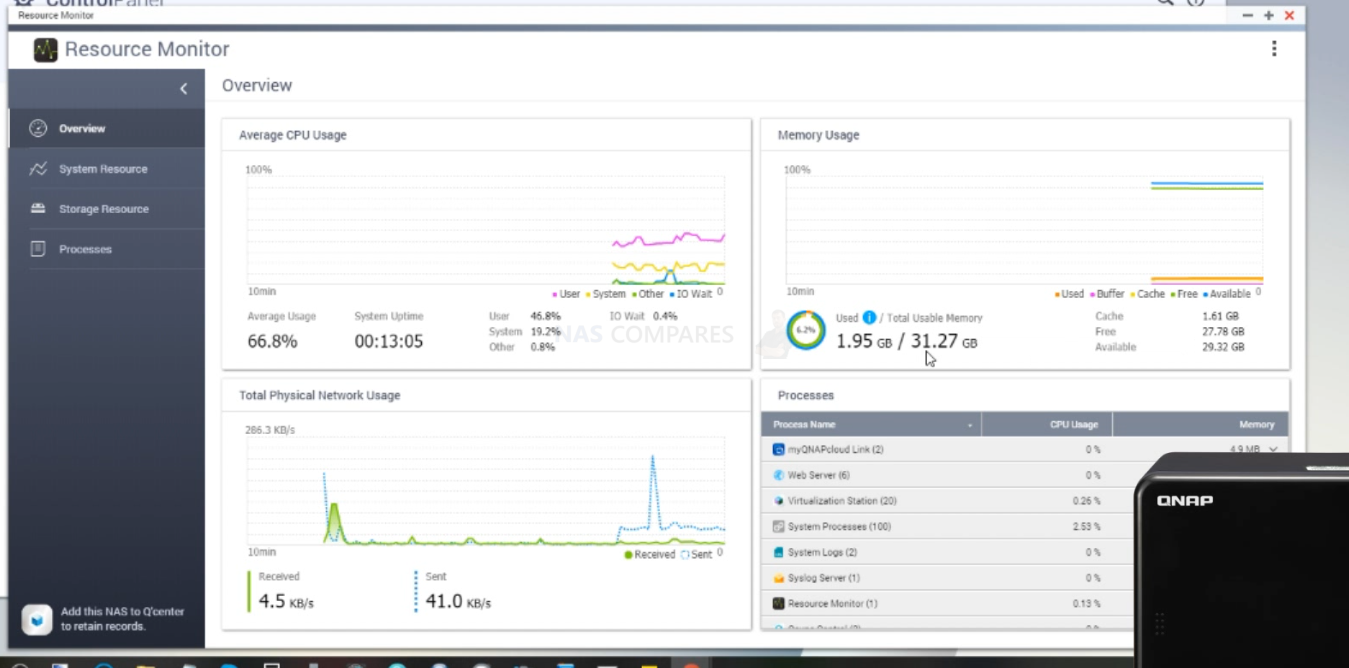
As you can see from this CPU and Memory display, the QNAP TS-x53D NAS has recognized and made available the 16GB of crucial memory. It will be immediately available for use and you will see that the % amount of use of the RAM in the resource monitor will be much, much lower, as there is significantly more memory available for the system!
16GB QNAP TS-x53D NAS Memory Upgrade – Step 3, Checking the 16GB Memory is Working
There are several ways to check the memory is working on your QNAP TS-x53D NAS correctly. First, you can perform as many actions and processes as possible (scans, copy/pastes, thumbnail generation, transcode a 4K file, RAID changes, synchronisation, etc) at once to see how the task manager and resource monitor behaves in the QNAP TS-x53D NAS. It should spike each time and at a greater height as you do more and more and once it exceeds the memory you had previously installed, this is a good confirmation that the installation is working fine.
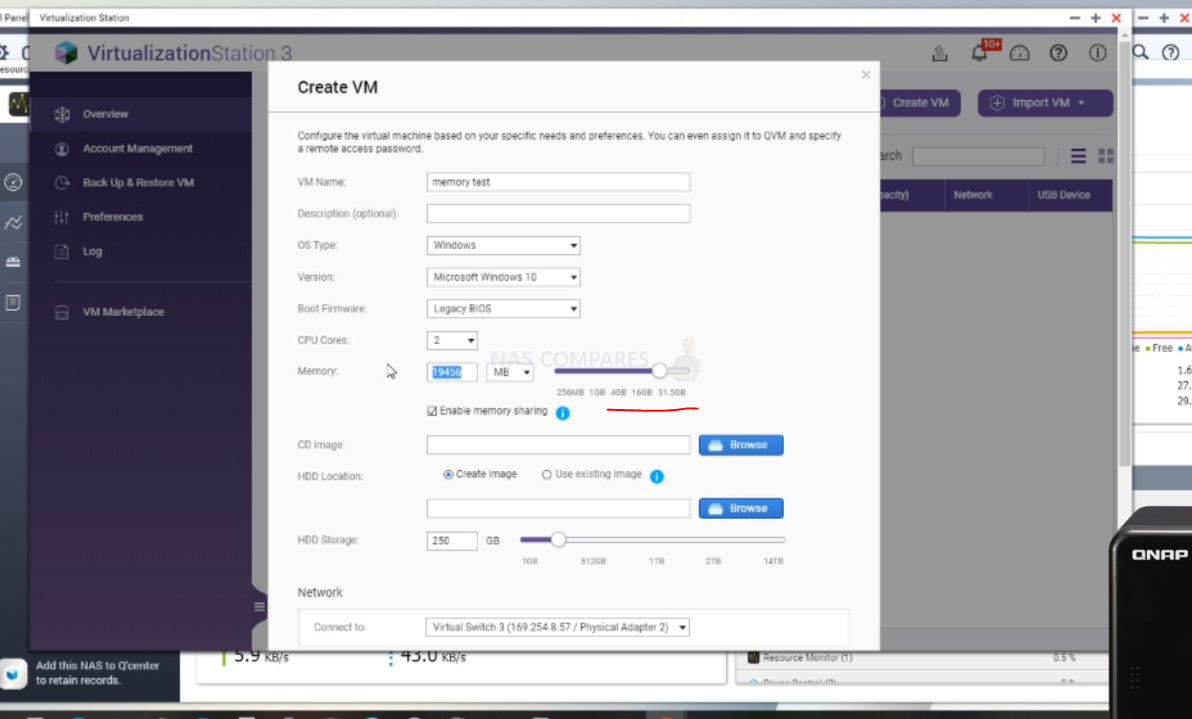
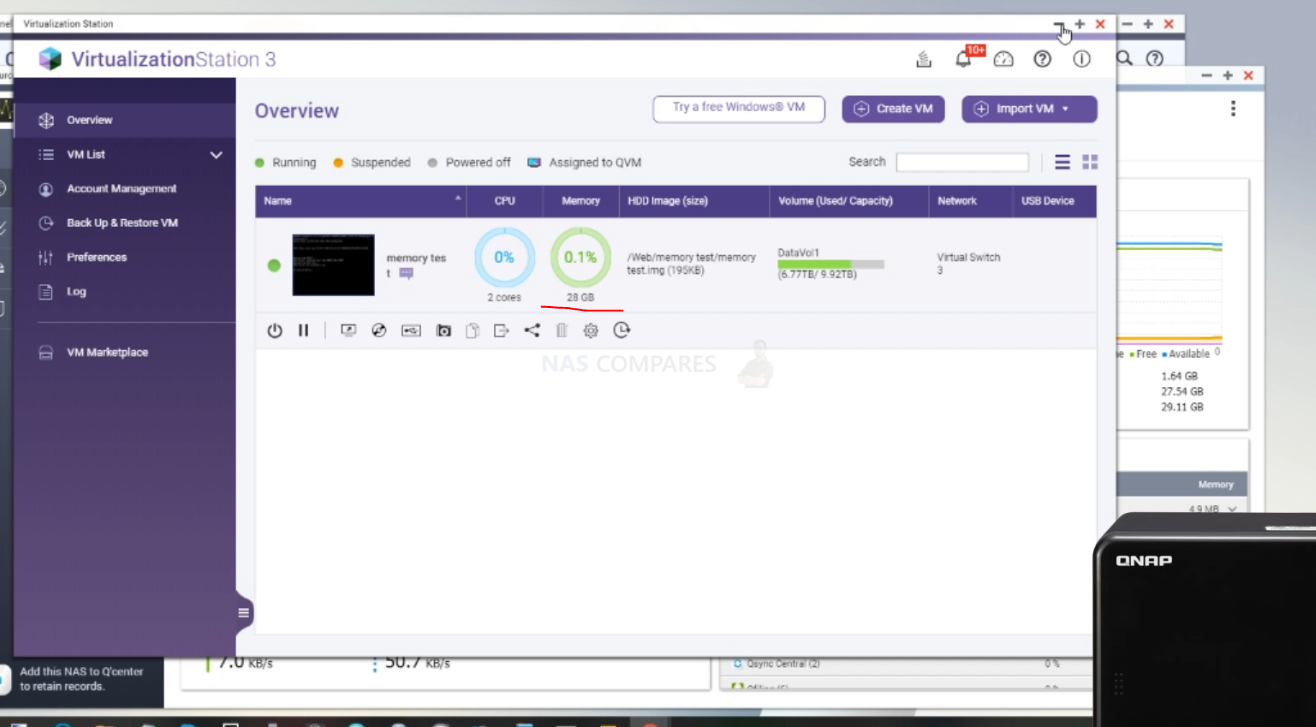
Alternatively, you can temporarily allocate chunks of memory and then that is a much more reliable test. Install the virtual machine application for the QNAP TS-x53D NAS (P.S. for Synology users it is the Virtual Machine Manager and for QNAP it is the Virtualisation station). Then you can create individual VMs (it is alot easier than it sounds and the QNAP TS-x53D NAS VM software is very user-friendly) then allocate 3-4GB of memory to each one. When you have created 3 or 4 individual virtual machine containers on the QNAP TS-x53D NAS software, then you can run them all at once and that will immediately use almost all the memory at once!
If there are any issues with the memory, it will show here almost immediately. If no problems, then you know the QNAP TS-x53D NAS 16GB or 32GB of DDR4 crucial memory installation as successful. You can then delete the VMs in the virtual machine software and then free up all that memory again.
📧 SUBSCRIBE TO OUR NEWSLETTER 🔔🔒 Join Inner Circle
Get an alert every time something gets added to this specific article!
This description contains links to Amazon. These links will take you to some of the products mentioned in today's content. As an Amazon Associate, I earn from qualifying purchases. Visit the NASCompares Deal Finder to find the best place to buy this device in your region, based on Service, Support and Reputation - Just Search for your NAS Drive in the Box Below
Need Advice on Data Storage from an Expert?
Finally, for free advice about your setup, just leave a message in the comments below here at NASCompares.com and we will get back to you. Need Help?
Where possible (and where appropriate) please provide as much information about your requirements, as then I can arrange the best answer and solution to your needs. Do not worry about your e-mail address being required, it will NOT be used in a mailing list and will NOT be used in any way other than to respond to your enquiry.

|
 |
UGREEN iDX6011 Pro - TESTING THE AI (What Can it ACTUALLY Do?)
OWC TB5 2x 10GbE Dock, UGREEN NAS Surveillance Software, AceMagic Retro PCs, Gl.iNet Comet 5G @CES
What IS the Digiera OmniCore NAS? Is it Worth $599?
New UGREEN NAS Expansion, DXP4800 PRO NAS and eGPU Revealed
Gl.iNet Flint 4 10G+2.5G Router Revealed @CES 2026
EVERYTHING NEW from Minisforum @ CES 2026
Access content via Patreon or KO-FI
Discover more from NAS Compares
Subscribe to get the latest posts sent to your email.





CT16G4SFD824A (16Gb) works along with pre-installed 4Gb A-Data in my TS-253D
REPLY ON YOUTUBE
The NAS is connected to mains power!!! Never remove ram much less putt your hand anywhere near the inside of the machine like this guy is doing.
If you make youtube “tutorials”, please show some regard of safety
REPLY ON YOUTUBE
My TS-653D is running out and dropping process because of lack of meme, I’M gonna update to 4x with 2 module of 8GB each, let’s hope …
REPLY ON YOUTUBE
I have buy the Crucial CT2K16G4SFD824A (DDR4 2400 no ecc) installed in TS 453D. Upgrade to 2x16GB and no error.Thank you!
REPLY ON YOUTUBE
Hi Guys. I have a QNAP TS-653D with 32GB RAM installed. It is a Hynix HMA82GS6CJR8N 2Rx8 (two pieces of 16 GB each). It works flawlessly. So it doesn’t have to be CRUCIAL 😉
REPLY ON YOUTUBE
i have same QNAP model & i bought Crucial 16gb ddr4 2666 as u show and it didn’t work
REPLY ON YOUTUBE
Great video. I’ve just upgraded my TS-453D to 8Gb (1 stick of Crucial DDRM4 8GB). Everything works perfectly but the ssh connection . It is giving a timeout error everytime I try to connect. When I put the original 4 Gb RAM back, it works. Any idea why this may happen and any solution or workaround?
REPLY ON YOUTUBE
his video fake … i buy same Ram but its not work my qnap..
REPLY ON YOUTUBE
I upgraded my QNAP 453D from 4GB to 32GB as you explained. Replaced the existing ADATA 4GB DDR4 2666 with 32GB (2x16gb) Cruial DDR4 2400Mhz. It is working fine.. Thank you!
REPLY ON YOUTUBE
i love this video but I have a ts464 will the 32g Crucial memory work for it
REPLY ON YOUTUBE
Must it be rucial RAM, or will others work?
REPLY ON YOUTUBE
Just to confirm that Crucial CT2K16G4SFD8266 32GB Kit does work in TS-453D, however Crucial RAM CT16G4SFRA32A 16GB DDR4 3200MHz does NOT work ( in any combination). Tested 9th Jul 22
REPLY ON YOUTUBE
For those interested only in the results, jump to section named [Conclusion].
@rob I’ve been investigating the TS-453D/TS-653D as well to see what RAM can be installed. I spent a lot of time reading a lot of the different forum posts/articles, and I’ve noticed a lot of contradictions amongst users. After spending more time (with a large focus on Crucial memory), I decided to look at the actual raw specs at Intel to check for why there are discrepancies, as well as investigate the Crucial part code decoding.
Below is what I’ve researched and gathered, and I think this is useful for both your videos/explanations, as well as to users.
[Background]
1. The Celeron J4125 CPU is based on the Gemini Lake processors, and there is a follow-up set of Celeron N-series set of CPUs (N5105 for example) that use this same core architecture.
Gemini Lake processors have limitations that are causing specific SODIMMs to be rejected. Below, I list the exact reference material to help explain the details.
2.A. The total number of address lines is limited to 17. This limits the actual DRAM die size to <= 2Gb per die. Refer to MEM_CH0/CH1_MA[16:0], in Memory Address of Section 2.3.1 Table 2-3.
2.B. Because DDR4 specification requires DQ width of 64-bits for a memory line and the max die size is 2Gb, this means that only SDP/DDP are supported. The max package size is 2GB, and the max number of packages per rank is 4. Refer to Section 3.2 Table 3-4.
2.C. Only Raw Card A and Raw Card B is supported for UDIMM/SODIMMs. Refer to DDR4, in Raw Card Support of Section 3.2 Table 3-2.
2.D. The memory controller operates at exactly DDR4 2400Mhz. There is no overlcoking capability. Refer to System Memory Timing Support, in DDR4 of Section 3.2 Table 3-6.
2.E. Intel Gemini Lake Spec: https://cdrdv2.intel.com/v1/dl/getContent/336560?explicitVersion=true
JEDEC specifications that are causing specific SODIMMs to be rejected. Below, I list the exact reference material to help explain the details.
3.A. Bank Group BG1 is not supported on Raw Cards A and B, when using DDR4. Refer to Annex A and Annex B of JEDEC’s JESD21-C.
3.B. JEDEC JESD21-C’s Annex Documents: https://www.jedec.org/document_search?search_api_views_fulltext=so-dimm&order=field_doc_date_published&sort=desc
Crucial memory parts and numbering limitations, for SODIMMs.
4.A. All DDR4 memory comes in the form of ARxB. A is the Rank Count in (1,2). B is the Bank-Per-Rank count in (4,8,16).
4.B. Memory from Crucial have a special numbering that exhibit a supply-based selection that does not necessarily adhere to a specific Rank and Bank-Per-Rank count. These models have “SRFA” in the model numbering.
4.C. Modules from Crucial have specific Rank and Bank-Per-Rank count that can be seen for each product. A specific Rank and Bank-Per-Rank can be chosen.
4.D. Crucial SODIMM memory product information: https://www.crucial.com/catalog/memory/ddr4-laptop
[Conclusion]
5. The largest size memory module that is supported is 16GB, in 2 channels, for a total of 32GB.
5.A. Even though the Gemini Lake spec specifies a maximum of 8GB memory, the actual max is 32GB. This is likely because testing at the time for DDR4 SODIMMs did not include such high-density DDR4 die.
5.B. The calcuation goes like this: Max Package Size x Packages Per Rank x Ranks per Channel x Channels = 2GB x 4 x 2 x 2 = 32GB
Use memory of rank-bank sizing: 1Rx8 or 2Rx8.
6.A. Don’t use memory modules of 1Rx16 or 2Rx16.
6.B. Due to the Gemini Lake limitations of 17-bit addressing, Bank-Per-Rank counts of 16 cannot not be used.
6.C. This is why people notice that dual-ranked modules tend to be more compatible. 2Rx16 is very rare on the market, but they DO exist. On the other hand, 1Rx16 is common for smaller memory modules, and people will use this incorrectly.
Crucial models to avoid
7.A. Don’t use any with “SRFA” in the model numbering. Even though they are cheaper, Crucial decides what to send based on their supply. And, you will find out the hard way when you get an x16.
7.B. Avoid CT16G4SFRA32A, CT8G4SFRA266, CT2K8G4SFRA266, CT8G4SFRA32A, CT16G4SFRA266, and CT2K16G4SFRA266.
Crucial models to use
8.A. Do use dual-channel memory that is bought together.
8.B. Look for CT2K as the prefix in the model numbering. The “2K” implies a 2-kit set.
8.C. Use 2400 Mhz to save on cost. 2666 Mhz are backwards compatible to 2400 Mhz, but the extra speed isn’t usable.
8.D. Examples: 2x16GB (CT2K16G4SFD824A), 2x8GB (CT2K8G4SFD824A), 2x8GB (CT2K8G4SFS824A)
8.E. Note: I have NOT directly tested any of the examples above yet, but these have been referenced in this article or in other people’s successes.
Other Memory pointers
9.A. Use standard memory modules that don’t require over-clocking. The key hint is to look for memory that operates 2400Mhz at 1.2V.
9.B. When searching for memory, remember that these are laptop-sized modules. I.e. DDR4 SODIMMs 260-pin.
8.C. Find unbuffered non-ECC memory: Unbuffered Non-ECC SODIMM. This motherboard does not support otherwise.
8.D. Don’t purchase a single memory module over 16GB. A dual-memory-module kit of 32GB (2x16GB) is the max.
has anyone tried 4GB + 32GB configuration?
REPLY ON YOUTUBE
@luna, that won’t work. 32GB modules aren’t supported.
has anyone actually checked.. even though the memory is faster at 2666 it is not running at that speed as shown by dmidecode 3.1
Getting SMBIOS data from sysfs.
SMBIOS 3.1.1 present.
Handle 0x0025, DMI type 17, 84 bytes
Memory Device
Array Handle: 0x0023
Error Information Handle: Not Provided
Total Width: 64 bits
Data Width: 64 bits
Size: 16384 MB
Form Factor: SODIMM
Set: None
Locator: A1_DIMM0
Bank Locator: A1_BANK0
Type: DDR4
Type Detail: Synchronous
Speed: 2400 MT/s
Manufacturer: Crucial
Serial Number: 22211621
Asset Tag: 9876543210
Part Number: CT16G4SFD8266.M16F
Rank: Unknown
Configured Clock Speed: 2400 MT/s
Minimum Voltage: 1.2 V
Maximum Voltage: 1.2 V
Configured Voltage: 1.2 V
REPLY ON YOUTUBE
Thanks!!
REPLY ON YOUTUBE
TS-453D RAM 32GB (2X16G) UPGRADE
MODEL : SAMSUNG M471A2K43DB1-CTD 16GB PC4-2666V
REPLY ON YOUTUBE
anyone can recommend me what 8gb RAM brand & serial number which compatible to be installed with an existing 4gb for TS253D?
REPLY ON YOUTUBE
Hello! Thank you very much for the article and the information you provided. I am happy to report that my newly-purchased TS-453D=4G is now enjoying full 32GB or RAM. Along with the NAS I bought a 2X16GB SO-DIMMS kit (Crucial CT2K16G4SFD8266), I installed and everything went fine. Well, in the beginning the NAS would only see 16GB instead of 32GB, but after shutting it down and re-inserting the memory modules again in the slots, the full 32GB glory appeared.
Many thanks for the research!
PS: the TS-453D was bought as a replacement to my almost dead TS-419P II. Happy to say that moving the disks from the old NAS to the new one worked like a charm. Next stop in the journey is to convert the volume (currently it’s still legacy, as I carry it from 2012…)
Hi Just to say I succeeded in upgrading my TS-235D from 4 to 32GB with 2x16GB Crucial sticks as specified above. Booted up first time with no problems which was a welcome relief I must say! Many thanx to NAS Compares for your master class and research as always. I’ve only owned the box for less than 12 months. In that time I also has success in installing a third party WiFi 6 card as per one of your articles. It saved me a shed-load of money. I bought the card for Au$60 versus buying the genuine QNAP badged one for over 4 times that! I’m overjoyed once again. The main reason for upgrading RAM was that QSirch is such a memory hog and every time I turned it on, the “lights went dim” 😉 and the box was about as good as a boat anchor. QSirch is handy but if you try to run it with the bog standard config of 4GB it runs so s_l_o_w….
Seems that ct16g4sfra266 will not boot
I bought a TS-653D-4G this week. I added to the stock 4GB ram a Crucial 16GB @2666Mhz – Ref CT16G4SFRA266, and it is working fine, 20GB (19,46GB) recognized and 20GB usable (4+16gb) – Firmware 4.5.4.1741
REPLY ON YOUTUBE
I can confirm that TS-453D (BIOS: Q04MAR12, Firmware: 4.5.4.1723) works with 24GB RAM (1x Crucial CT16G4SFRA266 + 1x Crucial CT8G4SFRA266). Prior to that I was running 2x CT8G4SFRA266 for about four months without any issue at all.
Cheers,
Mark
Dear Rob, thank you for this great article. I have just one question: This is clearly about the x53D and which RAM is compatible. But in the list of RAM the reference is the NAS DS920. Is this a mistake or is it something I am not getting.
Thanx
I also was not able to get 32GB total to work. The NAS just would not boot up. Running on 16GB just fine. FYI I bought Crucial .
TS-453D with Firmware 4.5.1.1540 Build 20210107 & BIOS Version is Q04MAR12
There seems so little stock around at the moment (especially reasonably priced near rrp) so I thought I’d risk Crucial Ballistix from Amazon:
Crucial Ballistix BL2K8G32C16S4B (2 x 8gb)
https://amzn.to/31Bsjib – in stock with Prime for £65
Plugged in and worked off the bat – booted fine and 24hrs later no problems (so far).
Yes, I know this is “gaming” ram and the 453D isn’t going to use the 3200MHz speed, but slower speeds were out of stock and more expensive!?! As far as I could spot, this was one of the cheapest branded 2 x 8gb kit available in UK atm.
As it seems the majority of people with problems seem to be trying to run 2 x 16gb sticks, could it be an 8gb limit on each slot issue?
As for other brands – I think I’ve seen a few on the Qnap forum using HyperX and GSkill Ripjaw, but you’ll have to check which sets.
I agree about the 2x8G. I tried several brands of 2x16G with no boot up. I backed of to 2x8G and it boots no problem. As for how others are getting 32G I have no idea. IMO I think 16G will suit my needs for now. I will keep an eye here in case I need to upgrade in the future.
Probably down to the ranks on 16GB sticks. All modules have different ranks so you will have compatibility issues on certain systems if it doesn’t know how to correctly address the memory.
I am curious if it’s the crucial brand or if Qnap blocked the upgrade. Has any one tried a differnt brand of ram other than the crucial?
I’m the bearer of bad news unfortunately…
My TS-453D won’t boot with new Crucial CT16G4SFD8266 (or CT2K16G4SFD8266 if you purchase them in combo) – I have tried 4 different modules separately, none will work. So that removes pretty much the possibility of having a bad module.
Firmware is 4.5.1.1540 Build 20210107
BIOS Version is Q04MAR12
Putting back the original OEM 4GB module makes the TS-453D boot again correctly.
I had the same problem did you get the issue resolved?
Very interesting, indeed! Would you be so kind to check if it can be done with Asustor’s Lockerstor 4 and Nimbustor 4, please? They use the same CPU but maybe there’s more than that to it. Thanks a lot!
Thank you!! Worked for me! I ended up taking my TS-453D from 4GB to to 32GB with https://amzn.to/2LulQNo . Thank you for reassuring me that it would work and for the tip about the importance of Dual Rank (DR).
Links for Crucial 8GB and 16GB lead to the same product -> B071KP8CGJ
Intel specs say the J4125 (in TS-453D) supports max 8GB RAM.(its not just QNAP, I would understand if they go lower than Intel, but they obviously don’t).
Is intel lying in this case? Or is it by luck whether it is supported by the CPU and just the guaranteed max is 8GB?
How would you explain this discrepancy of 8GB in the CPU spec vs 32 as per your upgrade guide.
https://ark.intel.com/content/www/us/en/ark/products/197305/intel-celeron-processor-j4125-4m-cache-up-to-2-70-ghz.html
At the time of release Intel probably only verified 8GB. Since then there have been microcode and firmware updates that would have changed this. It’s nothing new and has been happening for years. They never go back to update the specification pages.
Intel, not QNAP, says that the CPUs in this series will not function properly with more than 8GB of memory. QNAP is simply passing on this information to customers. I suggest that the reason you are able to successfully install the elevated memory is a failure on the part of QNAP to block its recognition.
That is more down to the amount of RAM tested at the CPUs time of release. I have had many systems that exceed the “officially” supported RAM including a DDR2 system that officially only supported 4x1GB modules yet I had it running 4x2GB modules for many years with zero issues. Microcode and firmware updates often increase the limits but Intel don’t retroactively go back to the CPU specification pages to update this. You also have to remember that chipsets and the BIOS have a big part in overall capabilities of a system.
Could you please advise if Kingston HyperX Impact DDR4 16GB x2 (HX426S15IB2/16) will work or not?